Our garden has flourished this year & with the addition of a few cut flower beds I have had blooms flowering all season. I love filling different vases & vessels with fresh cut flowers in our home but hate that they don’t last.
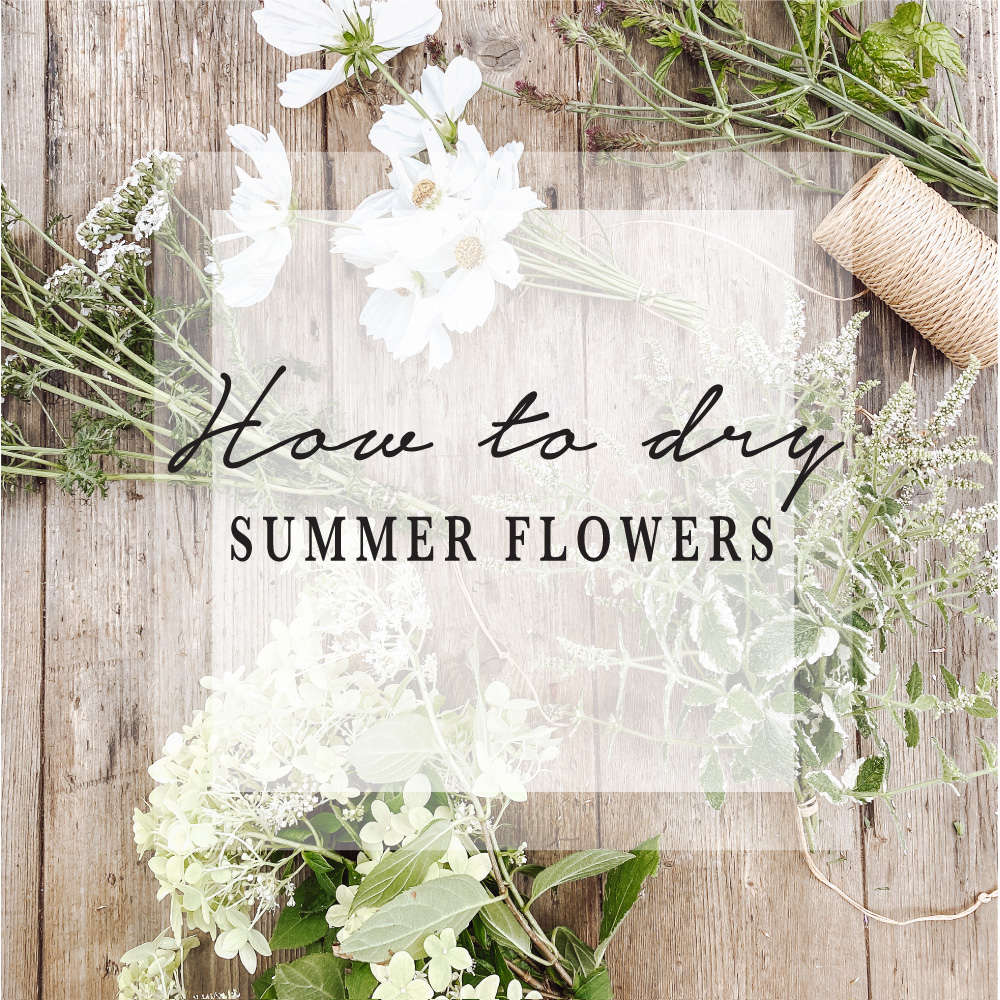
In prep for Autumn I decided to preserve some summer beauty by drying flowers from the garden that have lost their lustre & I won’t see again until next Summer. I am new to this but I can honestly say its become an obsession. It’s a great way to transition into Autumn & to avoid paying over the odds for shop brought dried flowers.
Unlike artificial stems, dried flowers are 100% natural and biodegradable, so if you’re concerned about your carbon footprint, they are a great option.

- Natural binding wire or string
- Scissors or secteurs
- hairspray/ clear spray varnish

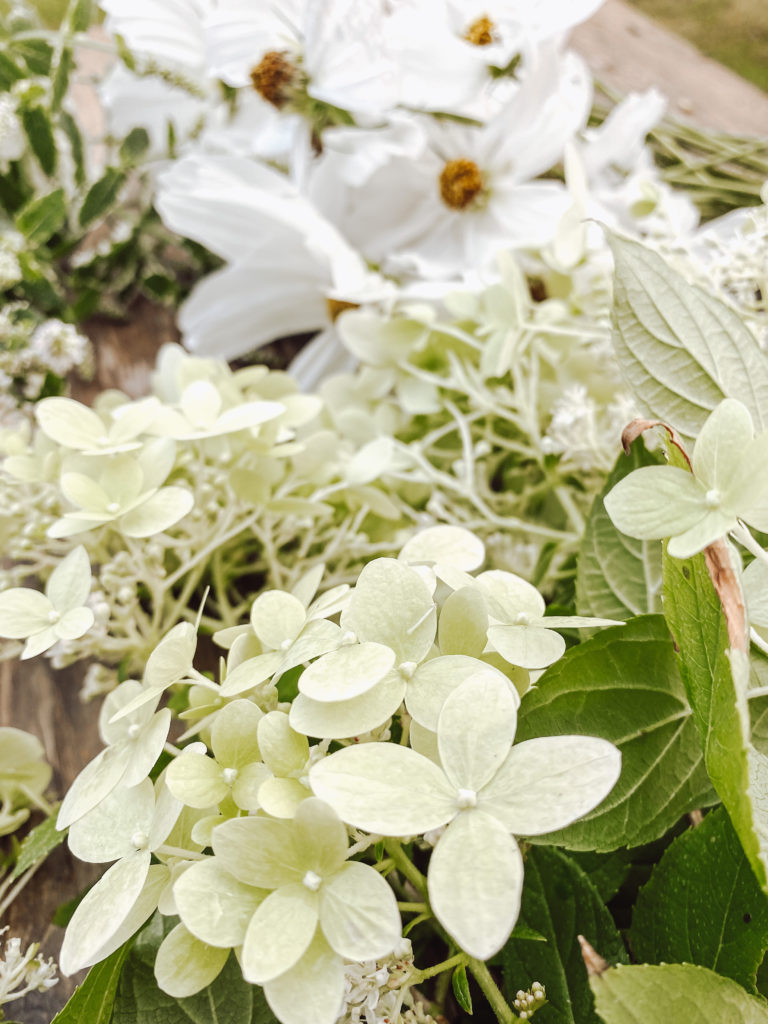
From roses to Lavender, many flowers can be dried to add colour & texture to your home & can look just as beautiful as they were fresh.
Knowing which flowers dry the best will help you get the best results so I had to do my own research for this. Although I did experiment with a few, such as Cosmos & Dahlias.
The best flowers to dry include:
- Hydrangea
- Lavender
- Larkspur
- Roses
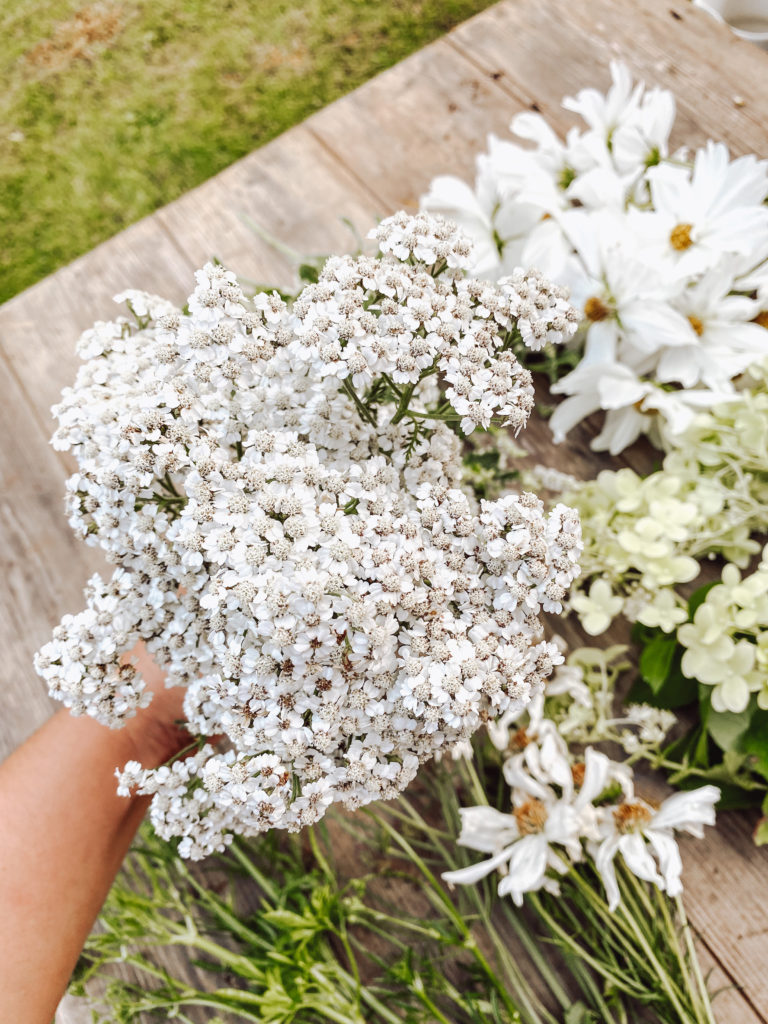
- Yarrow
- Herbs
- Achillea
- Cornflower
- Eryngium
- Statice
- Thistles
- Most foliage

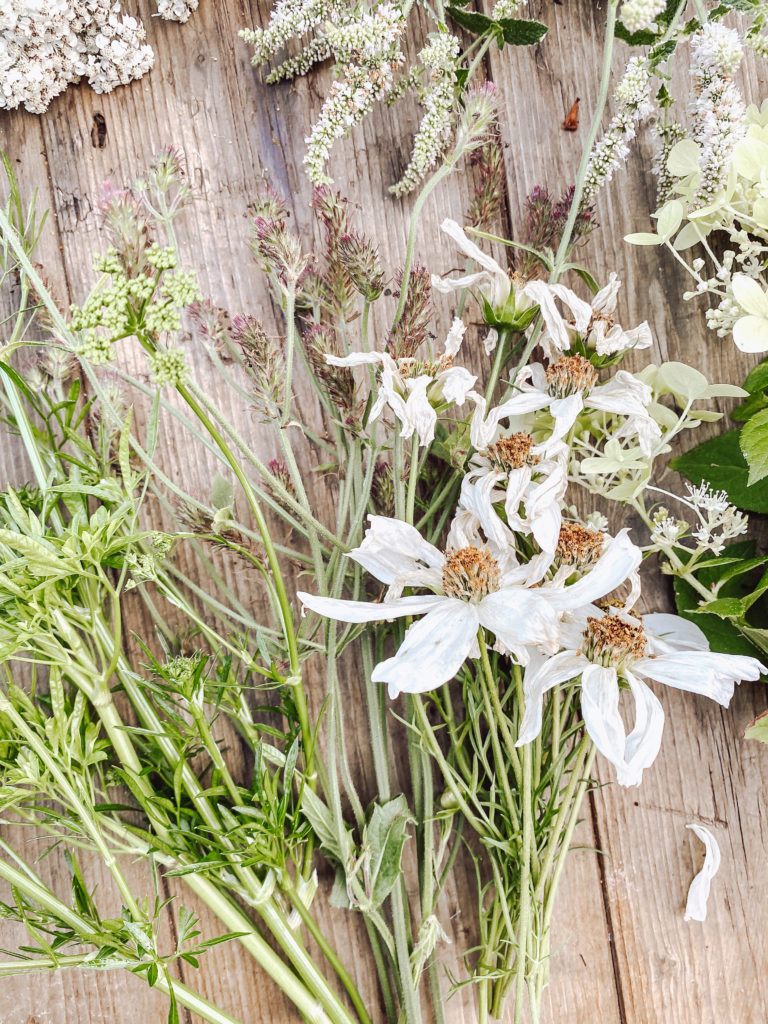
As the Summer season ends & there are clear signs that Autumn is on its way, I walked the garden first thing in the morning dead heading flowers that had started to wilt or I know didn’t have long to flower.
Drying your favourite garden flowers is not difficult, in fact you can pretty much let nature do the work.

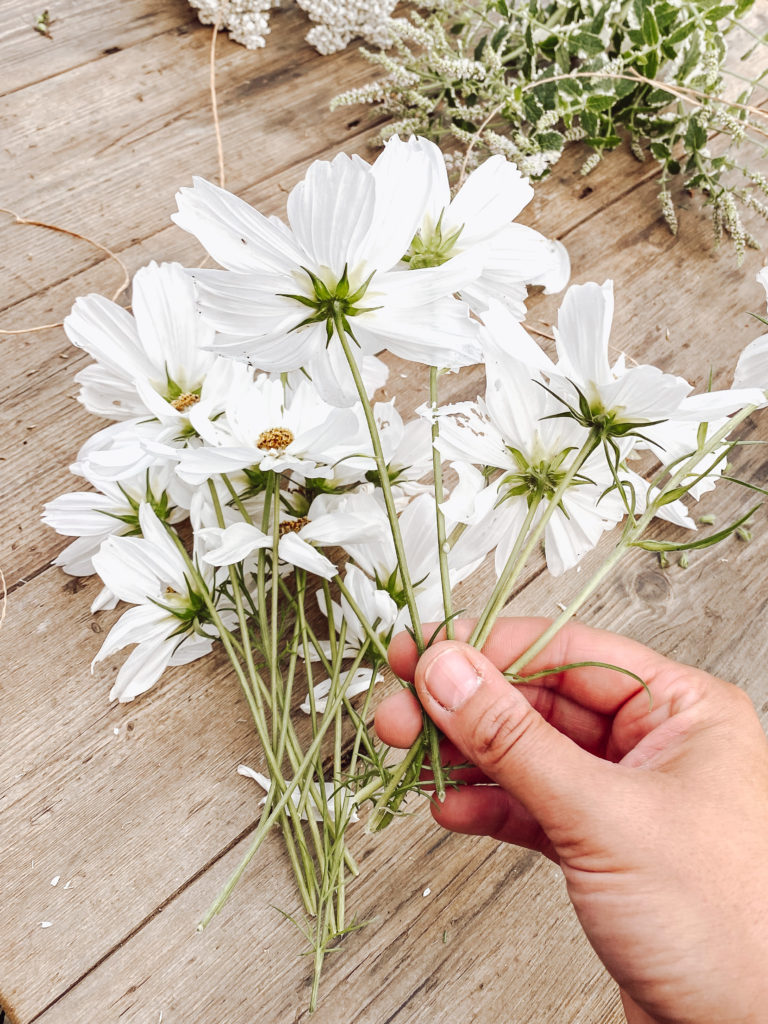
I cut the flowers with approx 5 inches of the stem or where the next leaf is forming to encourage growth for next year. Then I stripped the foliage from the bottom of the stem.
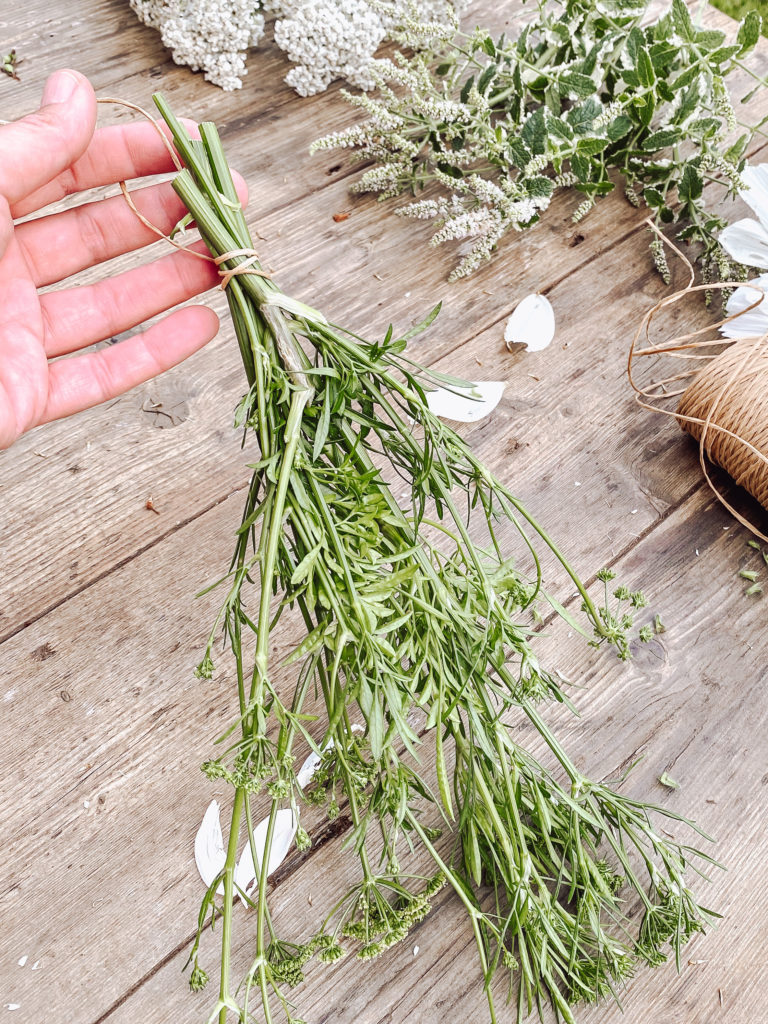
I gathered between 8-10 stems & bundled them together, securing with natural binding wire. The bundle needs to be tied tight as when the stems lose moisture in the drying process they tend to shrink.
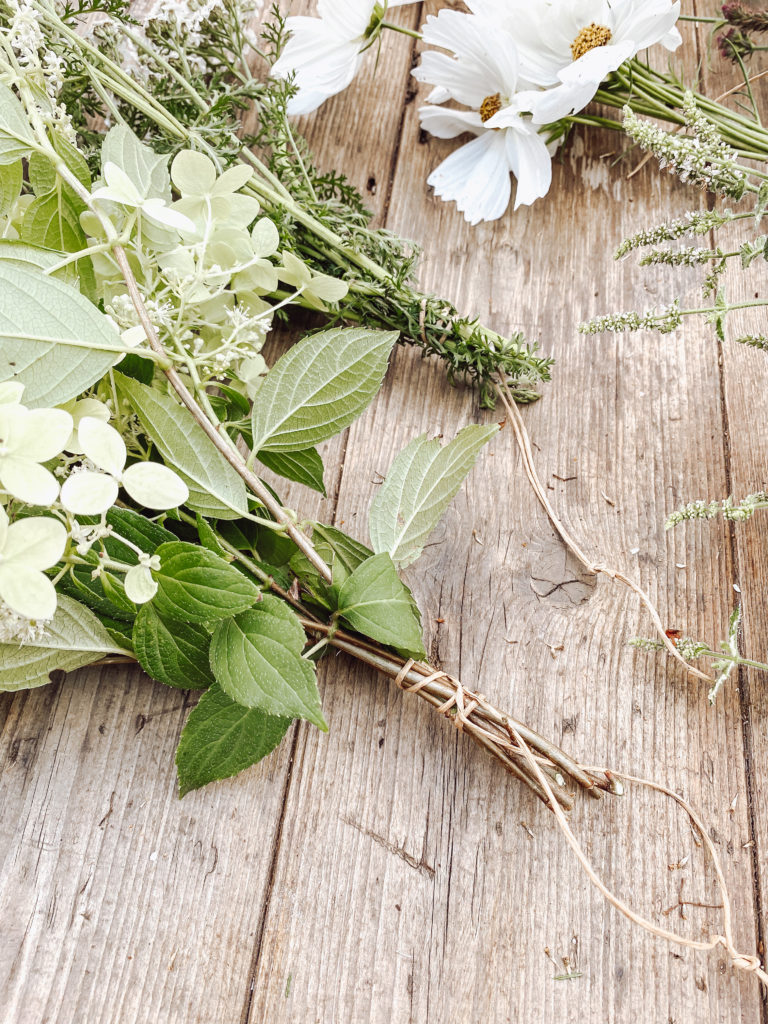
At the end of the stems I formed a loop for hanging.
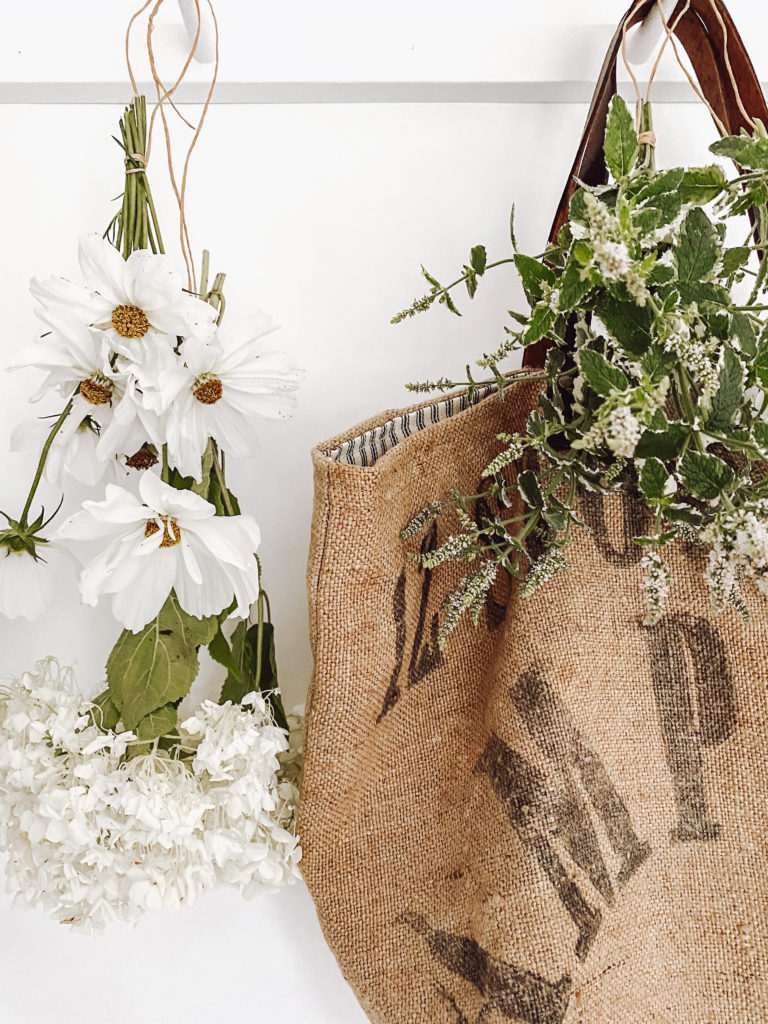
I have a handy peg rail in the kitchen which is perfect for hanging the bundles but you can use any form of hook around the home as long as there is good air flow. Sturdy stems of Hydrangeas can be dried upright in a vase but most are better hung upside down to dry to avoid stems wilting whilst drying.
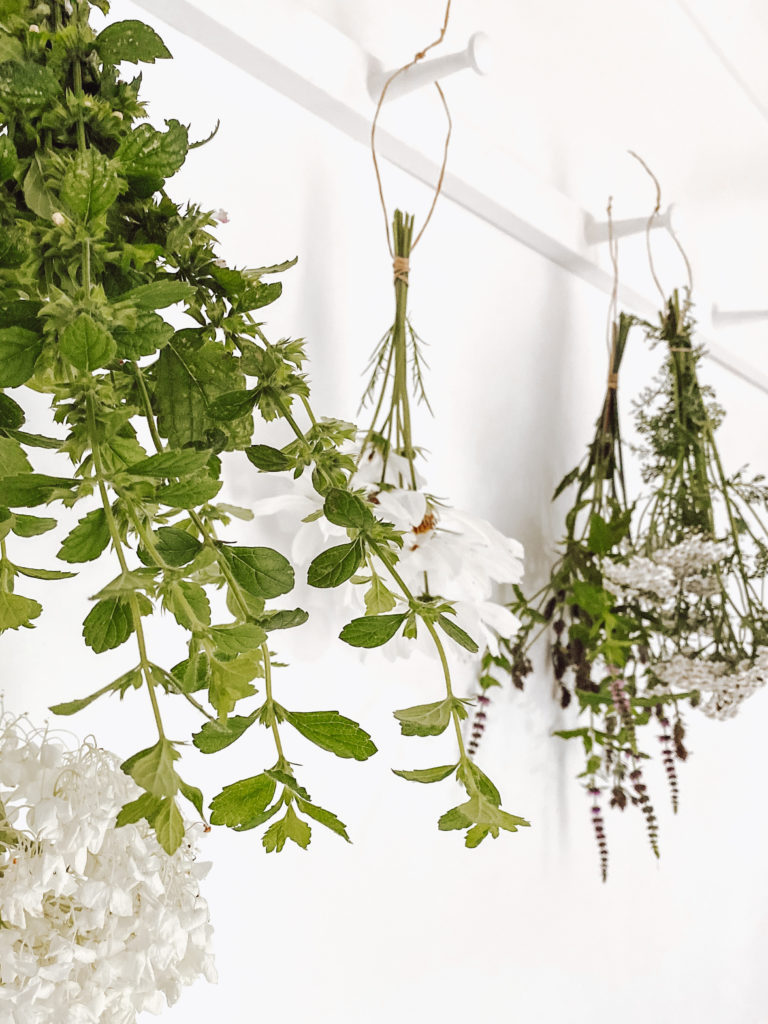
It doesn’t take long before you notice a change in your hung flowers. They start to shrivel & lose their vivid colours. For flowers to dry completely they will need to be left hung upside down for 2-3 weeks. However during warmer days some of my bundles dried in less time.
How lovely do these look hung in our kitchen. It adds so much country charm but I have other ideas for these once they are dry.

Once the drying process is complete you simply take down your hung bundles & give them a good spray with hair spray or clear spray varnish. This will help prevent the flowers & leaves dropping, kill the bugs & add a little fragrance.
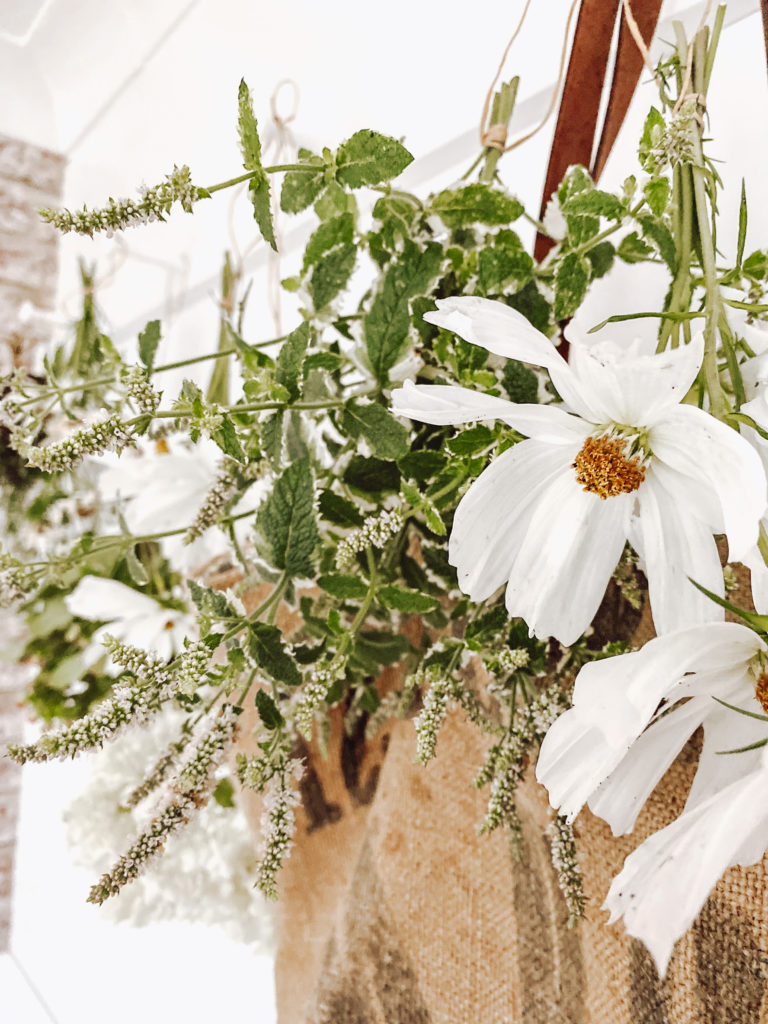
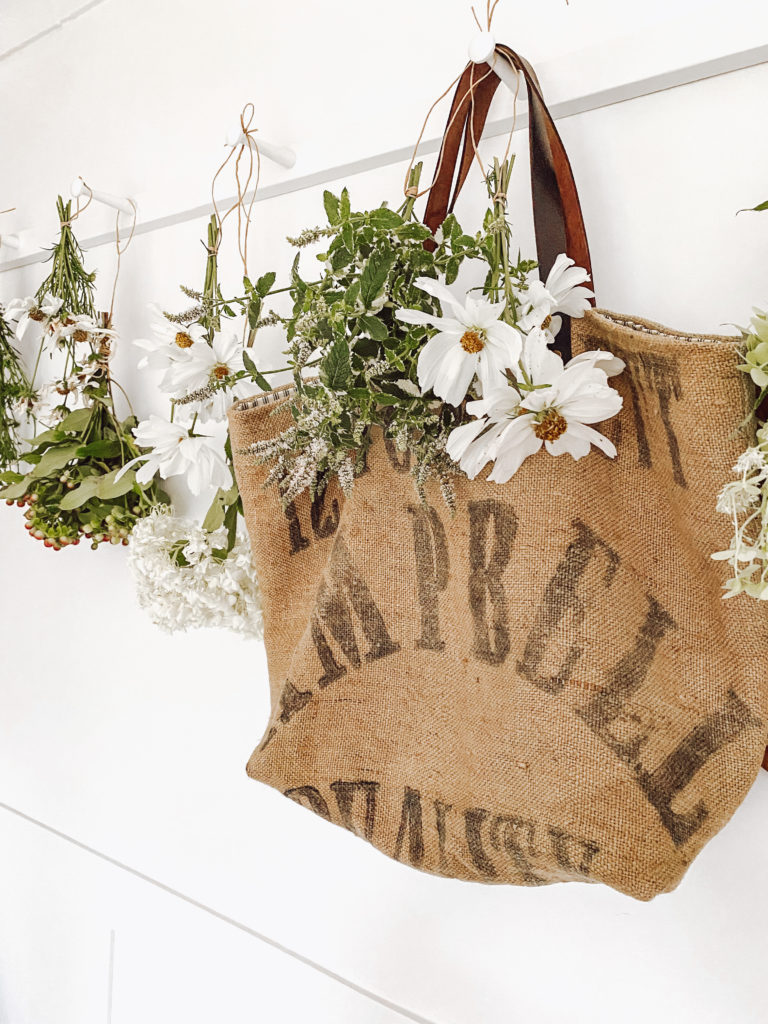
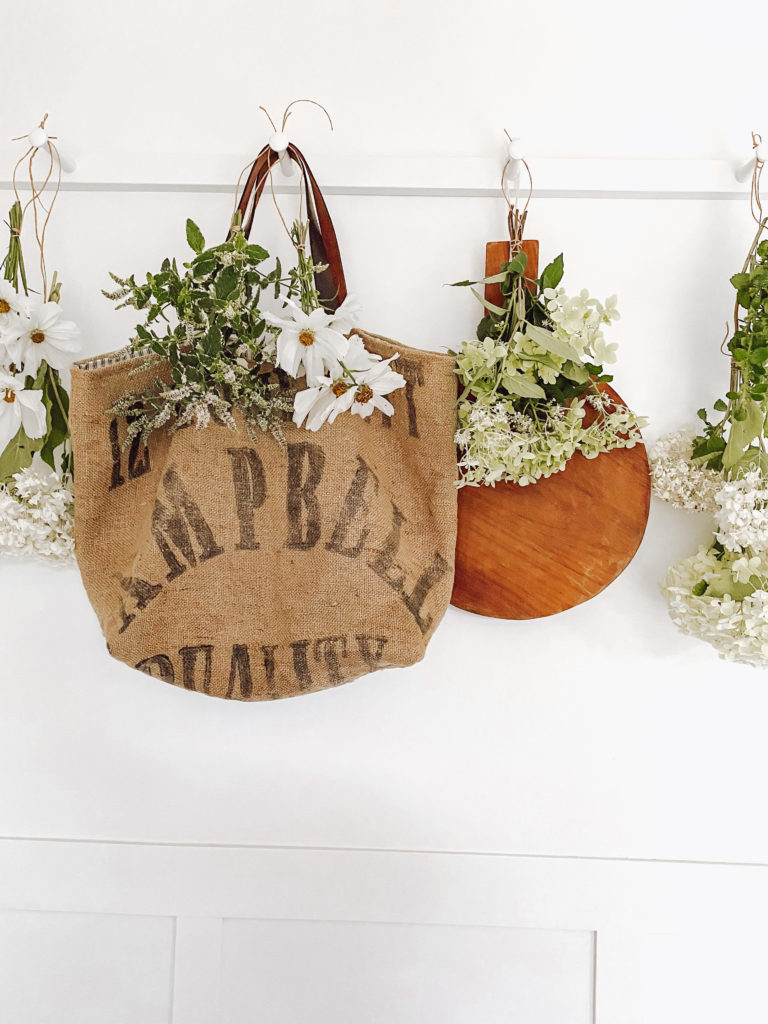
There are so many ways to use dried flowers around your home. I had all intentions on creating an Autumn wreath but this time I just ended up creating different arrangements.
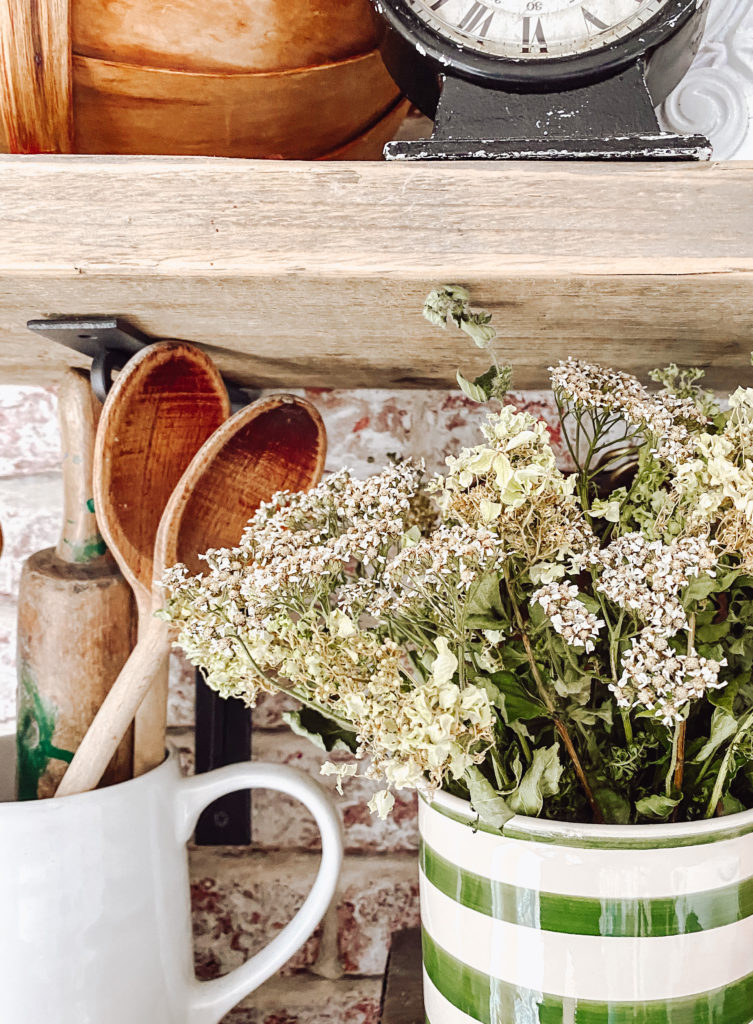
I just love how they look in this thrifted striped pot. I stuck to Achillea & hydrangeas for this simple arrangement.

I think this one is my favourite as i’m always drawn to warm tones for Autumn. This arrangement is made up of a mix of Cosmos, white Dahlias, Herbs & vanilla Nemesia.
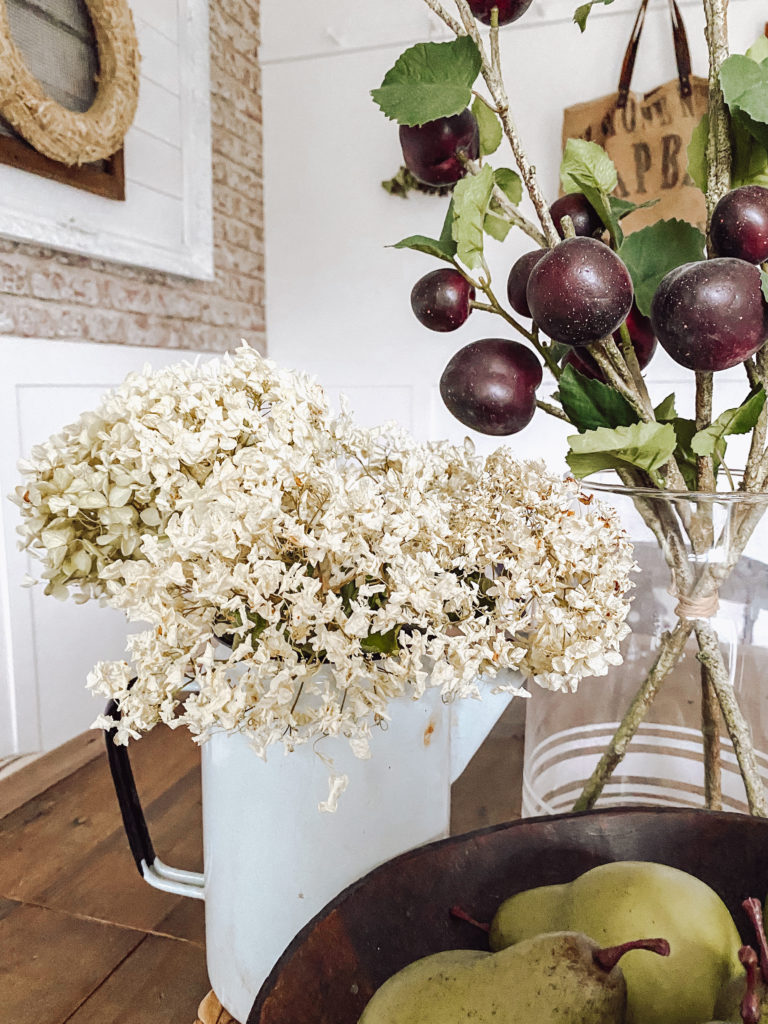
I kept it simple for this table centre piece with hydrangeas.
I hope these tips have inspired you to dry your own flowers.
Thank you so much for reading the blog today! Happy creating friends! Let me know what you think in the comments below.
Lots of love
Anna xx


4 Comments
Karina
They turned out great Anna! Love all the tips along your flower drying process. I need to try this out!
Anna (@makinghomematter)
Thank you Karina. Drying flowers became a bit of an obsession through the Autumn.
Robyn Harford
Thank- you for this information on drying fresh flowers. I didn’t know about adding hairspray, so I’ll give that a try next time. 🌸
Anna (@makinghomematter)
I’m so glad you found my blog post useful! Yes the hairspray really makes a difference.