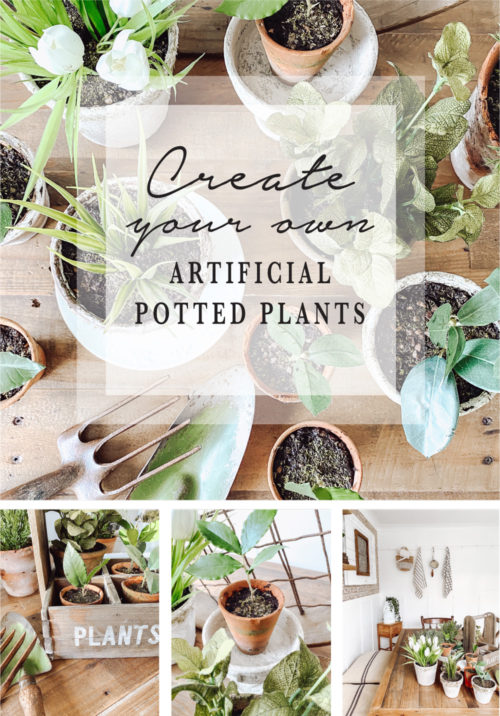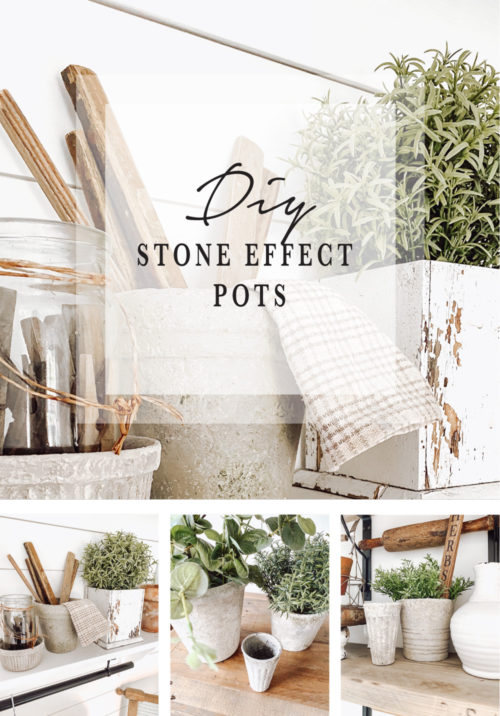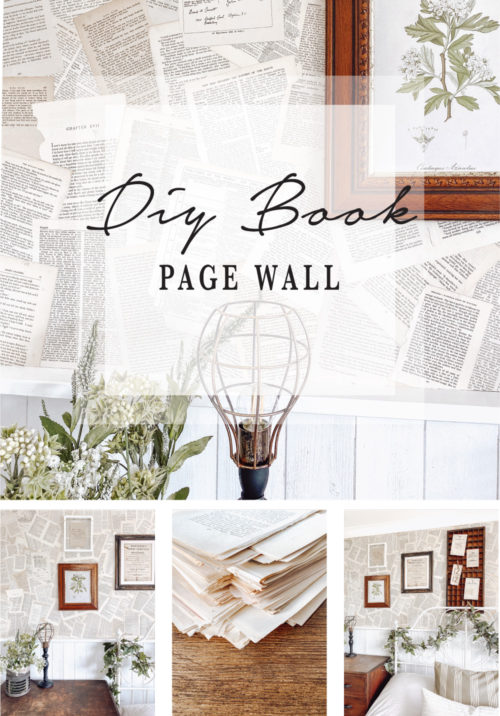
When in lockdown…DIY!!! I have been making the most of this time, getting all the projects off my chest that I have been thinking about for so long. In true Anna style I have lots of unfinished projects going on in the house & now is the time to get my butt into gear & finish them off. Does anyone else start a project then move on to next before finishing the other!!?? (No just me then).
This wall in our kitchen connects the back wall of the dining space & the main cooking area. When we first moved into this house, there were so many unnecessary units & work tops here, eating into the space!
Once I had smashed my way through everything (the best bit!) and finally revealed the wall, I decided to add batten & board to add some interest but felt like it needed something more on the top half.
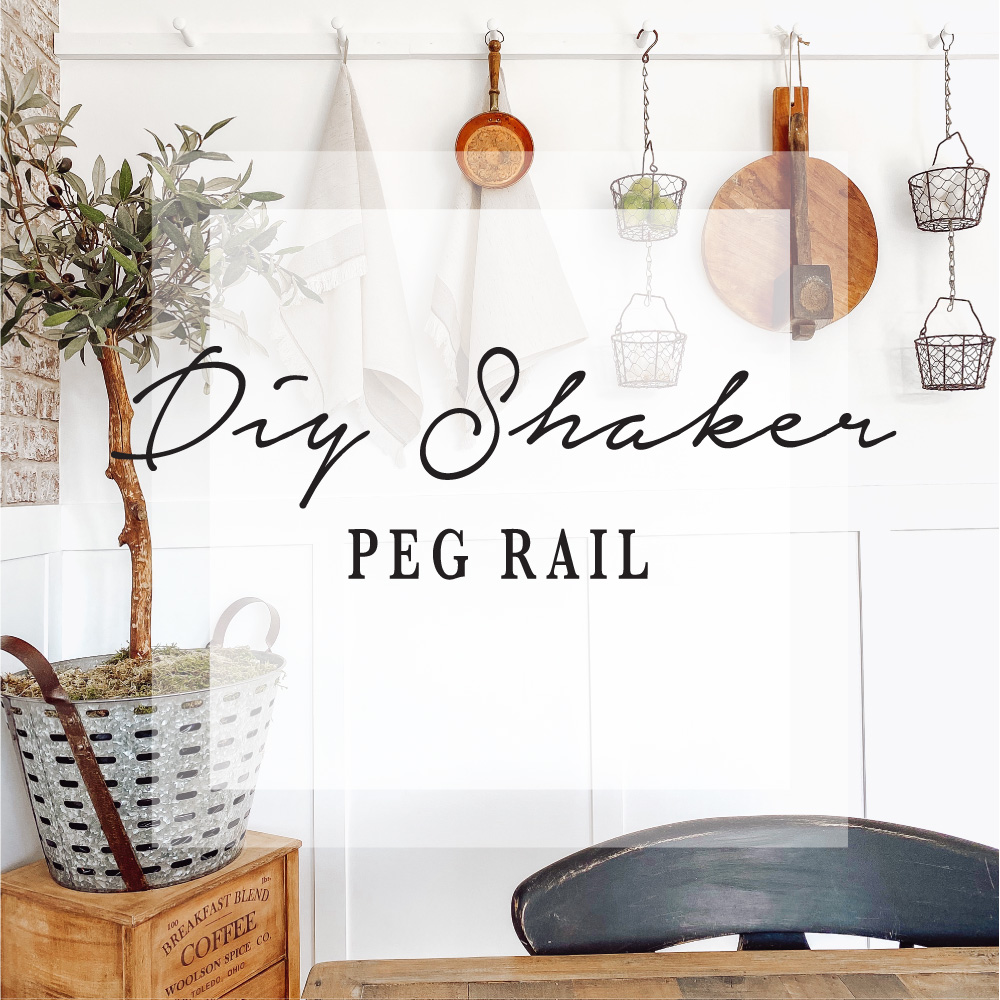
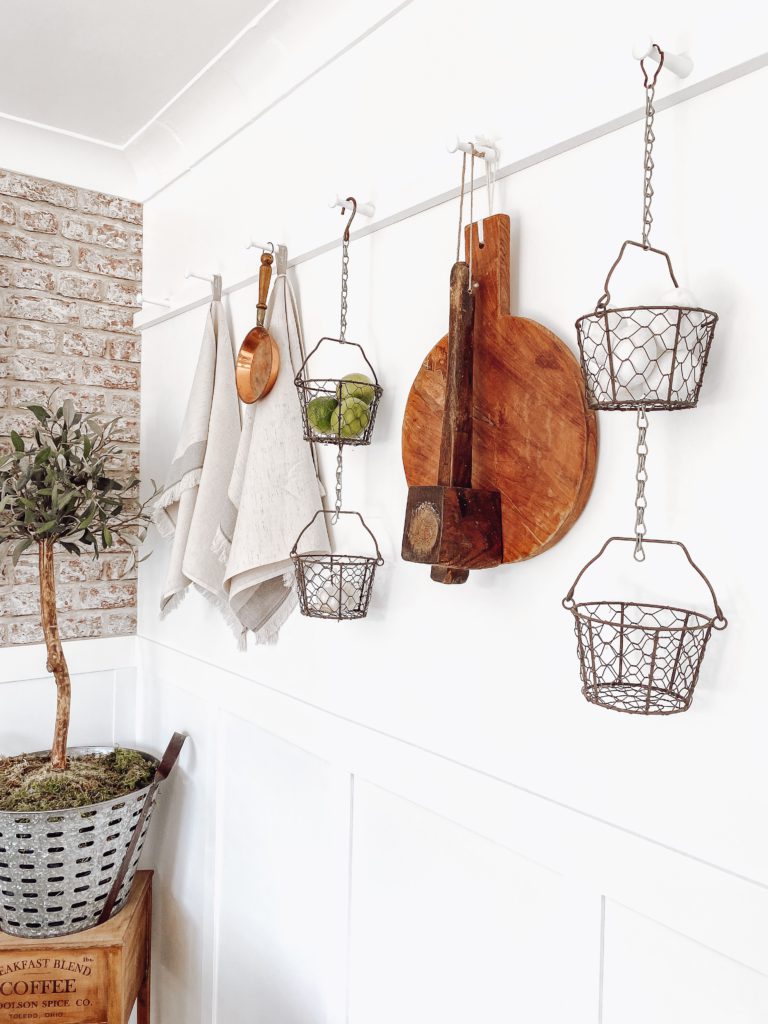
I had seen so many inspiring squares on Instagram with these shaker style peg rails, homing anything from kitchenalia to vintage collections. I like the ‘on show’ look so this idea was perfect especially with the amount of chopping boards I have piled up ready to be hung.
MATERIALS REQUIRED
- Large (8.8cm) Hardwood shaker pegs (I used 11 for this space)
- 2.4m(L) x 38mm(W) x 22mm(T) sawn timber
- Liquid nails/Wood glue
- Pencil
- Tape measure
- Drill
- 12mm drill bit
- Wood filler
- Sand paper
- Raw plugs & screws
- Spirit level
- White paint
HOW TO
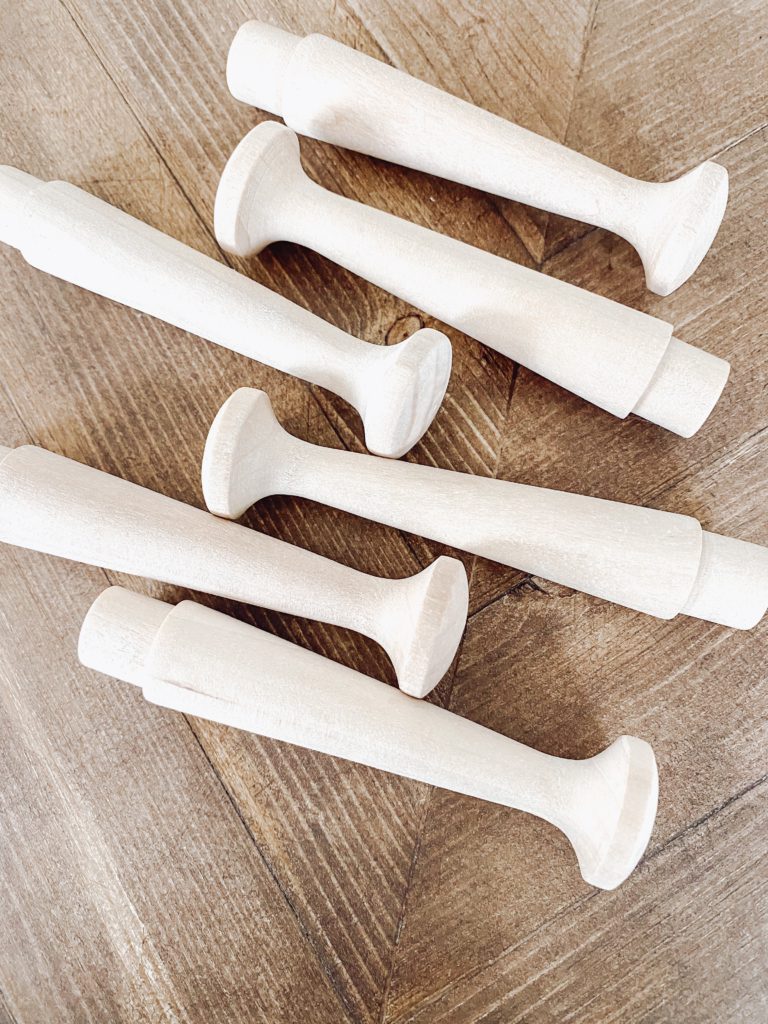
STEP 1 – PURCHASE YOUR PEGS
There are so many places online that you can get these shaker style pegs, I found these on EBay for a really reasonable price. These ones are 8.8cm (Large) wooden shaker pegs, a perfect size for the job & mega strong as they are made from Birch. If you plan on hanging coats I would suggest sizing up.
STEP 2 – MARK OUT SPACING
I used a 2.4m(L) x 38mm(W) x 22mm(T) piece of sawn timber that I had sitting in the garage. To mark out the positioning of the pegs I measured where the centre point of the wood was & thats where I placed the first peg.
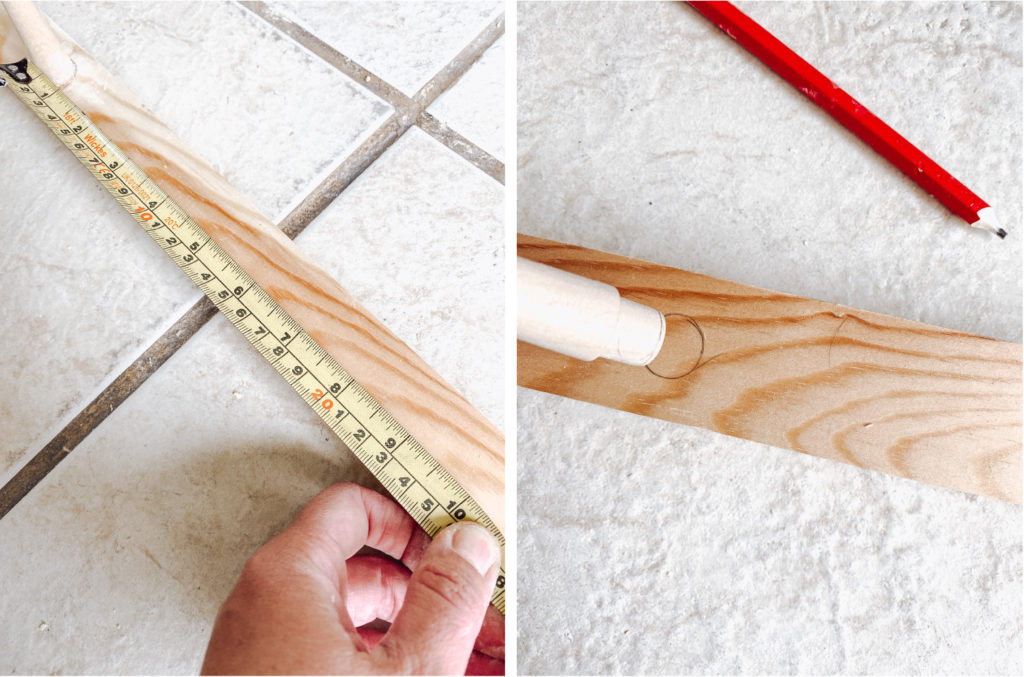
I used a pencil to draw around the base of the peg. Spacing is personal preference…I decided on 10 inch gaps as I knew I would be hanging large items & didn’t want them to overlap too much.
STEP 3 – DRILL PEG HOLES
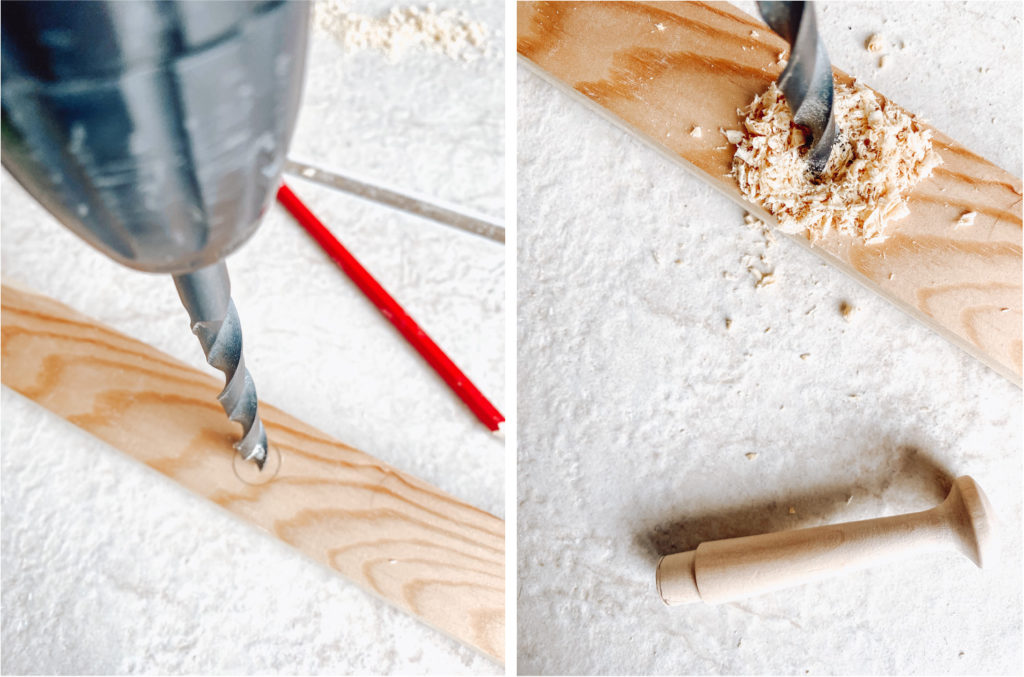
I used the biggest drill bit I could find (10mm) to drill the holes for the pegs but if i’m honest I had to wiggle the hole bigger. For this size peg, ideally you will need to use a 12mm drill bit.
I didn’t drill all the way through the wood, just deep enough for the base of the peg to fit. The key is that the peg fits snug!
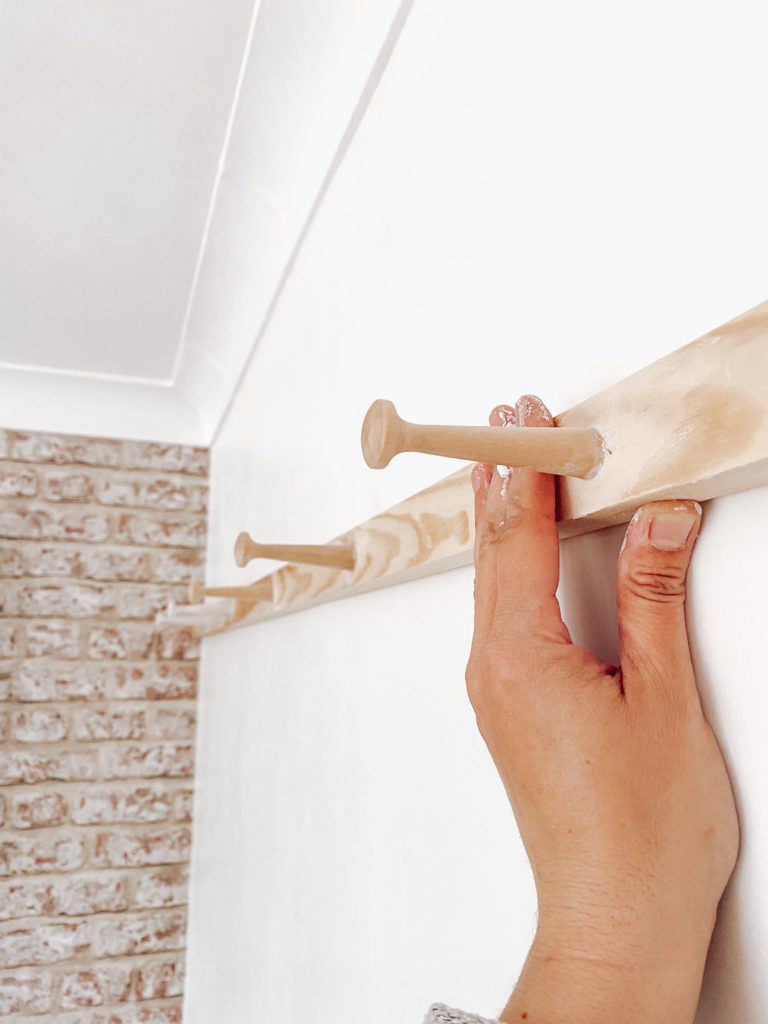
STEP 4 – KNOCK IN THE PEGS
The next step is to knock in the pegs! For extra strength I decided to add some liquid nails into the hole before knocking the peg in gently with a hammer.
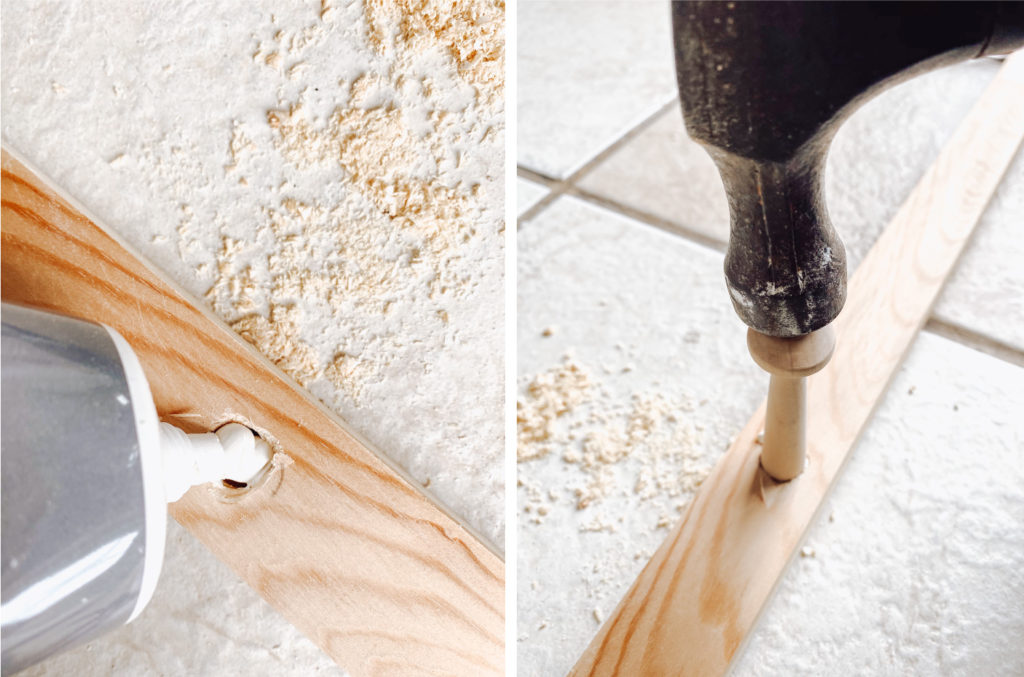
I then used the excess glue to fill in any gaps around the base of the peg.
STEP 5 – POSITION ON WALL
Once all the pegs were in place I measured the desired drop (27cm) from the ceiling to where I wanted the rail to sit on the wall & marked with a pencil. The walls in our house are far from straight so a spirit level was my friend.
STEP 6 – ATTACH TO WALL
I was home alone at this stage of the project so had to attach the rail by myself which was quite tricky but I had a plan!
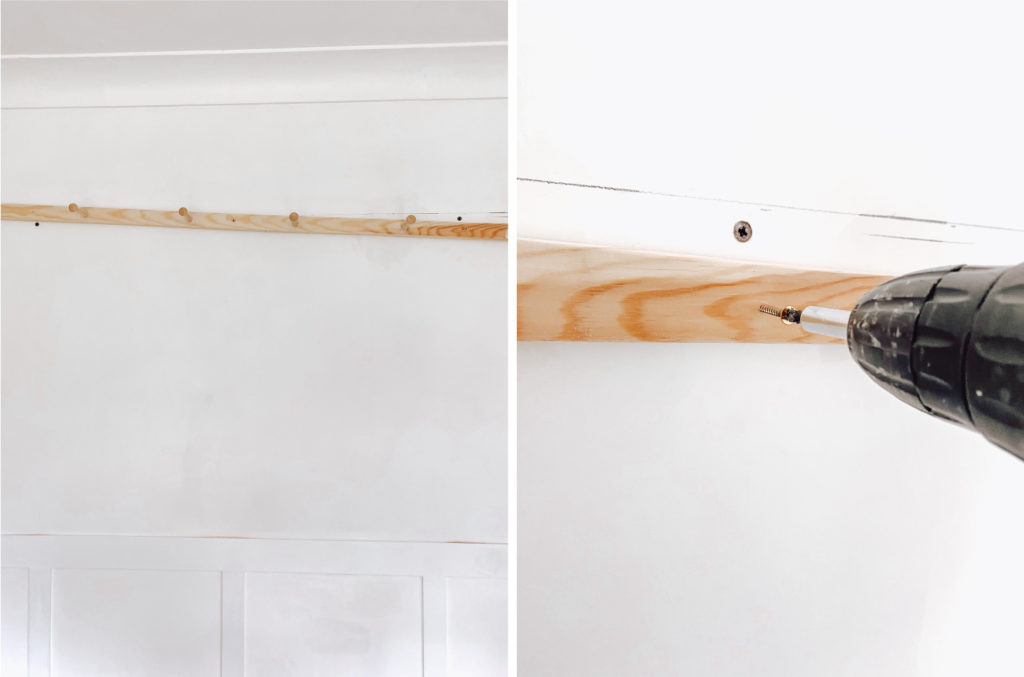
Holding the rail securely with one hand I drilled a hole through roughly the centre of the wood, straight through to the wall.
I then knocked in a raw plug & screwed the rail in. This meant that the rail was secured to the wall & could easily be pivoted into position on both ends…no need for a man or a diy buddy!!
I then continued to add 2 more screws either side using my spirit level as I went along.
STEP 7 – FILL & PAINT
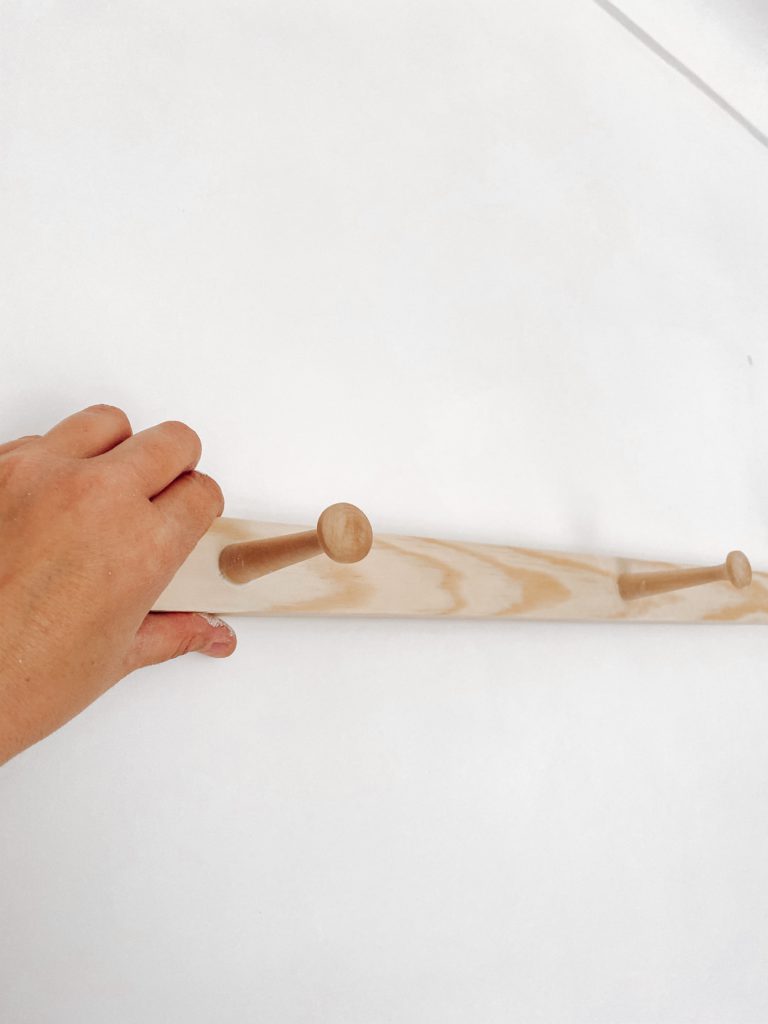
Yay! The rail was up & actually straight…you can feel proud of yourself at this point!
Now time to fill & paint. I used a wood filler to fill any screw holes & gaps, allowed to dry & sanded smooth before painting.
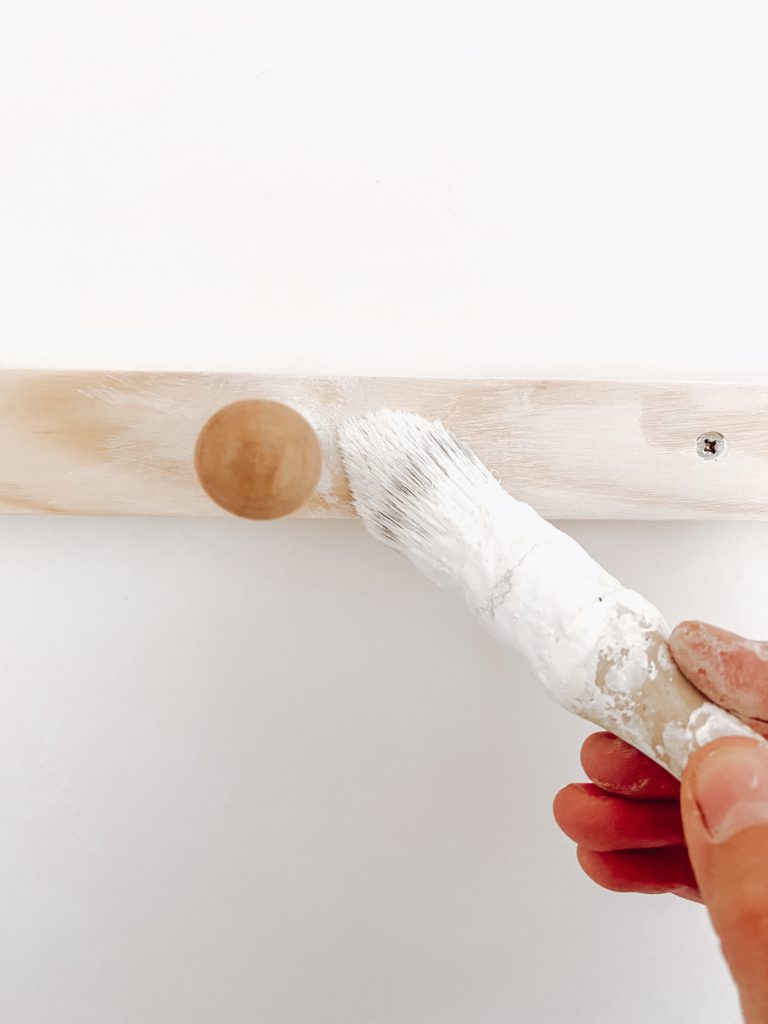
I had some white paint left over from when I painted the wall so I set to work. I think I did 4 coats in total.
And thats it! This honestly turned out better than I thought.
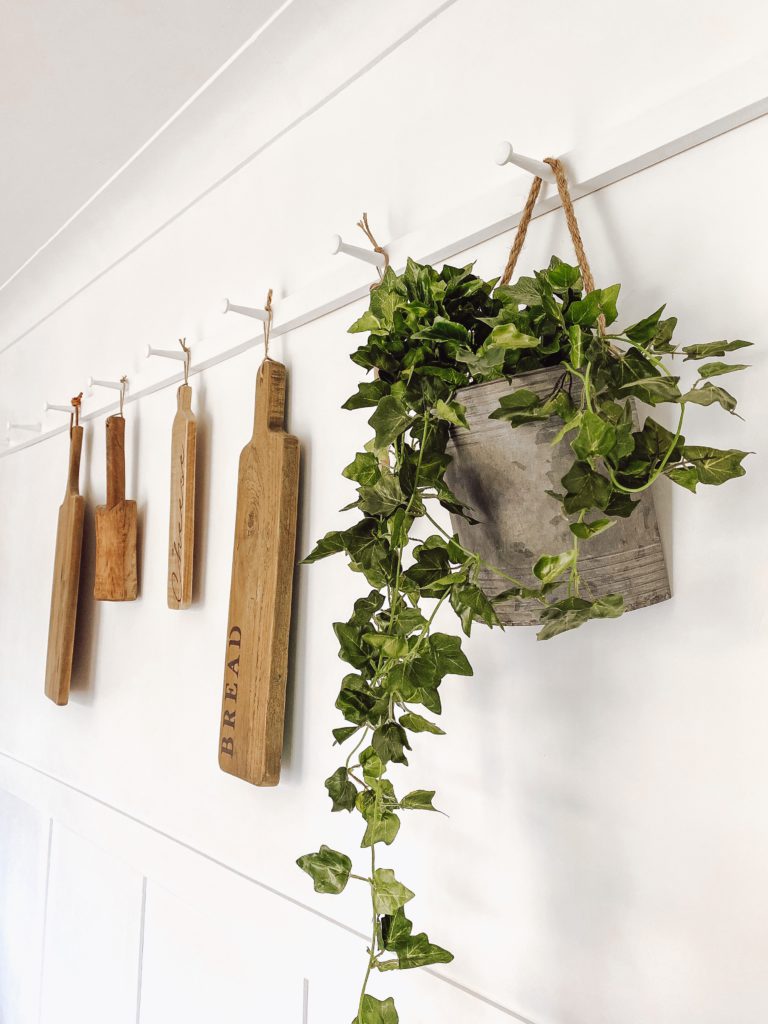
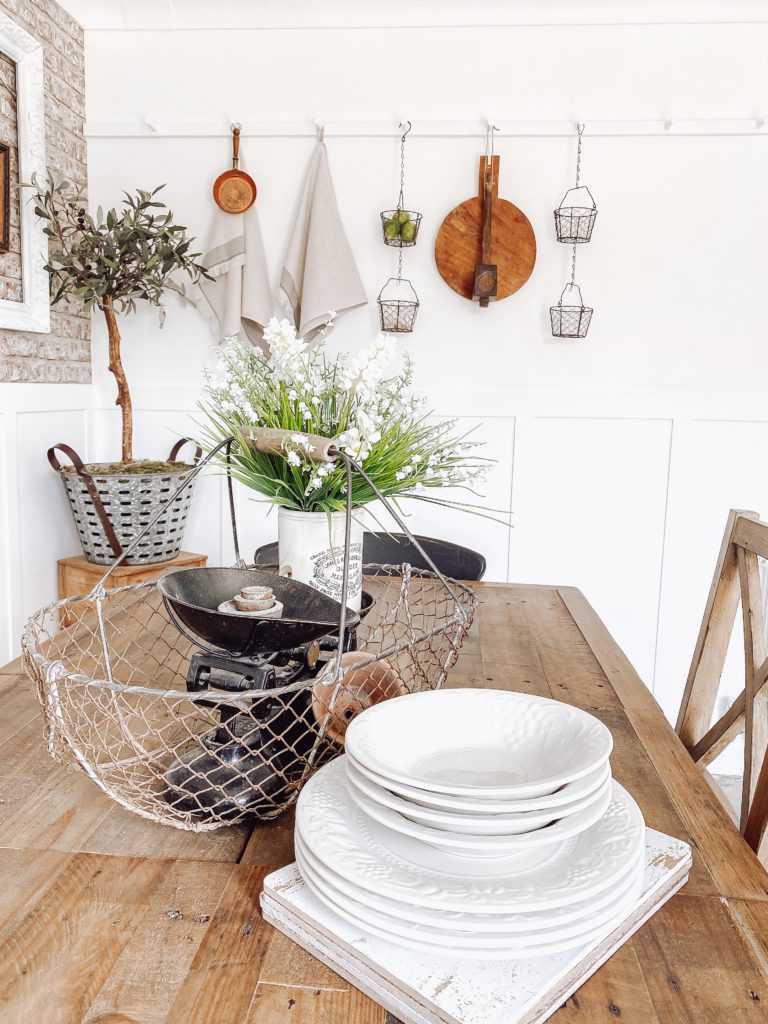
I’m so glad I had the time to complete this project, it really is a great addition to our kitchen. Not only is it functional but it also gives this wall character…I
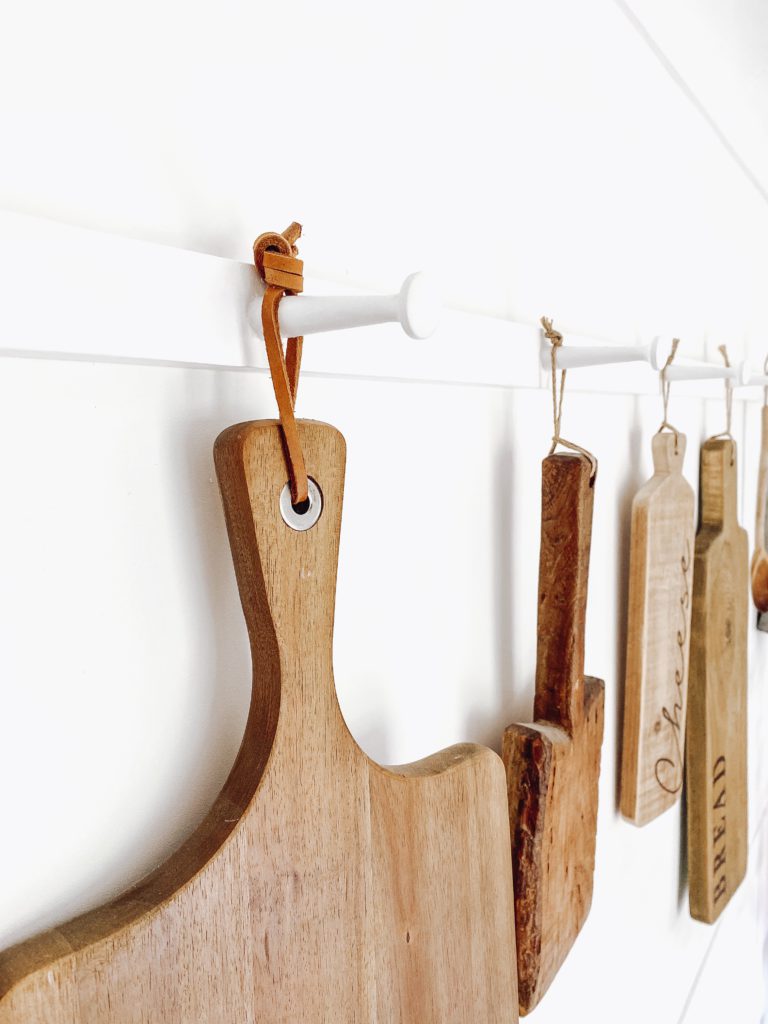
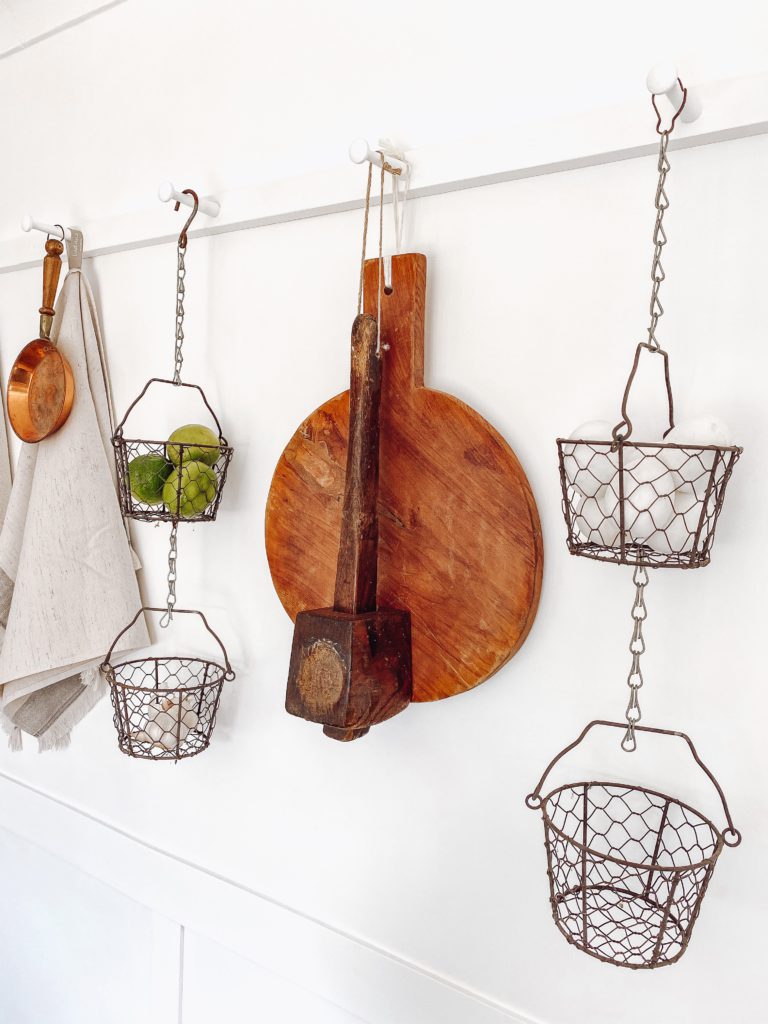
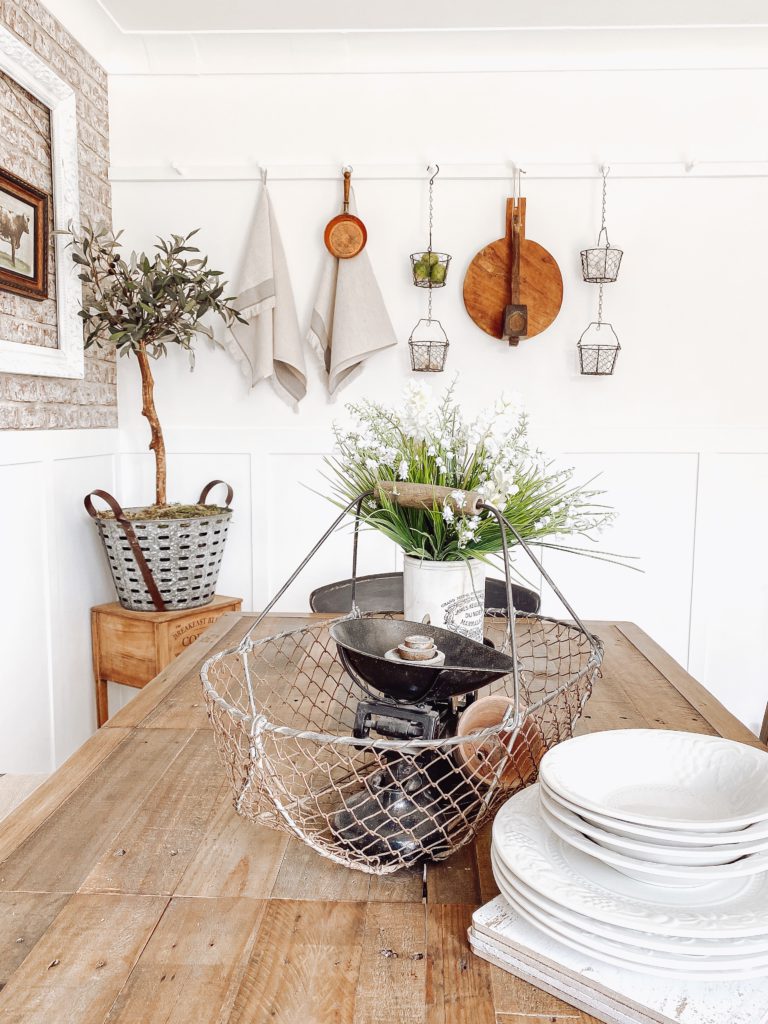
I had so much fun deciding what items to hang, finding a balance of things we used & things just for show. How cute are these wire baskets I repurposed!?
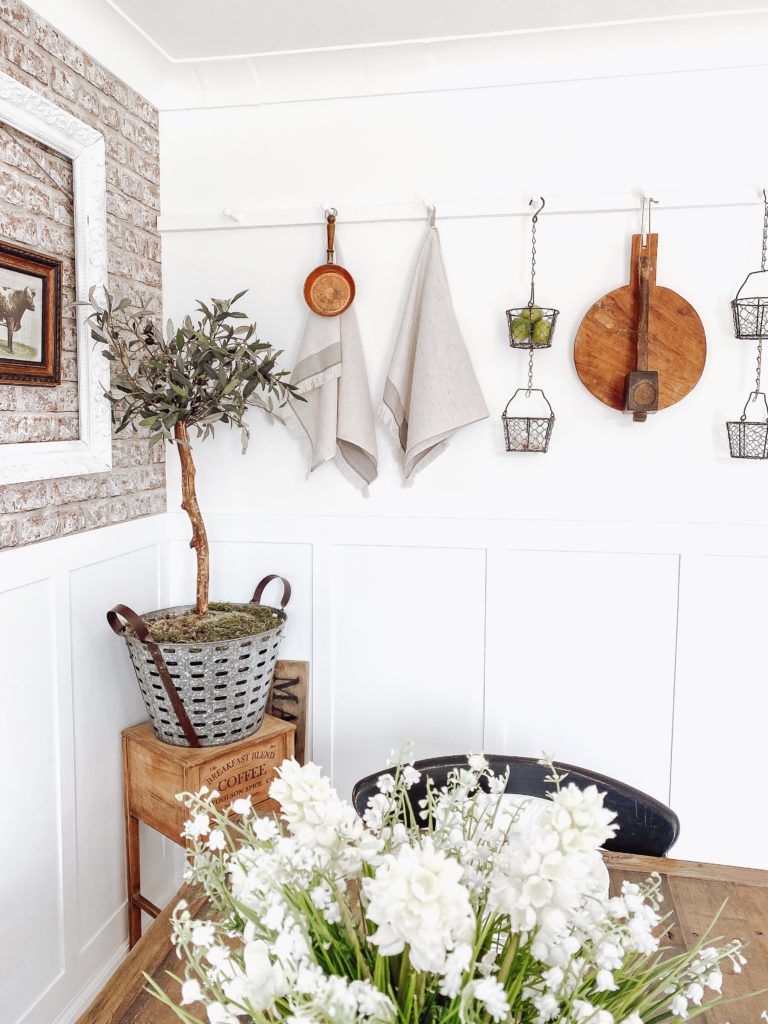
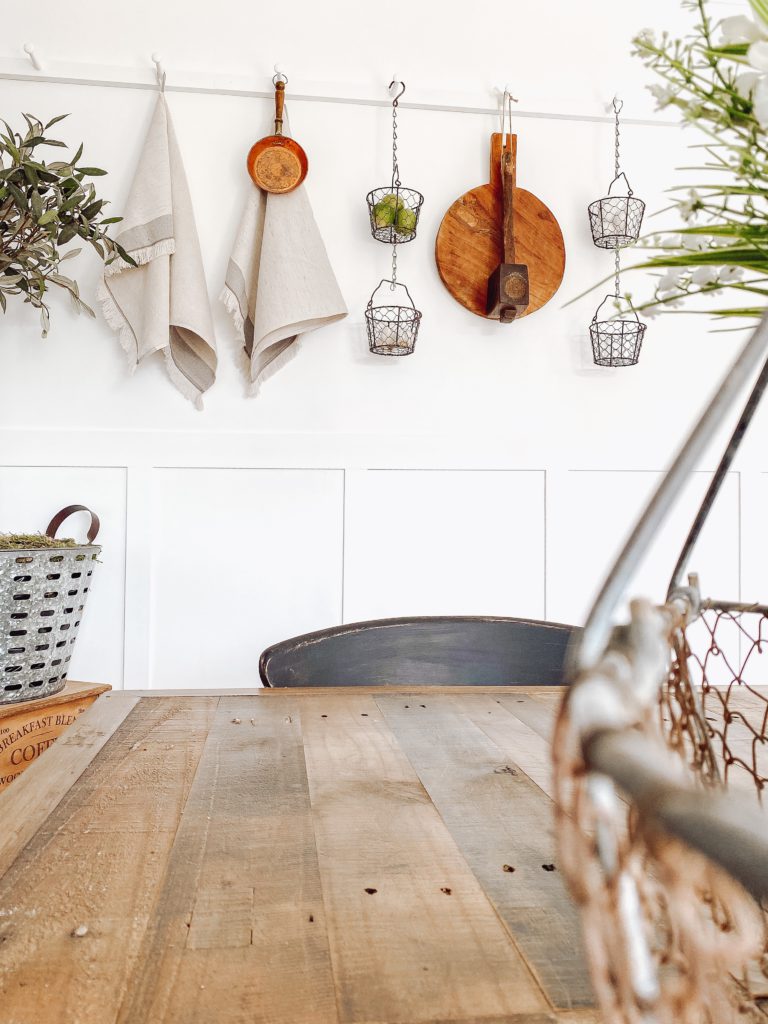
For the Spring season I gathered items that hang & tie in with the open shelving decor I have going on.
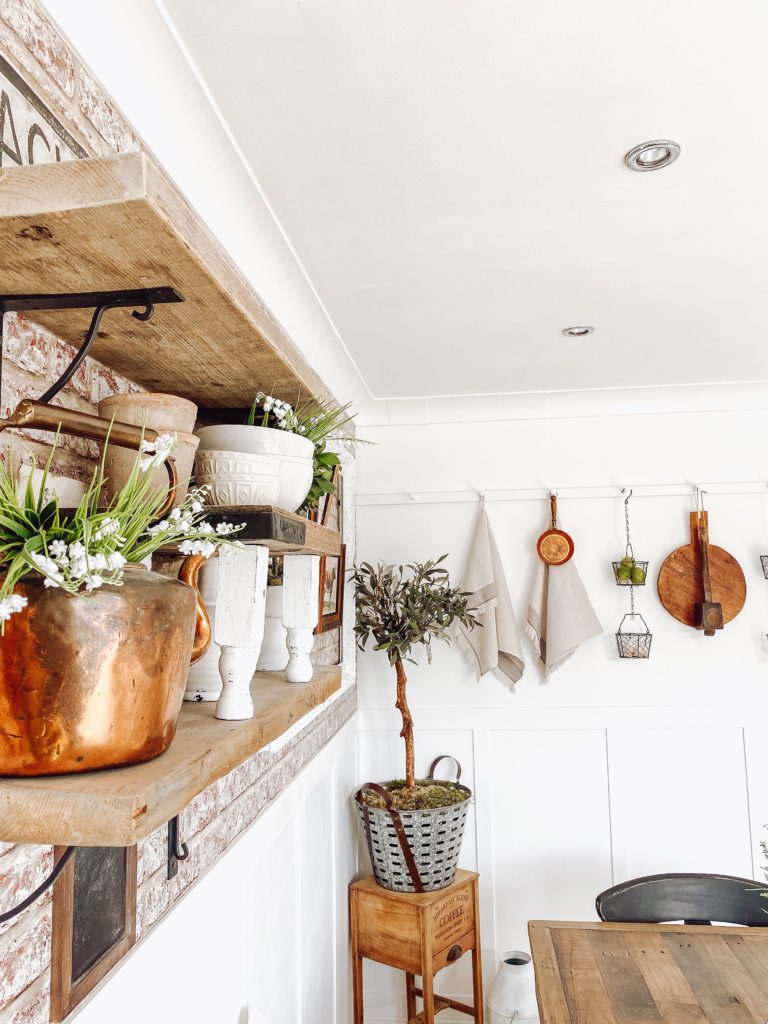
I went for warm tones of wood & hints of grey, green & copper…The styling options are endless!
I’m thinking I might try this in another room in the house, maybe the bathroom or in Matty’s bedroom.
I hope I have inspired you to try a peg rail in your home! If you do decide to tackle this project, tag me in your photos on Instagram @makinghomematter, I would love to see!
Thank you so much for reading the blog today! Happy DIY-ing friends! Let me know what you think in the comments below.
Lots of love
Anna xx