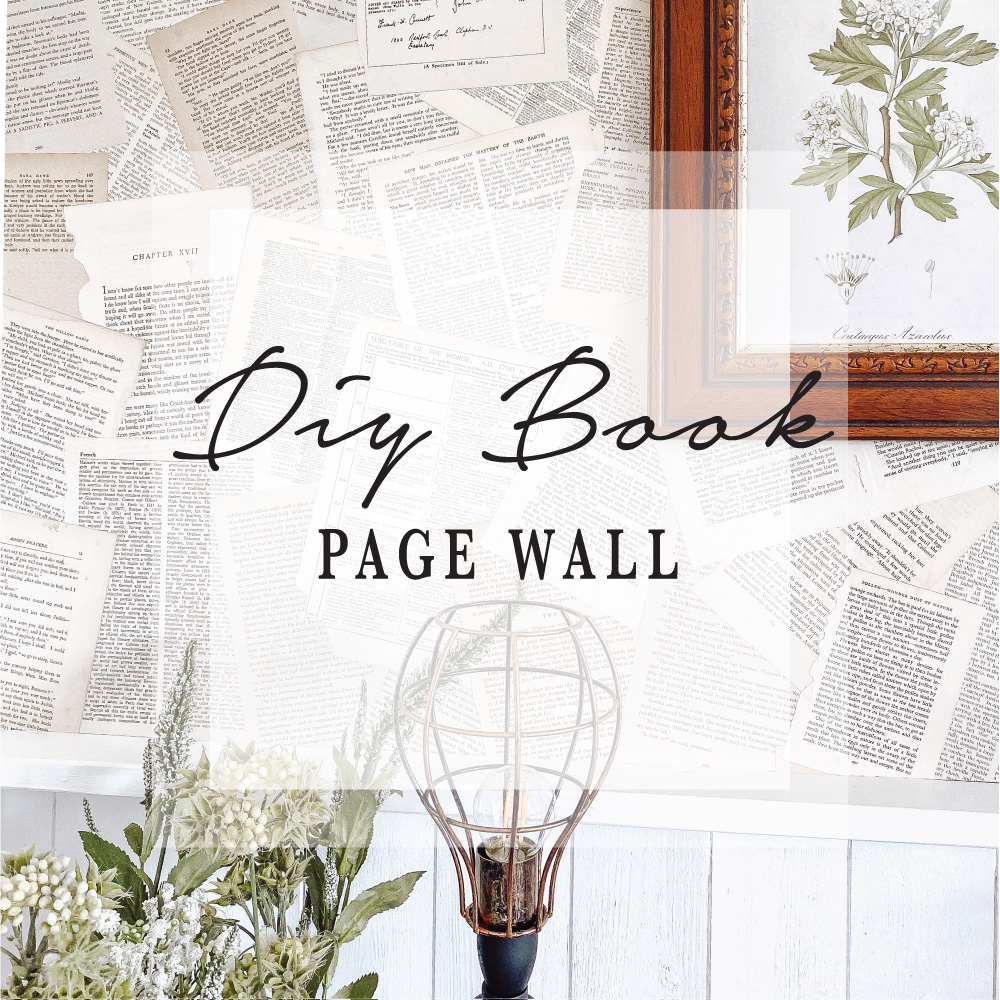
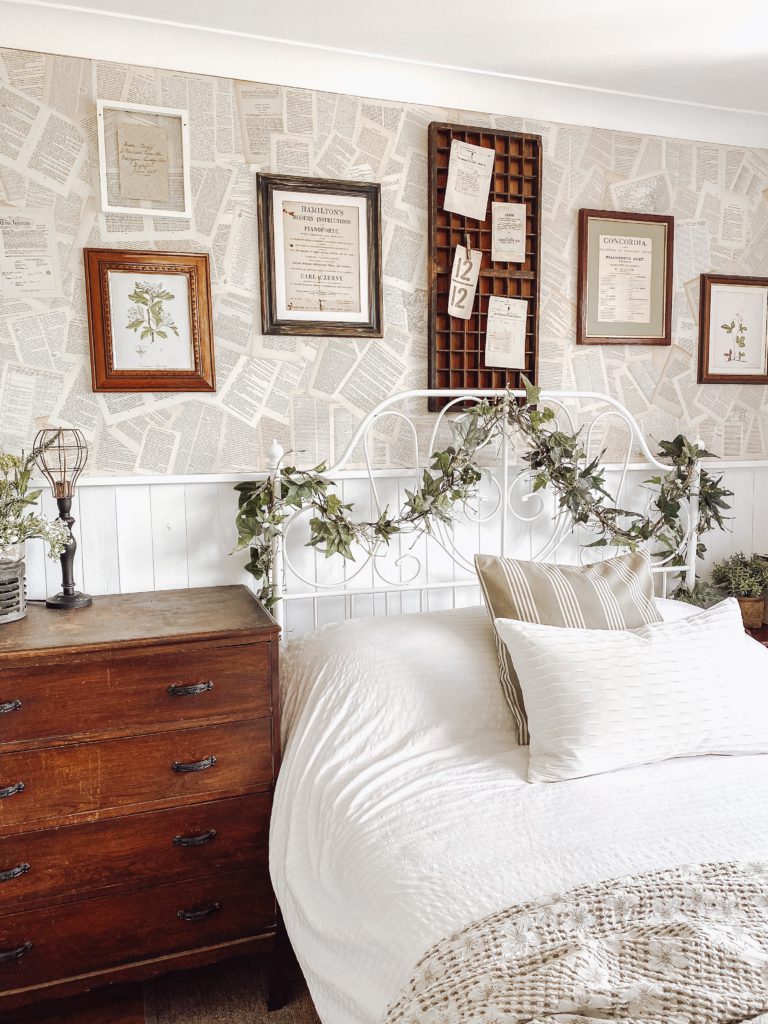
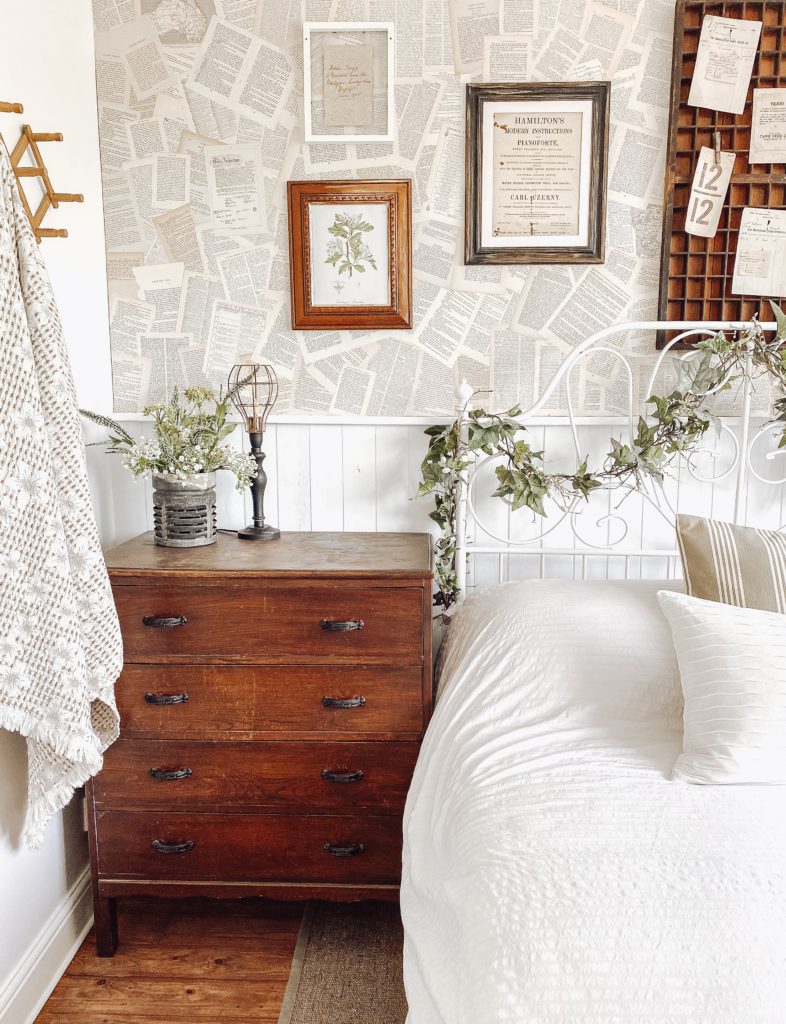
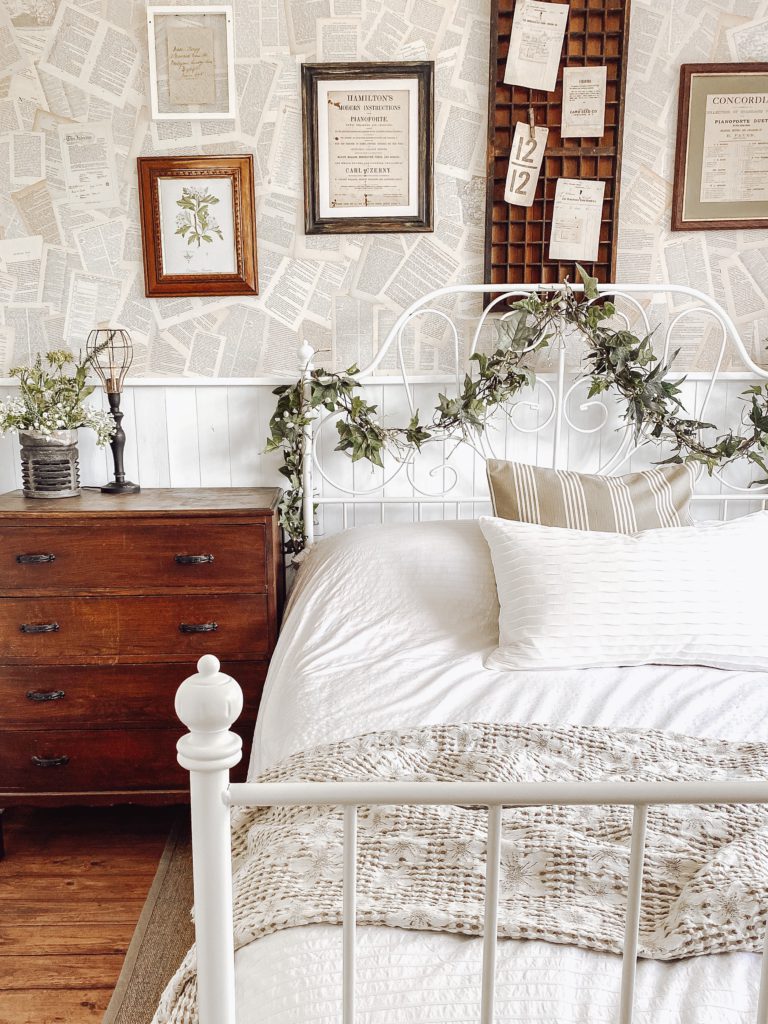
There is something about old books that I love. I don’t know whether its the smell, the history or the story behind them. If I had a spare room in the house I would create a library but instead I have created the next best thing…a wall of words. I’m always looking for unique ideas for our home that are budget friendly & this project definitely ticks all the boxes.
I think it’s so important to make a guest room homely & cozy for your guests, a space they feel relaxed in & feel a sense of b&b charm. Originally I wallpapered the top half of this wall with a cow parsley design which I love but I get bored very easy & like to switch things up.
I stand in front of spaces for ages until an idea comes to me & this was one of those light bulb moments…I know, I know, i’ll cover the wall with old book pages!!
I didn’t want to completely get rid of the wall paper as it wasn’t cheap & I like to have the option to bring it back if I want to so I decided to board over it!
MATERIALS REQUIRED
- Old/Vintage books
- Glue sticks
- 3mm Hardboard (Size to cover wall)
- Panel pins
- Hammer
- Craft knife
- Table saw or jigsaw (To cut boards to size)
HOW TO
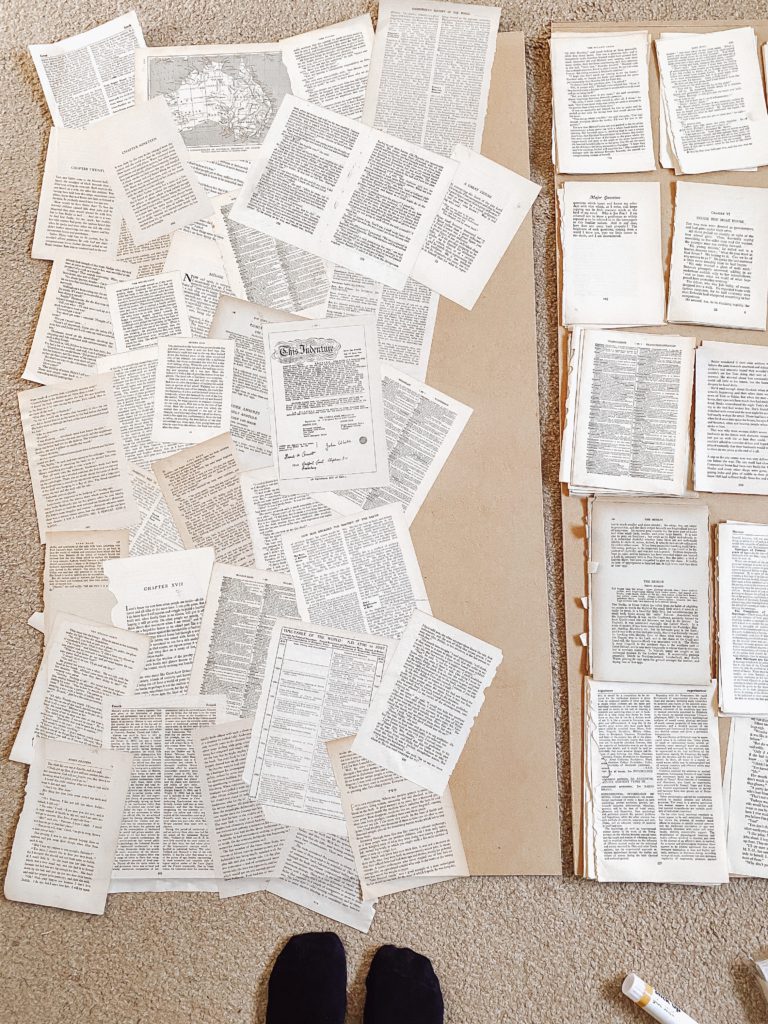
STEP 1 – GATHER OLD BOOKS
With an obsession for old books I have them in abundance. I typically buy them from flea markets & charity shops, some older than others. So I gathered a good mix, discarding my favourite ones that I wouldn’t dare rip the pages out of, mainly because they may be worth something one day.

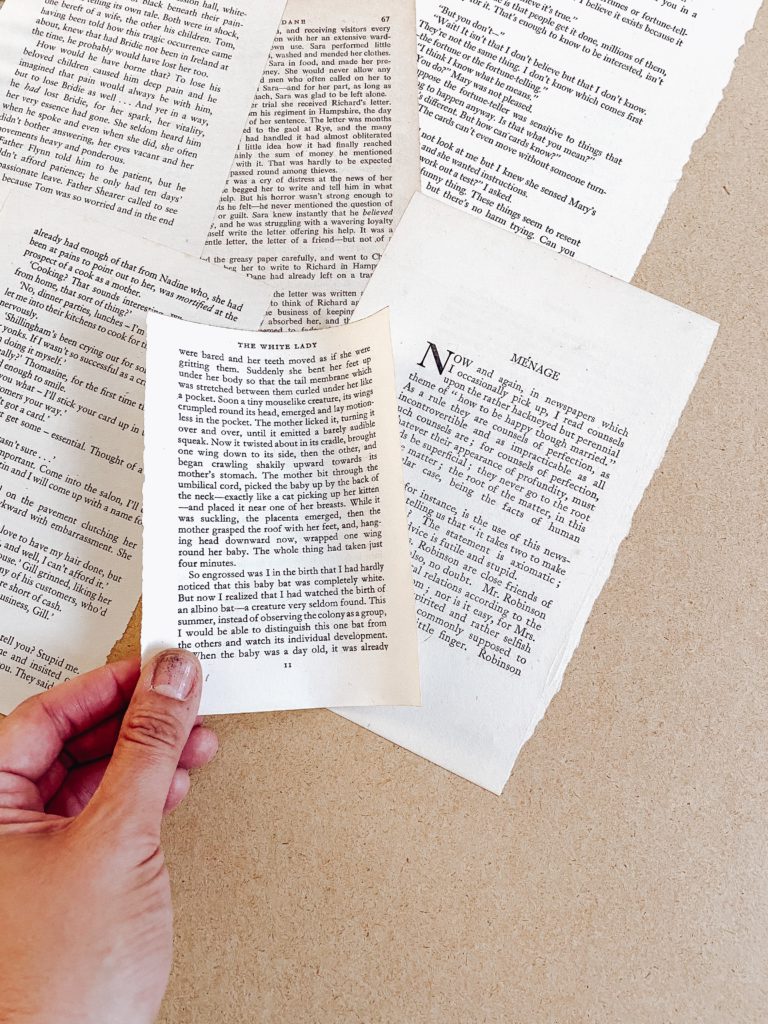
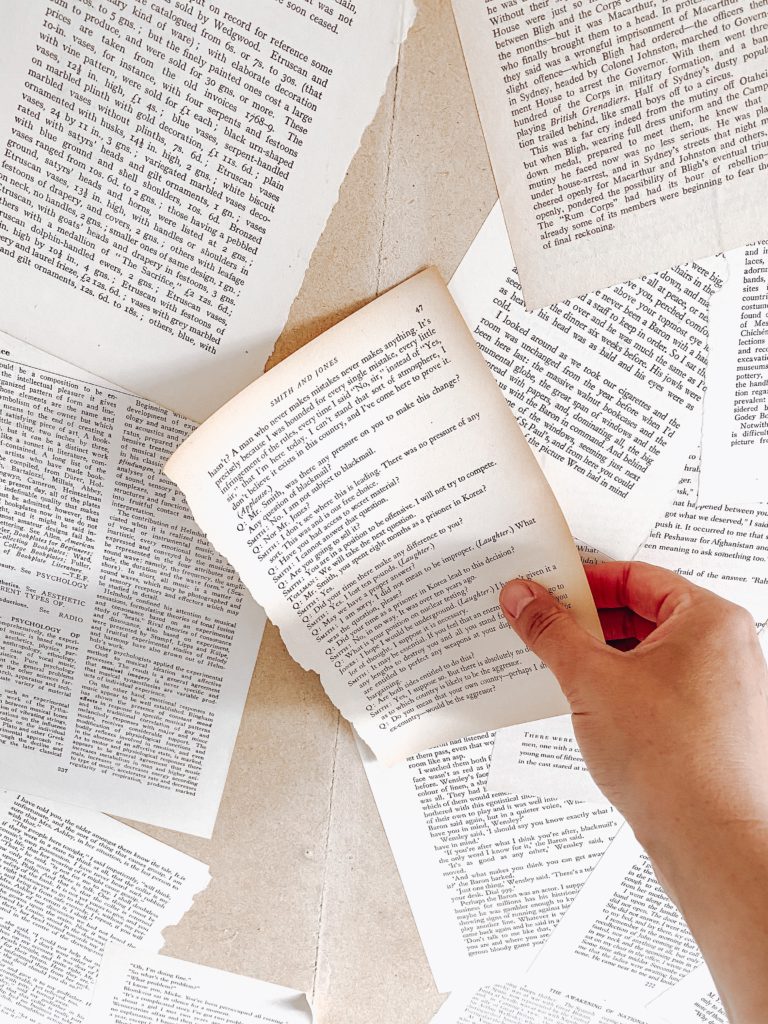
STEP 2 – RIP OUT THE PAGES
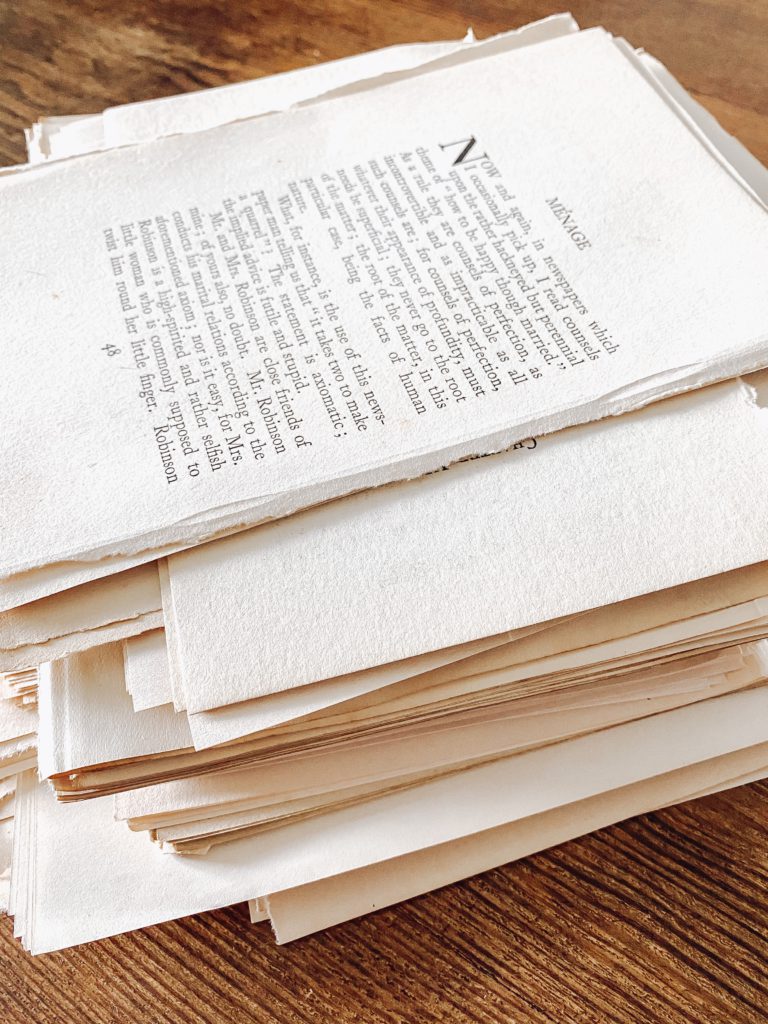
This may seem ruthless but I made sure I just ripped out only a few pages from each book so that I wasn’t left with a sad book cover & the books remained in tact.
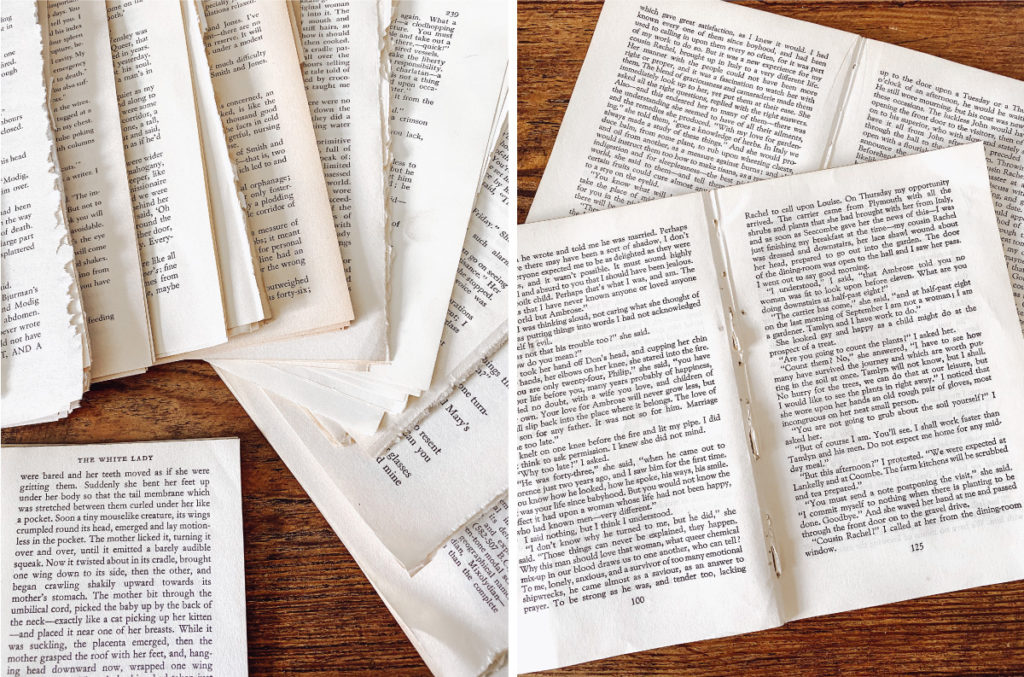
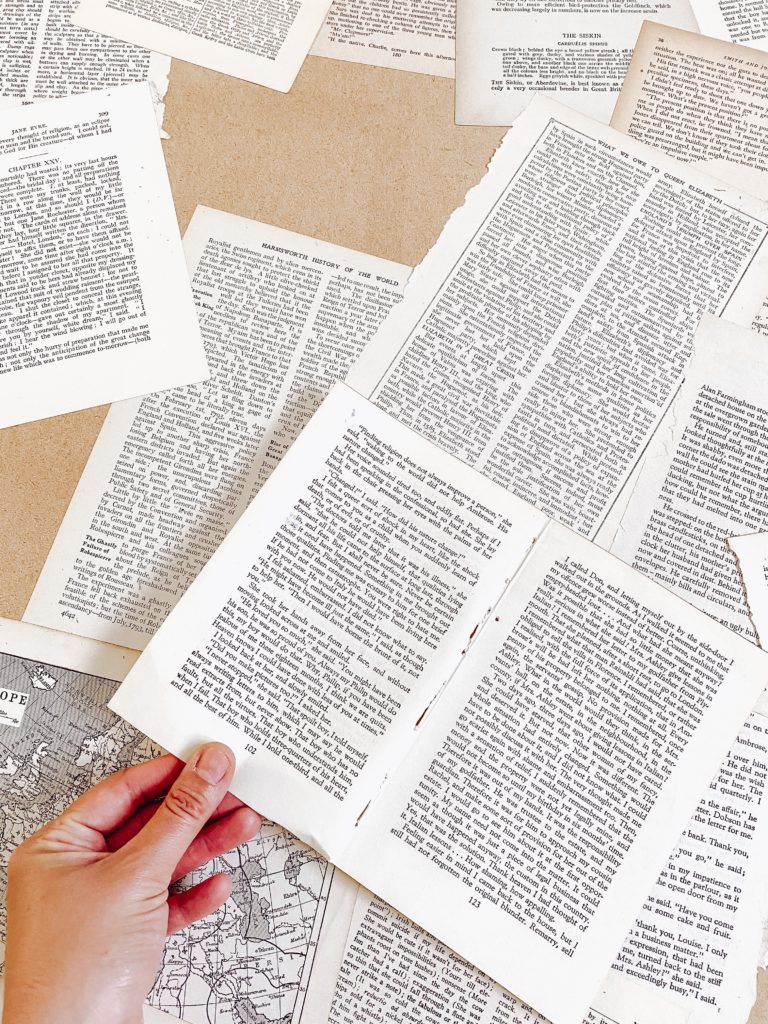
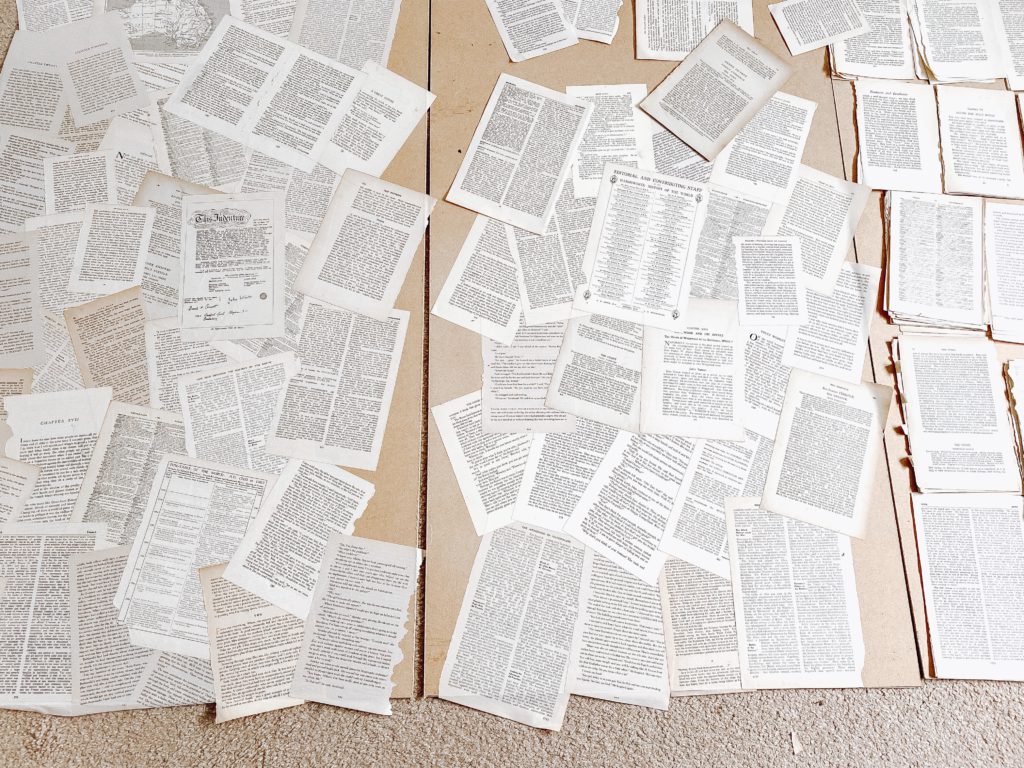
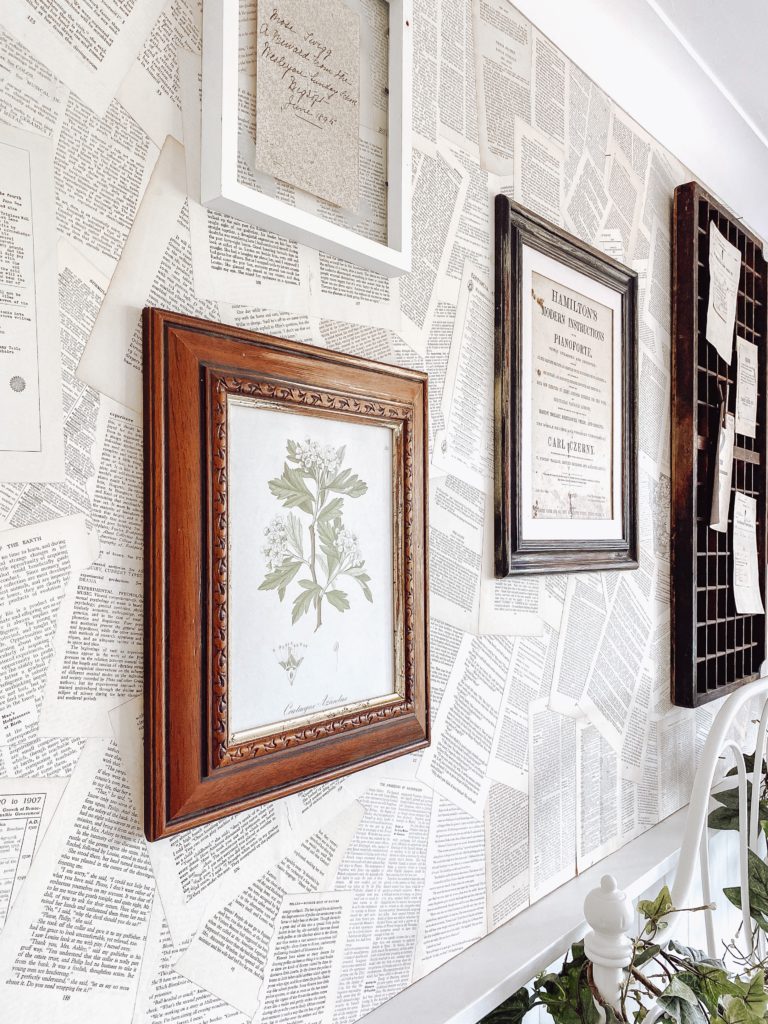
I gathered a good mix, selecting double centre pages (these are great for covering large gaps), good stories, humorous & ones that looked aged.
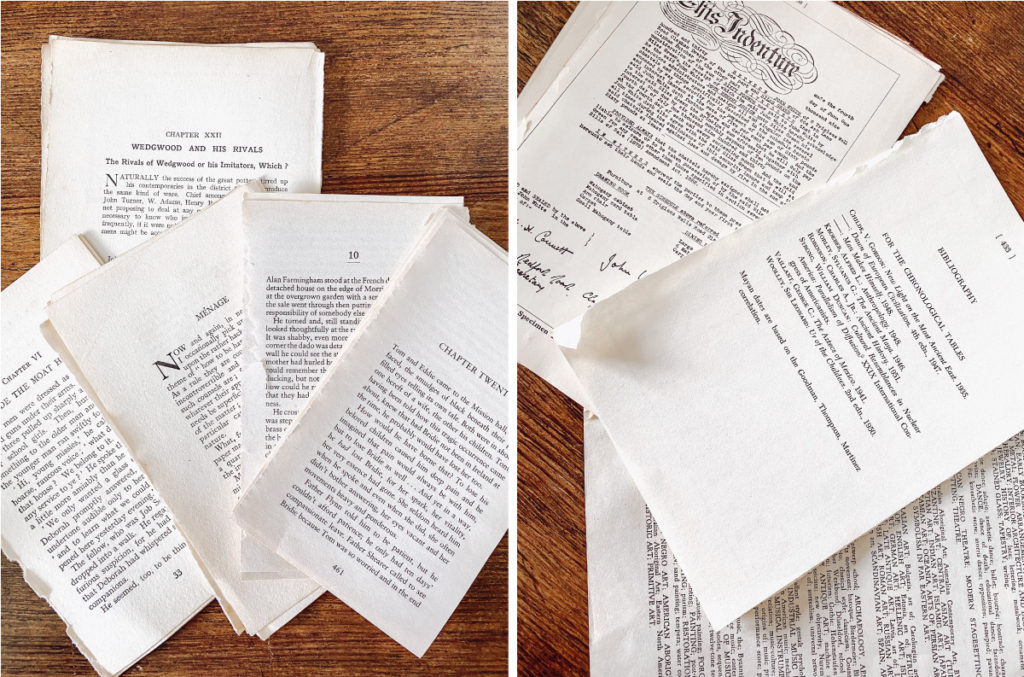
And chapter title pages, ones with interest, dictionary pages & maps.
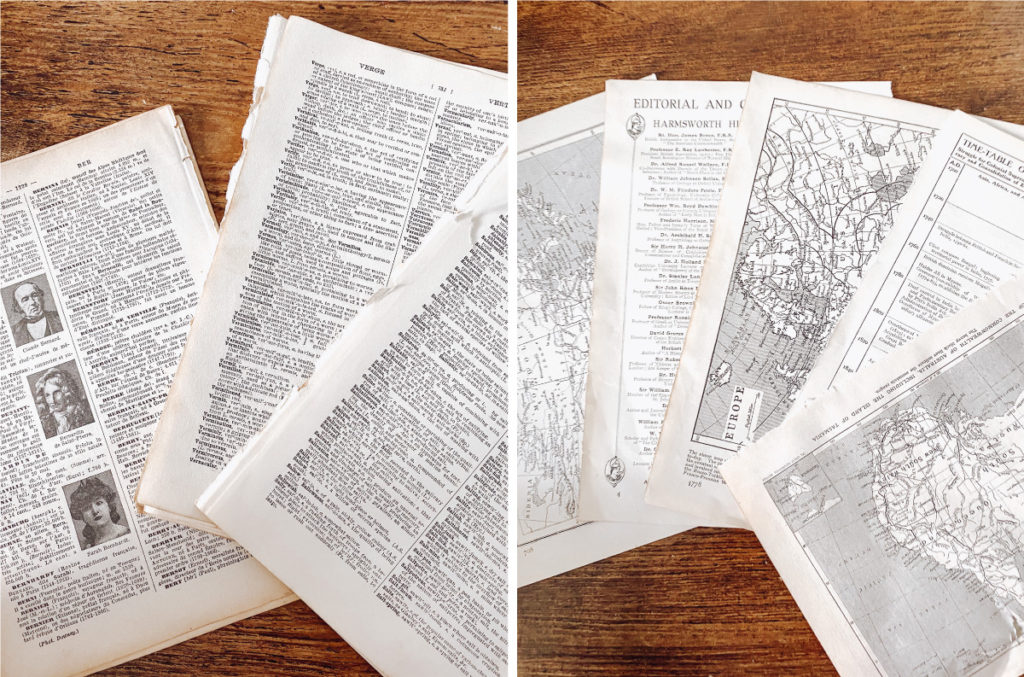
Now I say rip out the pages, but it’s important to add that you will need to keep the ripped edges as straight as possible so some caution should be taken.
STEP 3 – CUT BOARDS TO SIZE
If you decide to board over an area, 3mm hardboard sheets do the trick & were the cheapest option. If you are not precious about whats underneath like me & are doing a covering fix, you can just glue the book pages straight over (make sure the surface is clean & smooth).
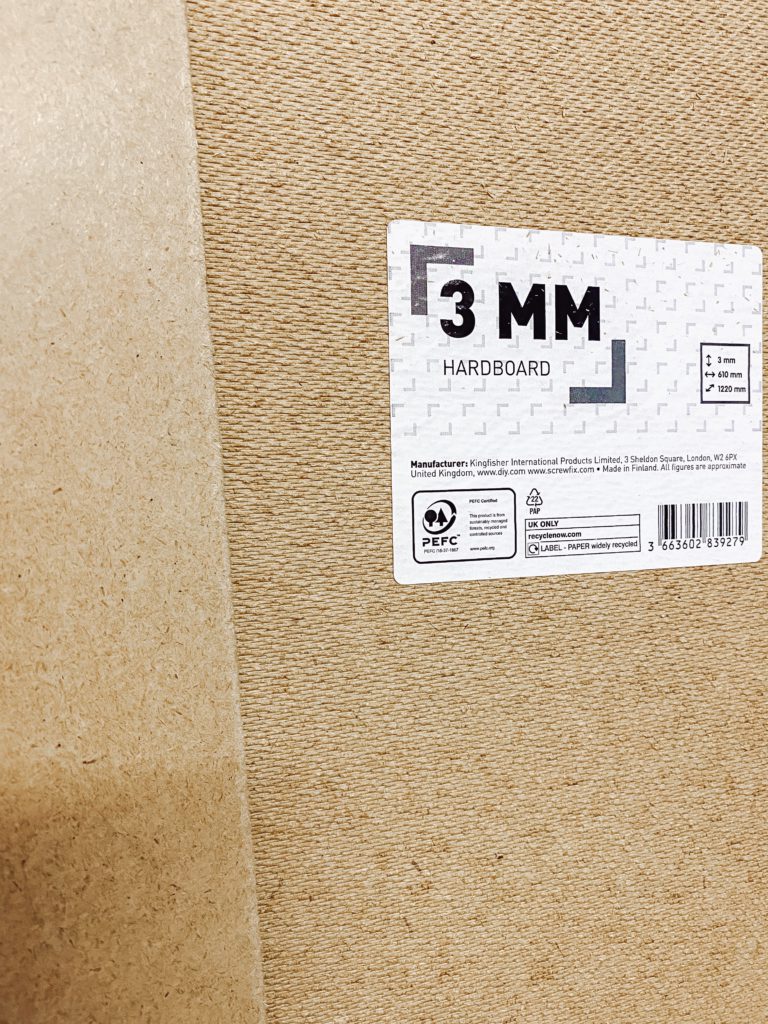
As I don’t have a truck I was unable to buy a sheet big enough to cover the whole area so I used 5 sheets butted up together.
I cut each board to size using my table saw, making sure that they fit snug to avoid having to use too many panel pins to secure.
STEP 4 – ORGANISE PAGES
Organise your selection of book pages into piles so you can select a good mix & create a balanced layout.

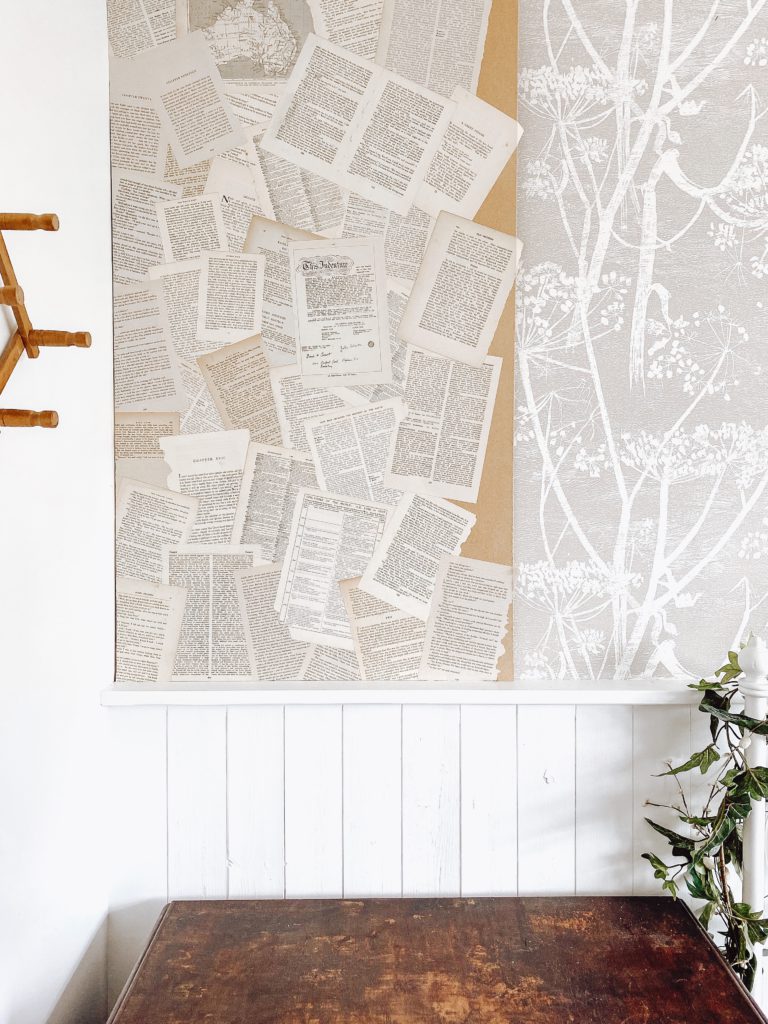
STEP 5 – GLUE IT DOWN
Here comes the fun part! Start gluing down pages to one board, starting in the middle.
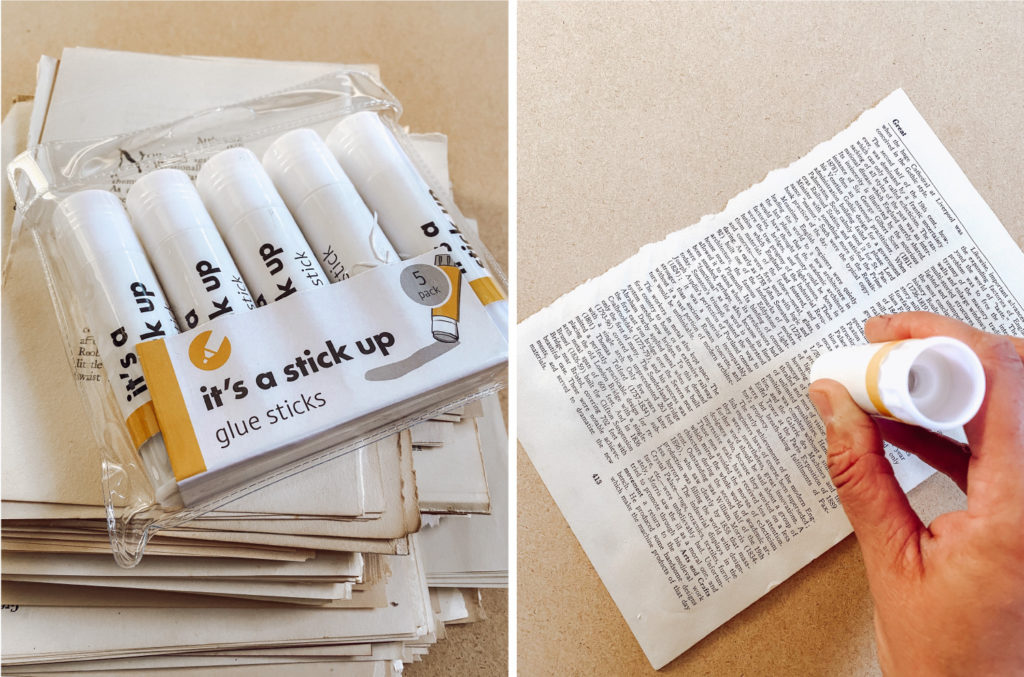
To keep costs down I brought these cheap glue sticks which work just as well as the more expensive ones.
Layer up the pages with a slight angle making sure your favourite parts of the pages are not covered up.
I layered over the left edge on the first board as this will butt up to the corner of the wall.
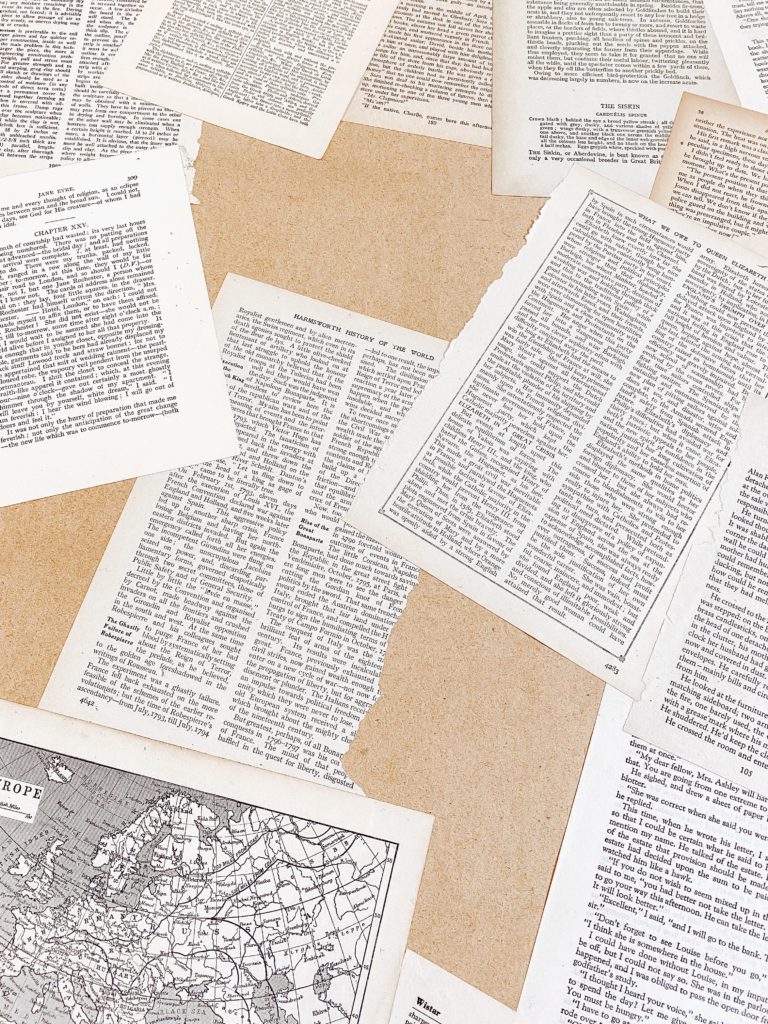
I left gaps in random places to place centre double pages.
I didn’t go right up to the edge where the edge of the boards meet as I needed to disguise the join once the boards are secured to the wall.
STEP 6 – ATTACH BOARDS TO WALL
Once you are happy with the layout of the book pages on each board, its time to attach them to the wall.
I started by cutting a clean line down the edge of the first board using a craft knife & placed it in position. As I had cut the boards snug to fit this only required 6 panel pins to secure it to the wall, meaning that the patterned wallpaper underneath wasn’t damaged too much.
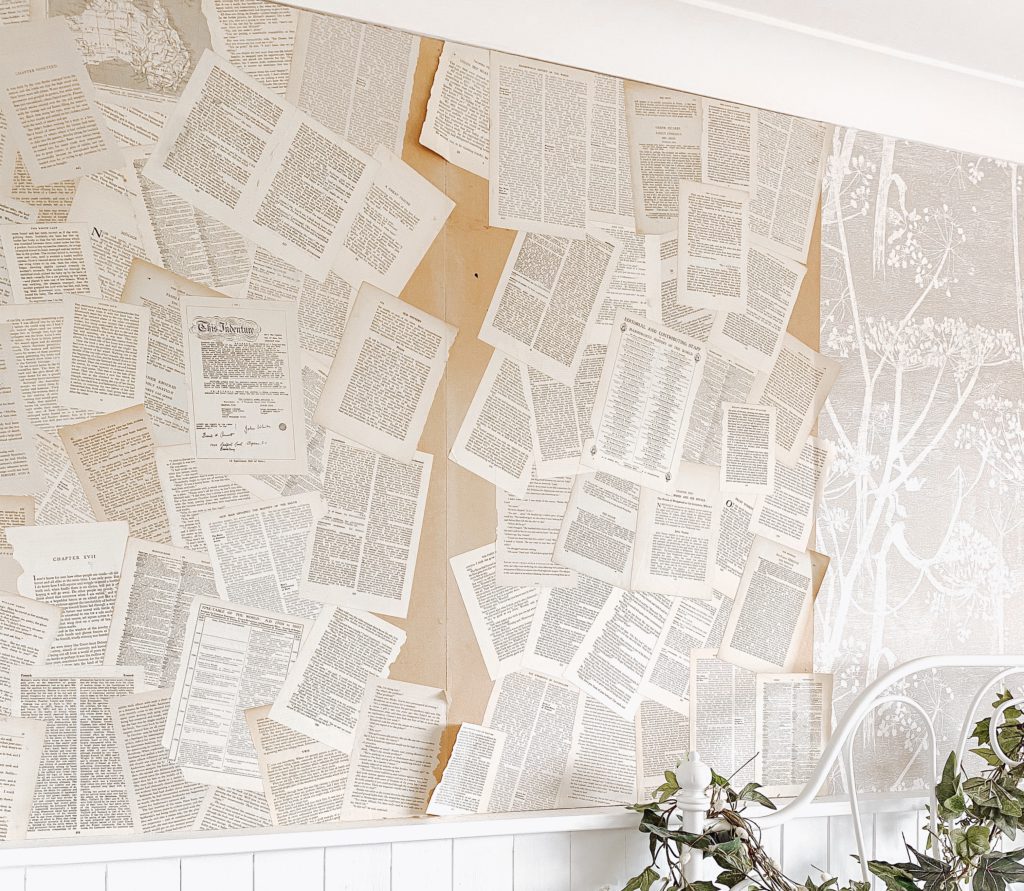
Next butt up the second board to the first & secure in place. Continue until the whole area is boarded.
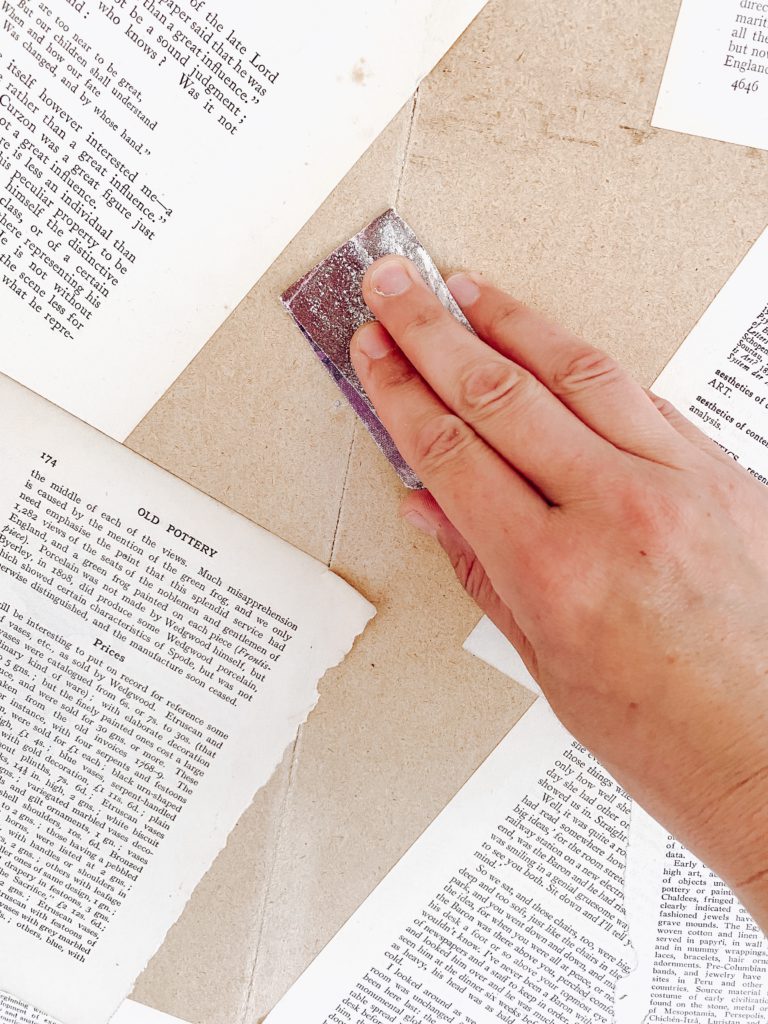
STEP 7 – SAND JOINS
I then lightly sanded the joins & any raised panel pin holes to avoid this showing through when I covered with pages.
STEP 8 – FILL IN THE GAPS
I then took the remaining book pages & glued them over the joins making sure I continued alternating the angles. The idea is that the joins become completely disguised.
I used my craft knife to gently cut any excess pages at the bottom, creating a nice clean line.
I lifted overlapping pages & placed more pages underneath to make sure the layout looks fluid.
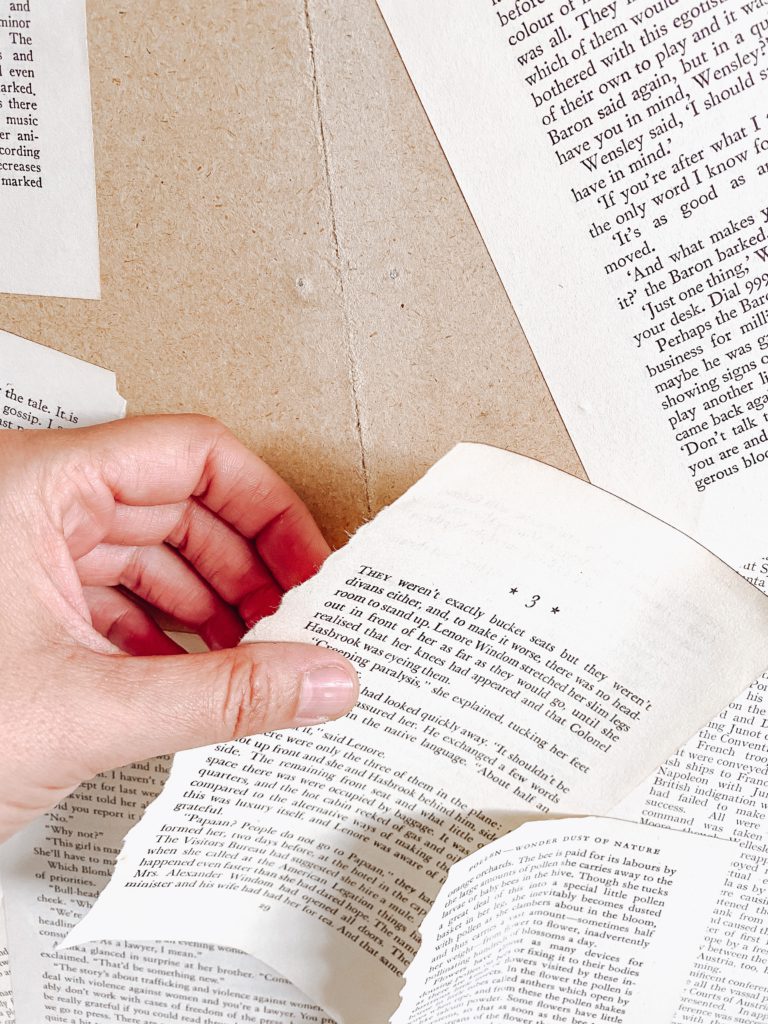
Continue covering & overlapping the pages until you are completely happy & there is no sign of any board showing.
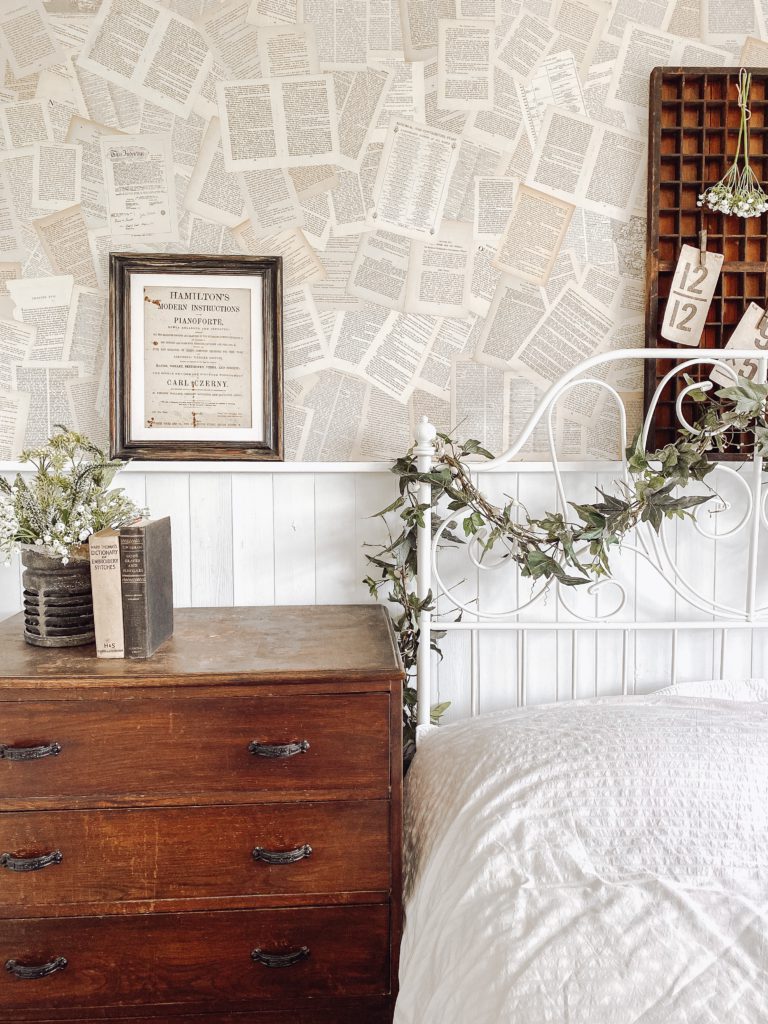
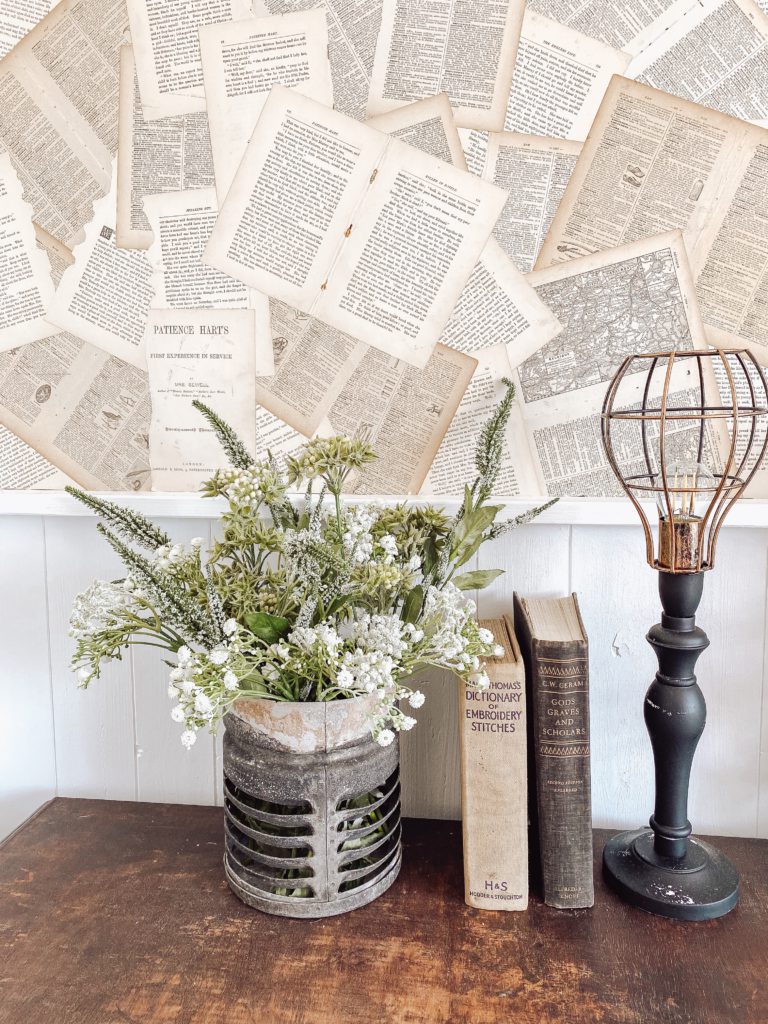
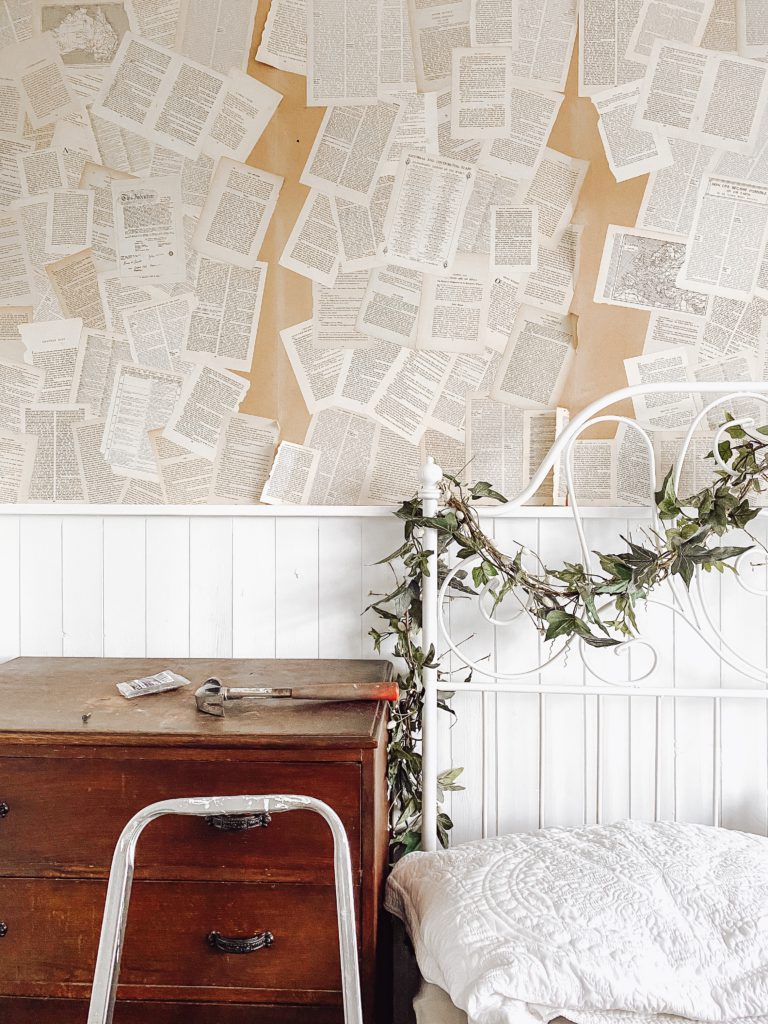
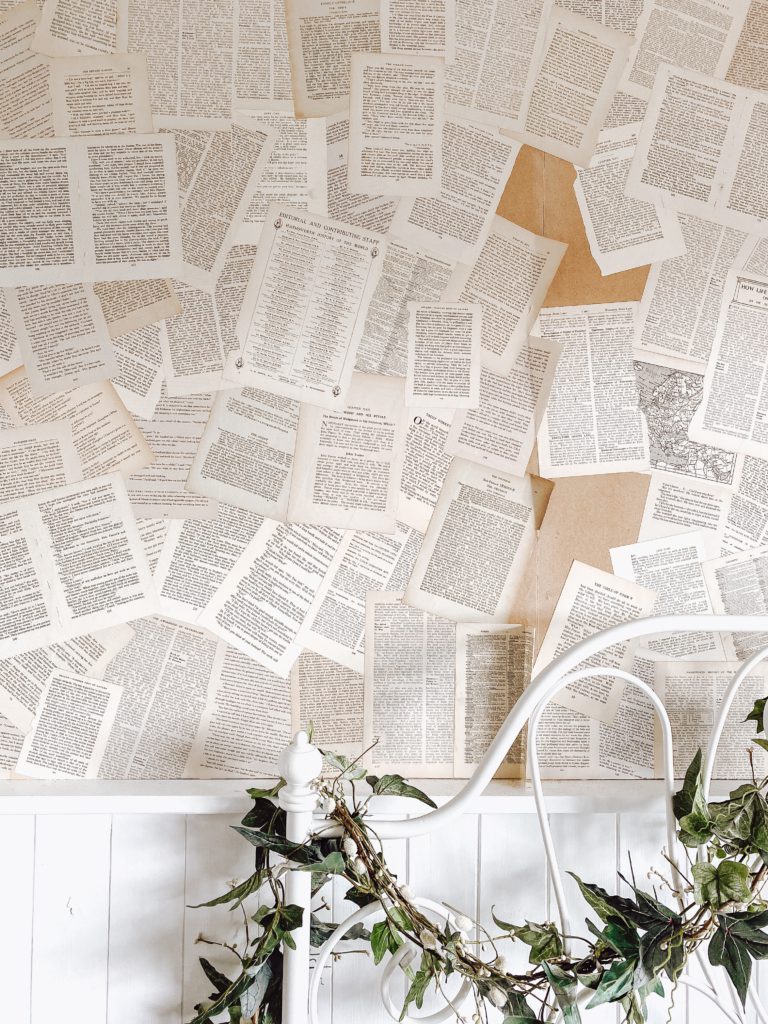
And thats it! This really has transformed this space giving it a lovely warm vintage glow.
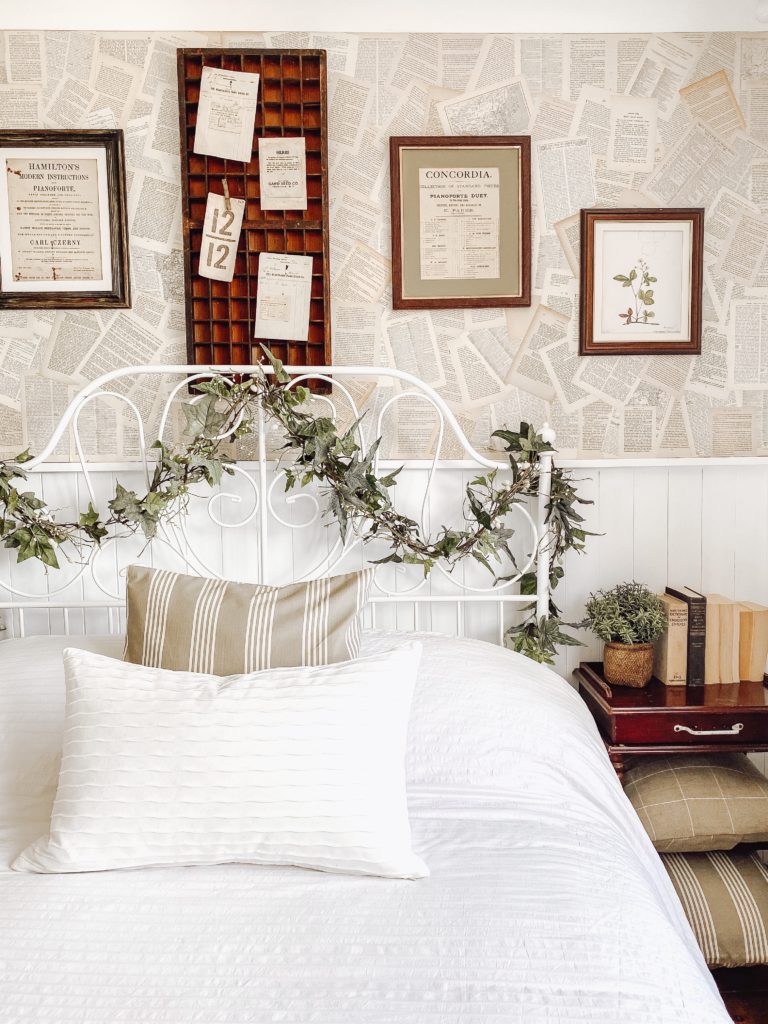
Now my guests can spend hours putting together there own stories made up from the 1000’s of words before them.
I really love the way this project worked out & although somewhat time consuming, it is completely worth it.
And I love the interest they create…right thats it, i’m staying in here tonight!!!
I hope I have inspired you to try a book page wall in your home! I would love to see your book page walls, if you try this out tag me in your Instagram photos!
Happy DIY-ing friends! Let me know what you think in the comments below.
Lots of love
Anna xx