Are you team artificial or team real? I have made it no secret that I am the worlds worst plant lady so I stick firmly to artificial plants in our home with the exception of cut flowers which are a must in the Spring & Summer seasons. Today, spotting the difference between a real or an artificial plant is much harder than you would think with so many great options to choose from.
So why do I choose artificial over real? Well the answer is simple, I can’t kill them! They stay fresh forever (a little sprinkle of dust just adds to the texture!!), they can easily be moved from room to room without spilling soil & water everywhere, provide instant decoration for your home, require less maintenance, have no poisons or pollen (which is ideal for our hay fever & allergy suffering family) & they still help to boost your mood!
But lets face it, good, realistic artificial plants can be expensive, especially the potted ones, so I have created this diy to help all you budget friendly lovers!

- Pot of your choice
- Artificial stems & plants (un-potted)
- Tin foil
- Small stones/gravel
- Compost
- Moss
- PVA glue
STEP 1

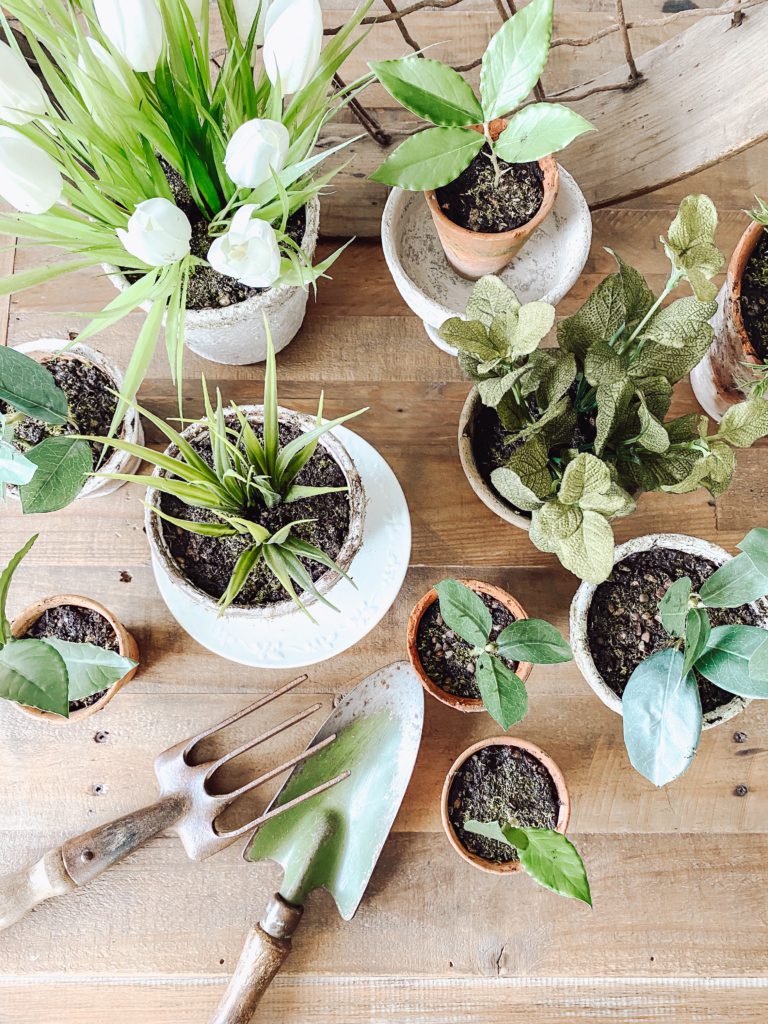
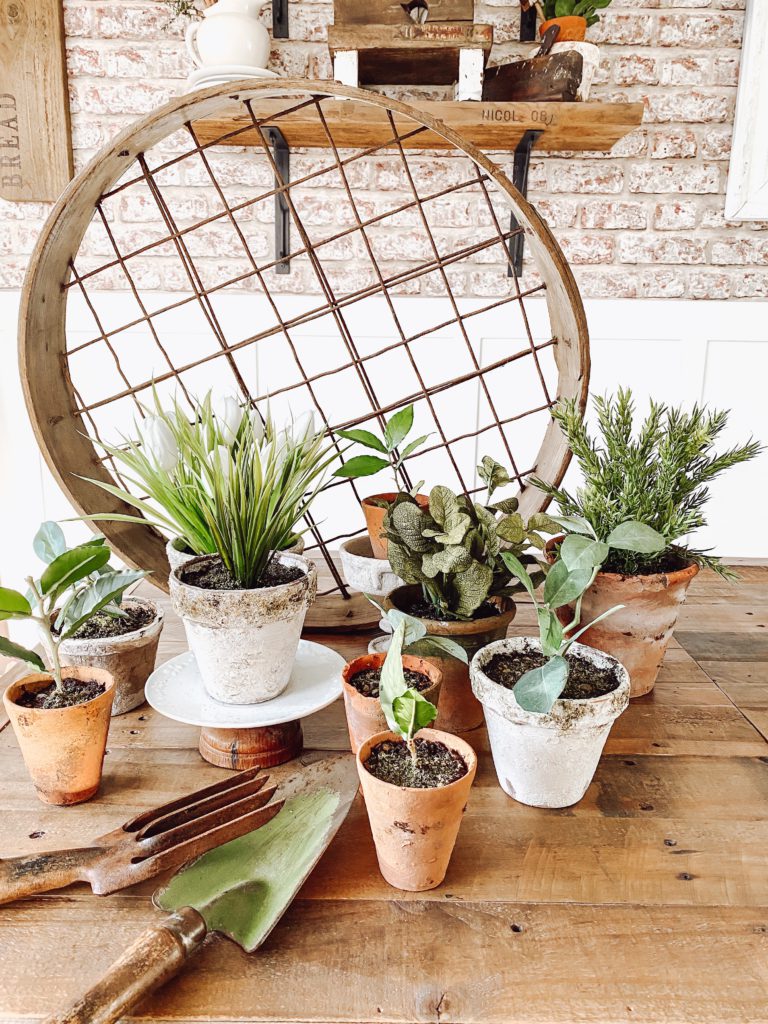
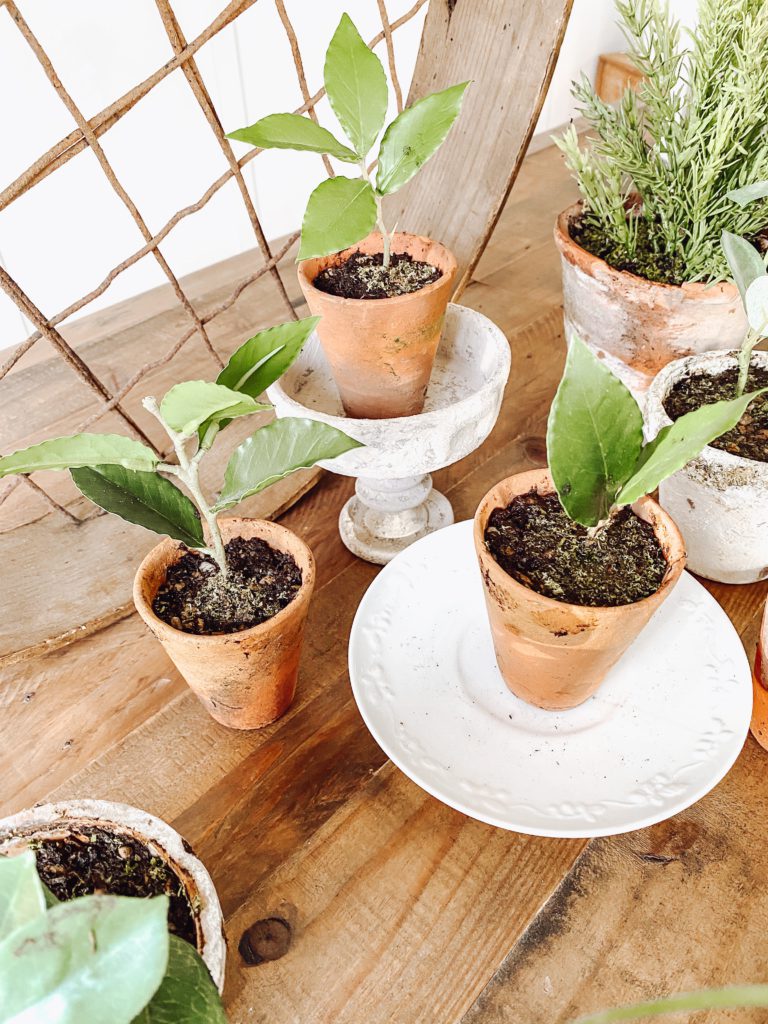
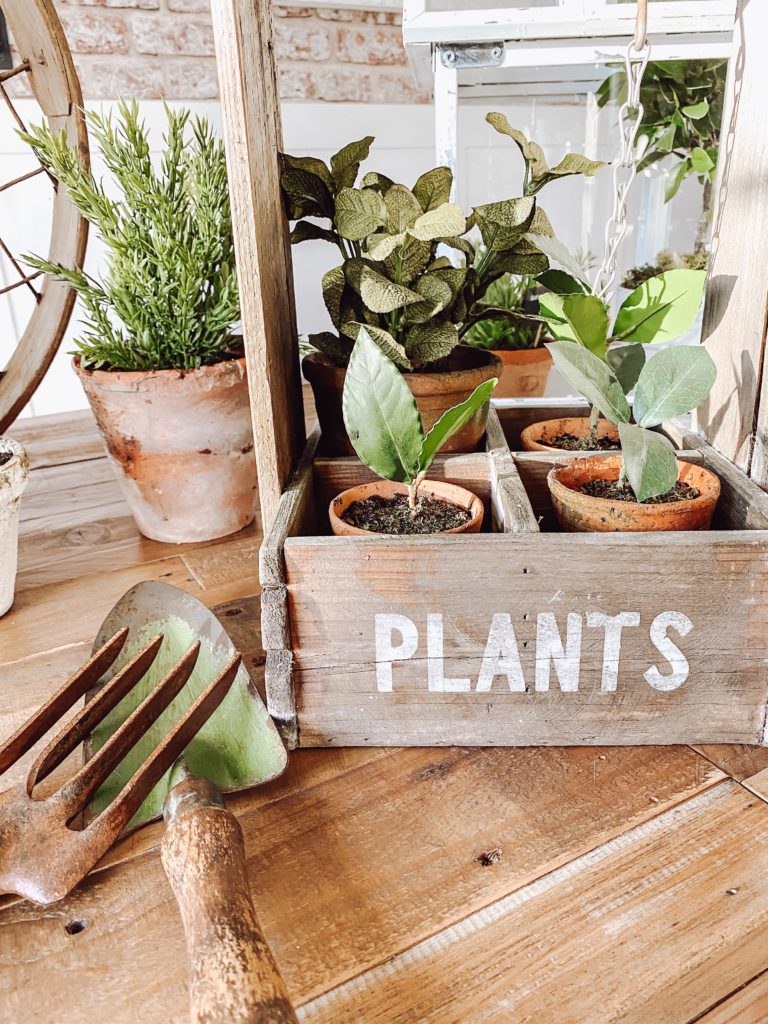
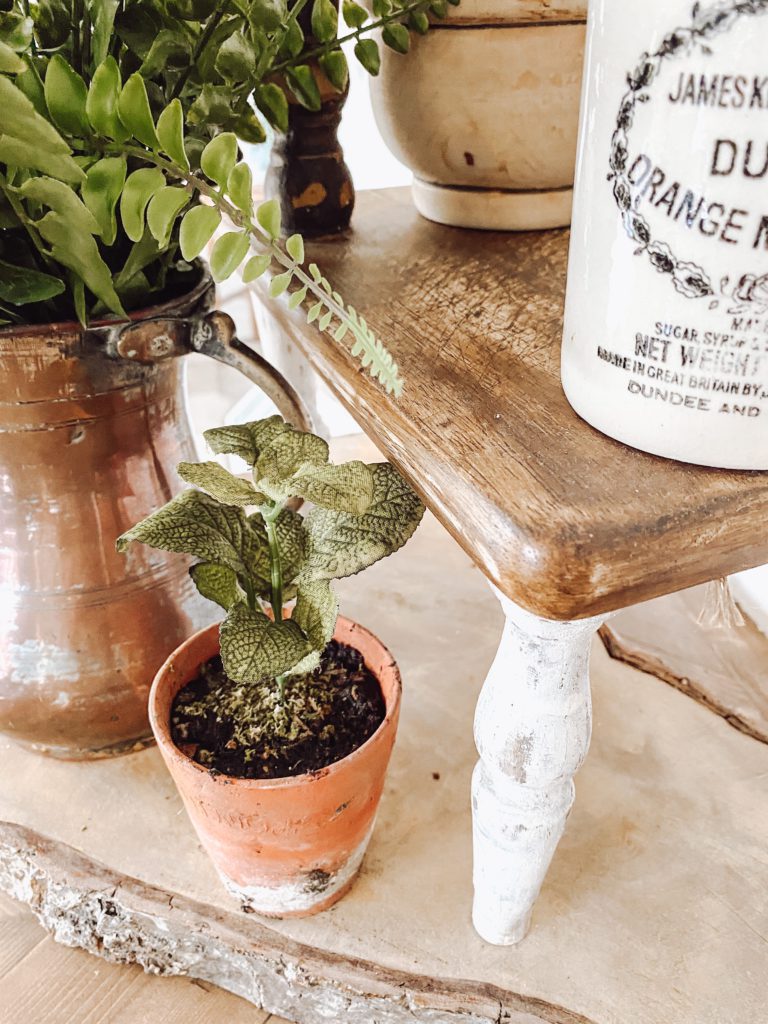
I chose a variety of pots for this diy as I wanted to create different looks that suit every room. For me aged terracotta pots create the best potted plant as they help to make them look more realistic & authentic.
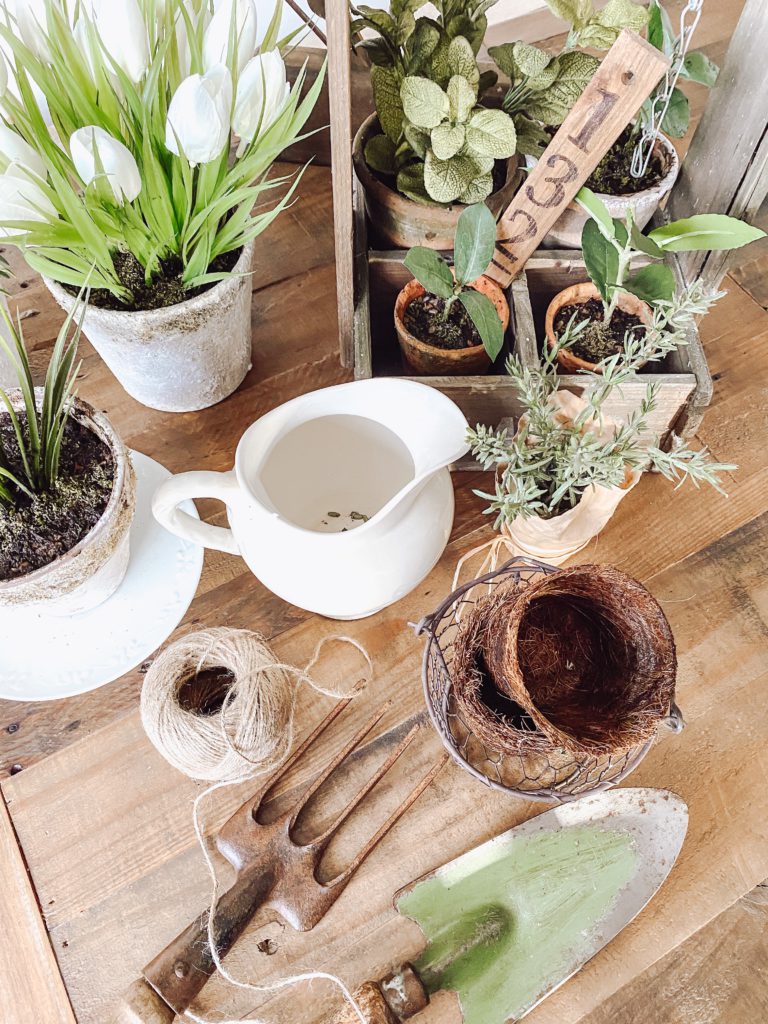
These little seedling pots are perfect to create that first sign of Spring effect & they are just so cute! Ideal for a small shelf, Spring vignette or tiered tray.
STEP 2

I already have a stash of artificial green stems & plants but topped up with a few new varieties.
Artificial stems are great to create multiple potted plants as you can cut them down & make them as full or sparse as you want. Flowering tulip bunches are great too if you want to go full on Spring.
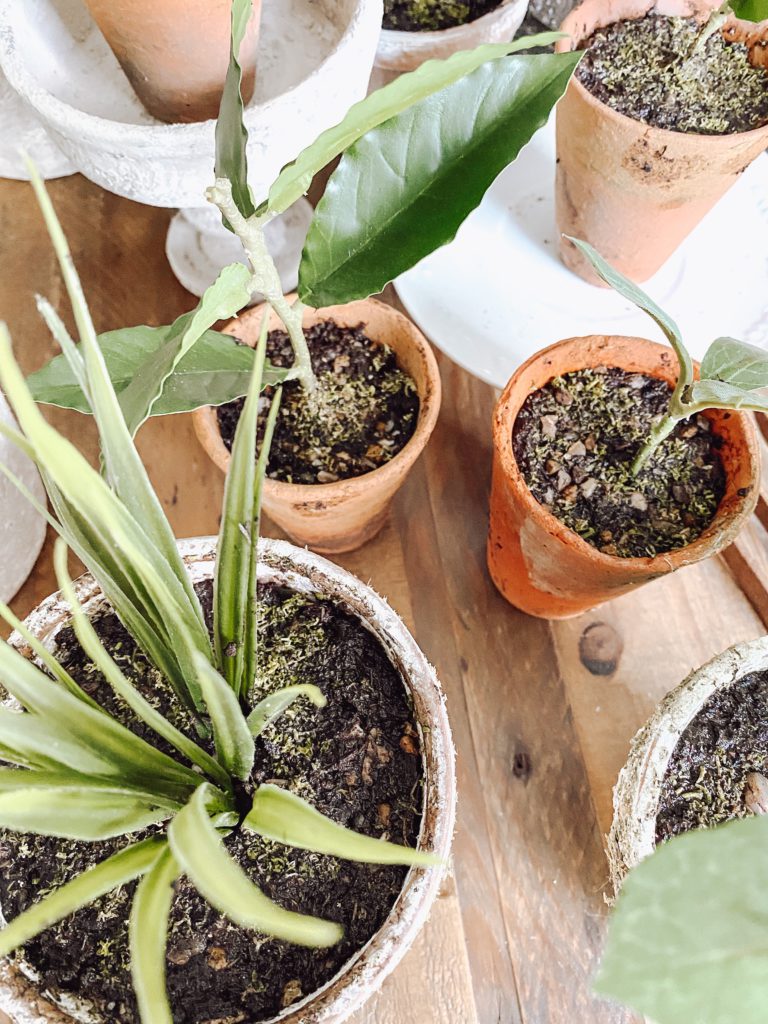
These grasses were already in a plastic pot but I wasn’t happy with how the soil looked so I took it apart & re potted it my way!
To keep costs low I searched the web for some reasonably priced stems, herbs & bushes. Herbs are a must in our home, especially in the kitchen. I chose a few different herbs such as mint, rosemary & basil
Homesense is my go to place to buy artificial green stems as they look so realistic. These seedling plants were created by taking apart one stem to make them look like they are just shooting.
STEP 3

So once you have decided on the pots & artificial plants, its time to pot them.
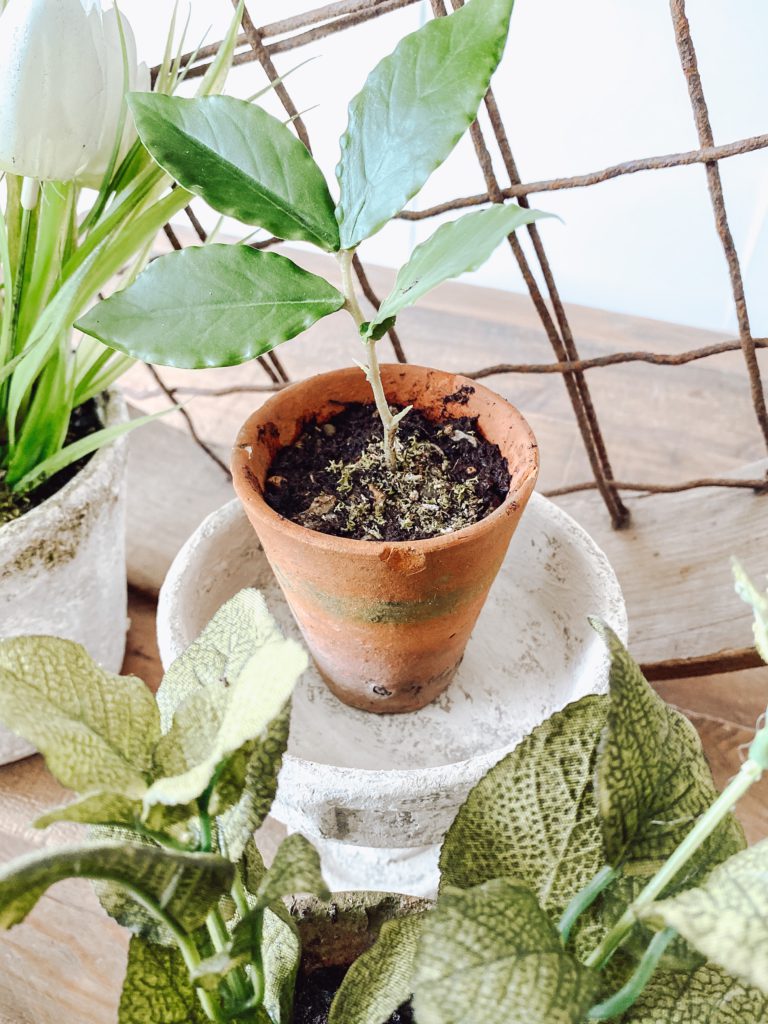
I prepped the stems & cut them to the size I wanted them to stand in the pots then held them in place by packing the pots tightly with tin foil, using it to adjust the height & secure the stem in the centre.
Once you are happy that your plant is held firmly in place scatter a few small stones on top to add a bit of weight.
Then mix a good handful of compost, small stones & PVA glue in an old container. I like getting messy so I used my hands to mix it altogether!
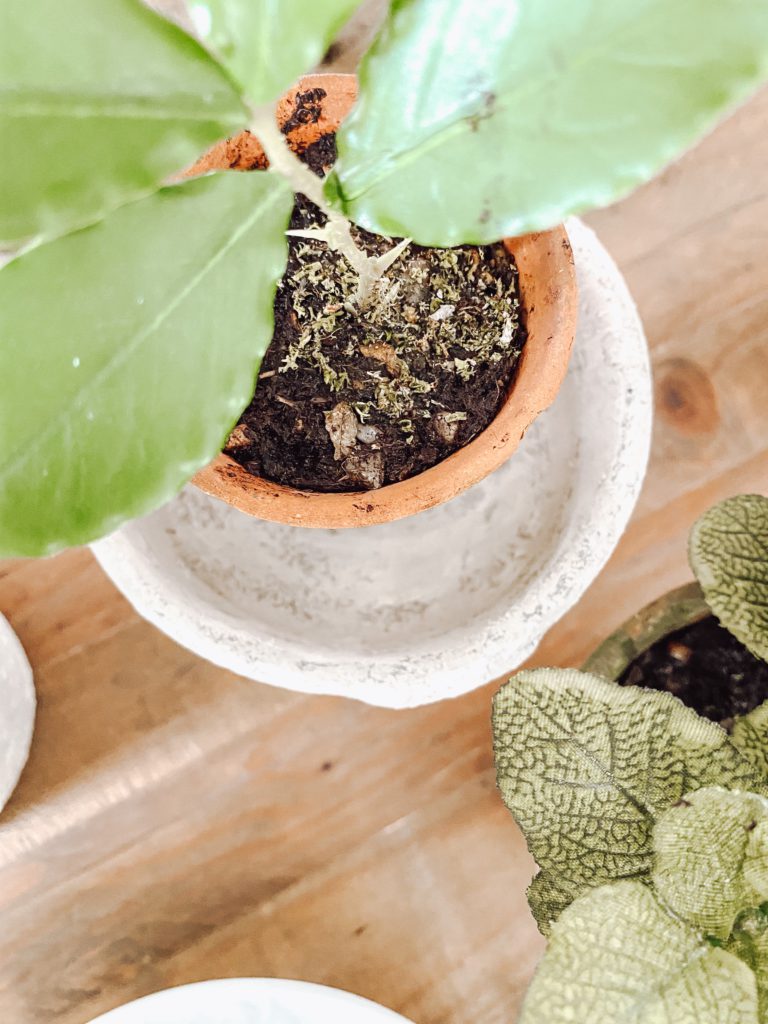
Add your soil mixture to the top of your pot trying not to get it on any leaves. Then gently press it in place making sure all the tin foil is covered & it sticks close to the edge of the pot.
The reason I add PVA glue is because it acts as a hardener to the soil & holds everything in place. When the mixture is completely dry (may take a few days for it to completely harden) it feels hard to the touch. No more cleaning up soil on your window sill…genius hey!?
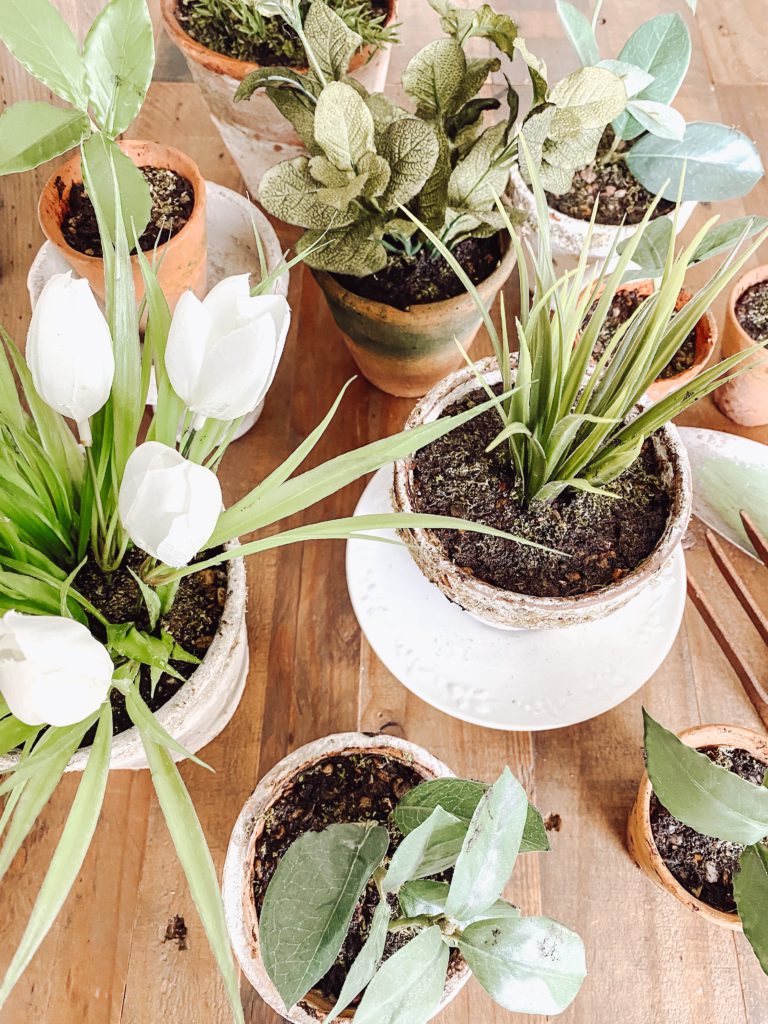
To make things look even more realistic, sprinkle some chopped moss & small stones on top & press down gently.
STEP 4

This is always my favourite part!
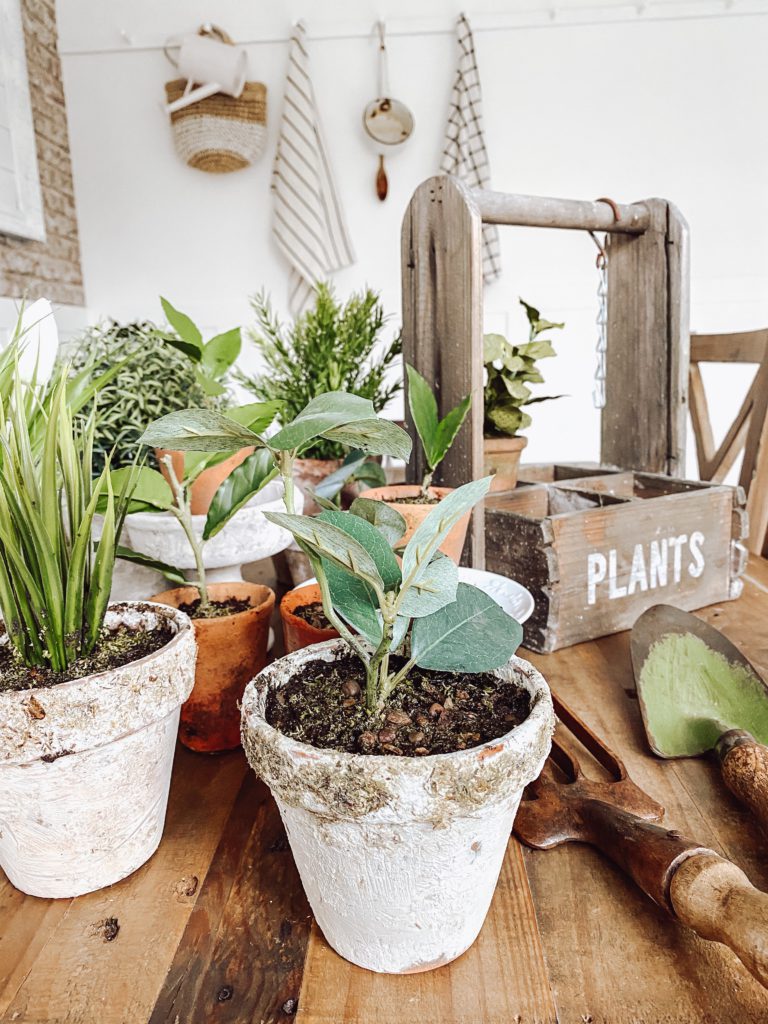
I had the open shelving in mind for this project & by creating different sizes I was able to add lots of different heights.
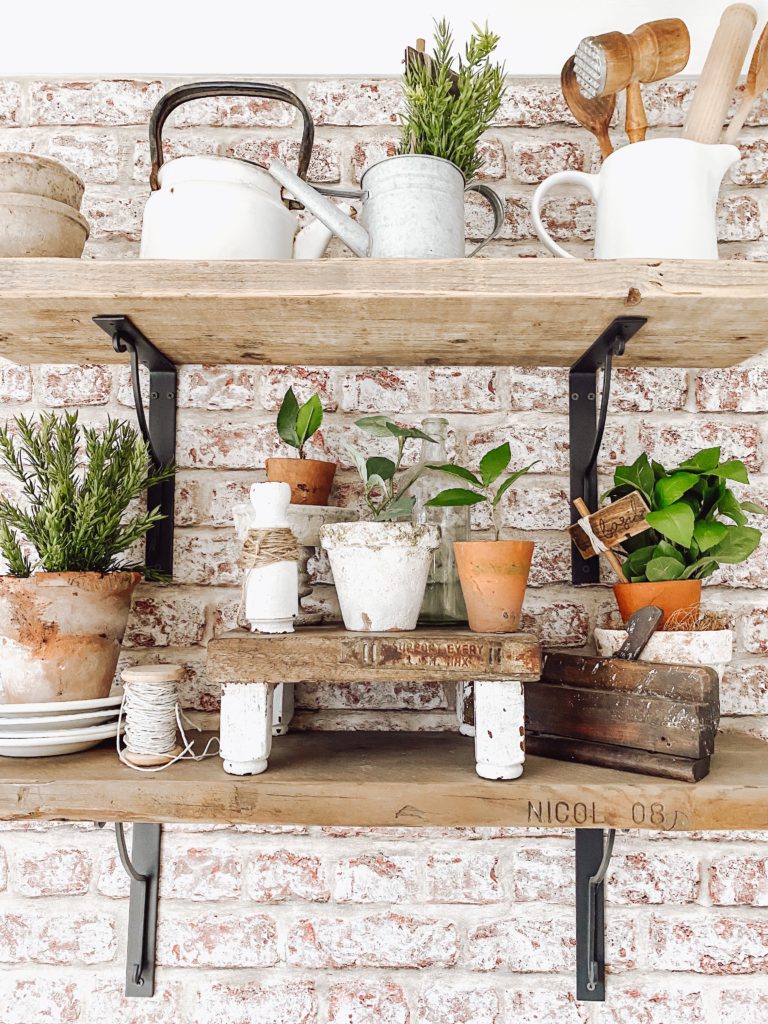
Try grouping your potted plants for impact & to add balance to your space.
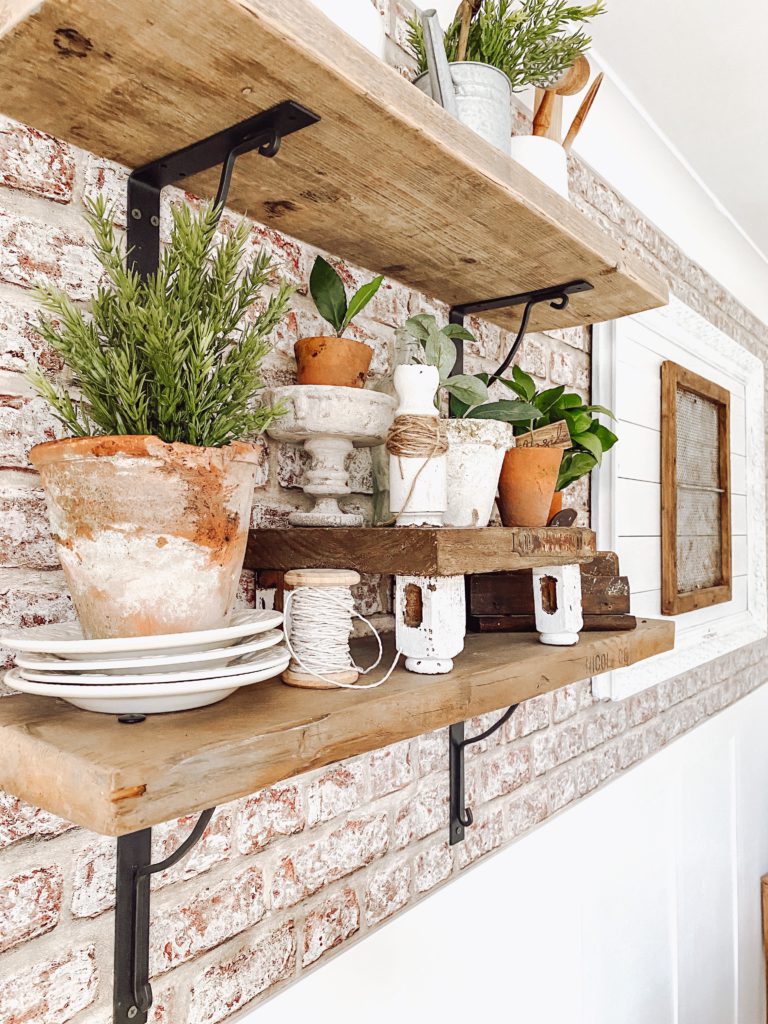
For this potting shed look I mixed my plants with lots of rustic elements like wooden planters, gardening tools, books & thrifted finds.
Try styling your plants on a window sill too, they look so inviting & fresh when you walk into a room!
They are also perfect to add a touch of green to your Spring vignettes.
I’m so happy with how they turned out but be warned, it becomes addictive & you will find yourself wanting to pot everything!
I hope I have inspired you to try out this simple diy! Tag me in your photos on Instagram, I would love to see your ideas & take on this!
Thank you so much for reading the blog today! Happy diy-ing friends! Let me know what you think in the comments below.
Lots of love
Anna xx


You May Also Like