Cold & snow flurry days are the best days to stay indoors & create to your hearts content. Well thats how I spend my time anyway! I am looking forward to Spring more than ever with this bitter cold Winter outstaying its welcome!
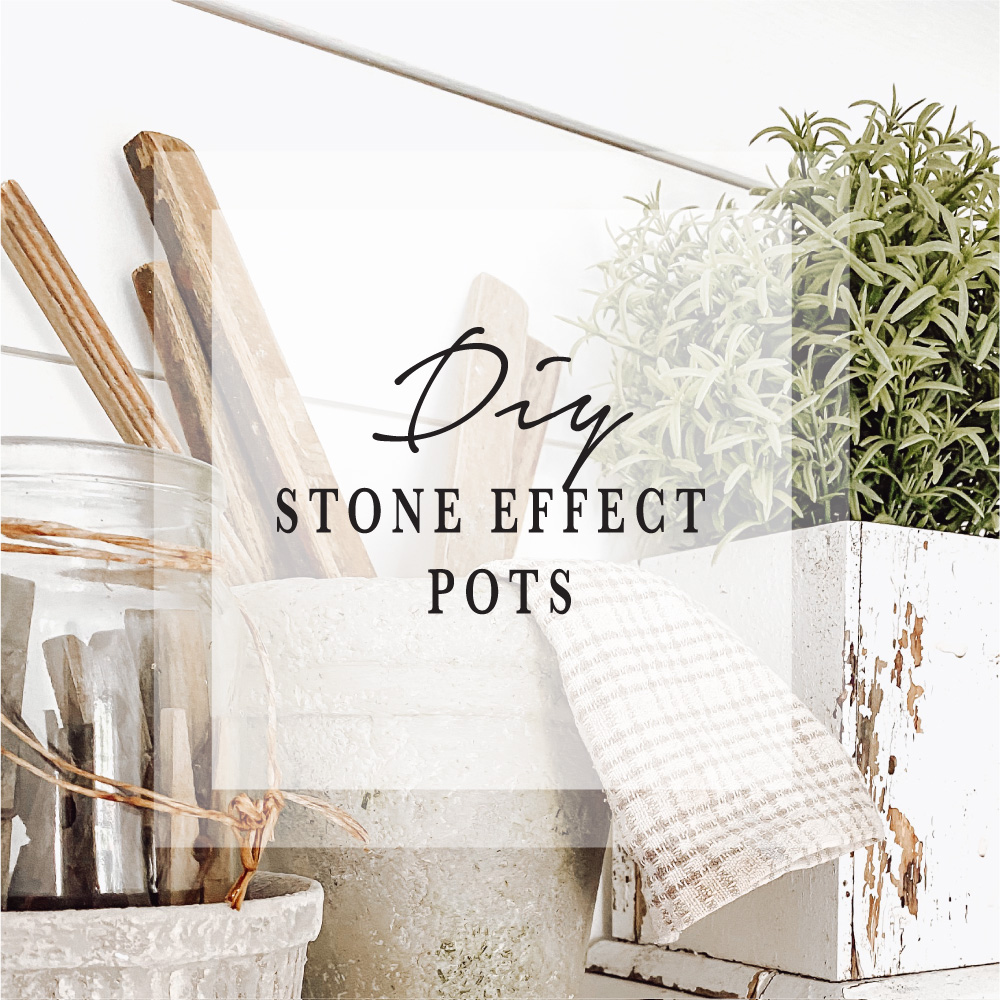
This Spring I want to fill the house with potting shed themed decor. Theres something about it that reminds me of a new lease of life & pottering around. I’m thinking aged pots, over worked tools, chippy & stone textures complimented with a backdrop of brilliant white!! So first up on my diy project list is these stone effect pots.
If you have been following me for a while you will know that I like to repurpose what I already have to create something that works with my home style.
I love to add different textures & these pots are just perfect & simple to create.

- A variety of pots (Ceramic, glass, terracotta…)
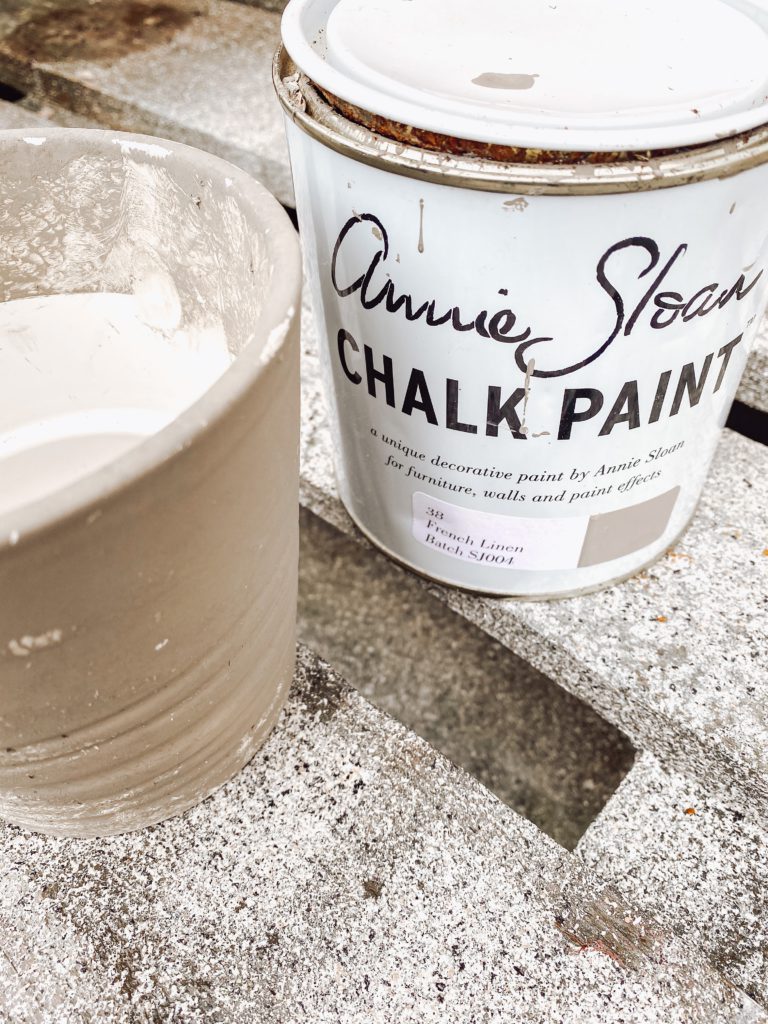
- Annie Sloan Chalk Paint (French Linen)
- Rust-Oleum Stone Textured Effect Spray
- Ready mixed plaster skim
- Black chalk paint
- Old paint brush
- Reindeer moss
- Fine grade sandpaper
STEP 1

Now i’m a hoarder of many things but pots are most definitely things that I just can’t let go of, whether its been given to me, came free with a plant or it caught my eye in a charity shop.
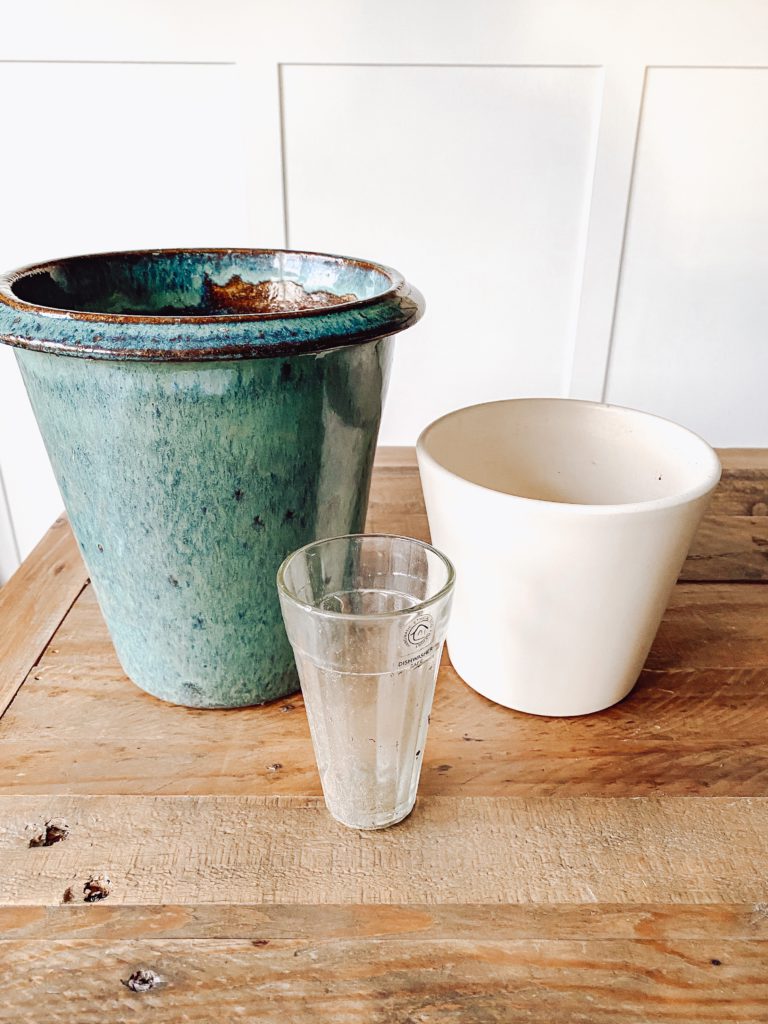
For this project I tried different sizes of pots & even tried it out on glass.
STEP 2

To paint the pots I used Annie Sloan chalk paint in French Linen (Check https://www.anniesloan.com for your local supplier). Its not completely necessary to use this particular colour but I felt like it added a warmth to the stone effect. Chalk paint however is recommended as it sticks to any surface with no need to prep or prime.
STEP 3

Once the chalk paint was completely dry I sprayed the pots with Rust-Oleum stone textured effect spray. This adds a really nice texture to the pots & forms a good base for the next step.
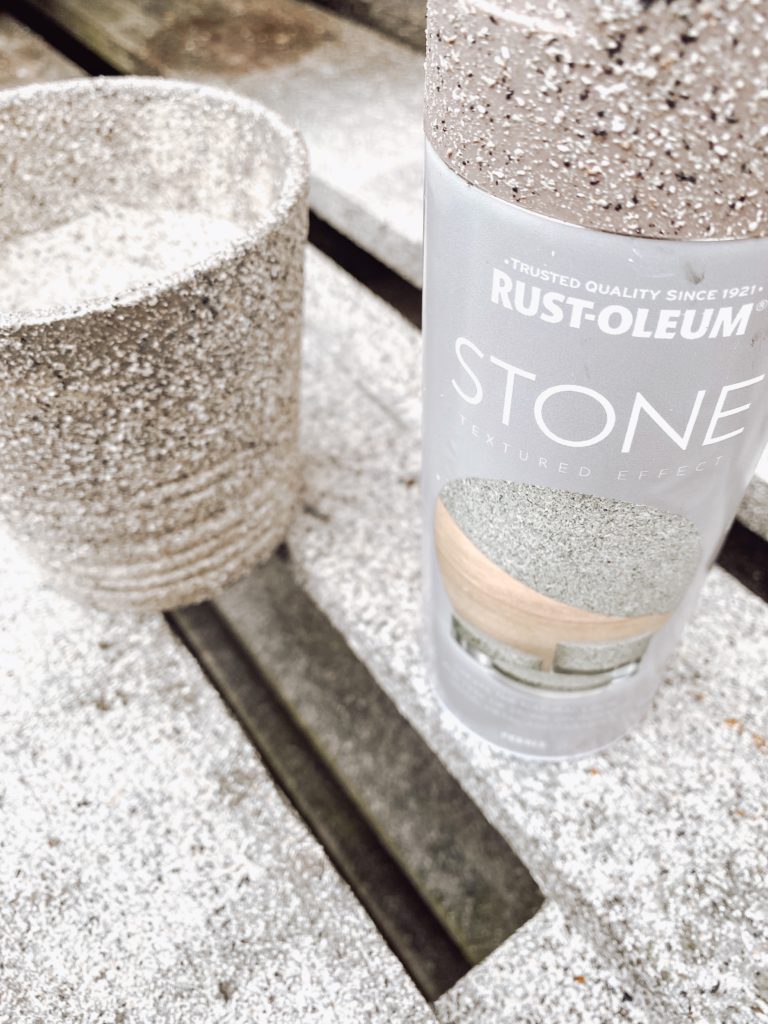
This spray takes quite a while to dry & I would say leave it overnight to completely dry but I can sometimes be impatient so I dabbed some with a paper towel & put near a radiator.
STEP 4


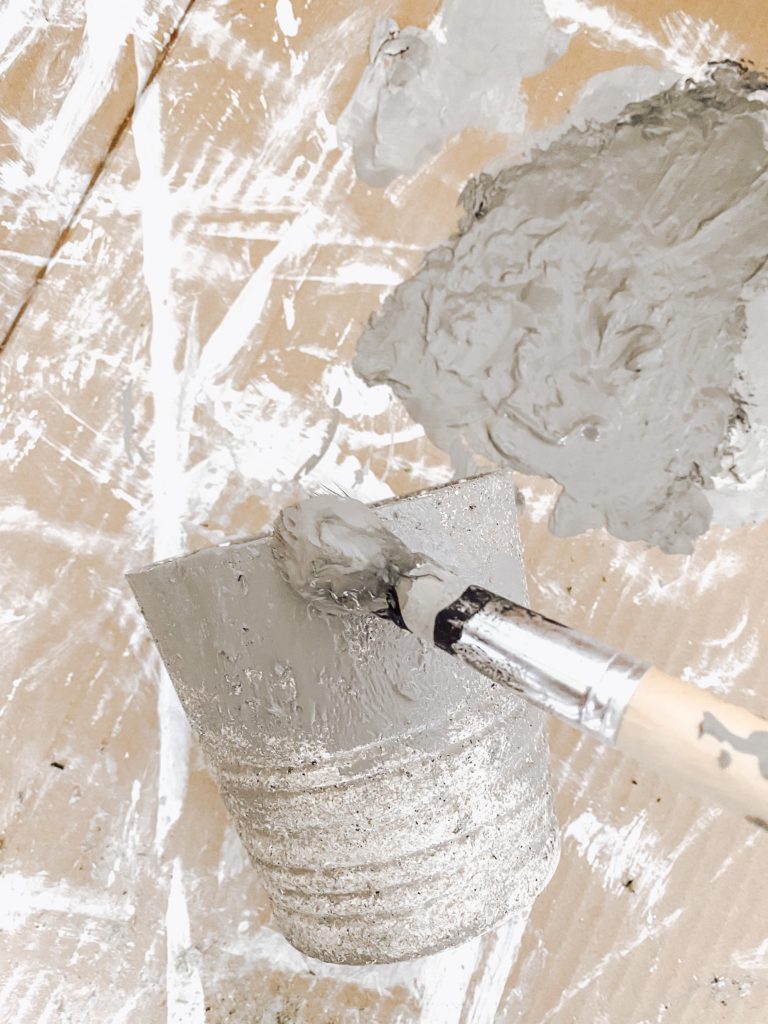
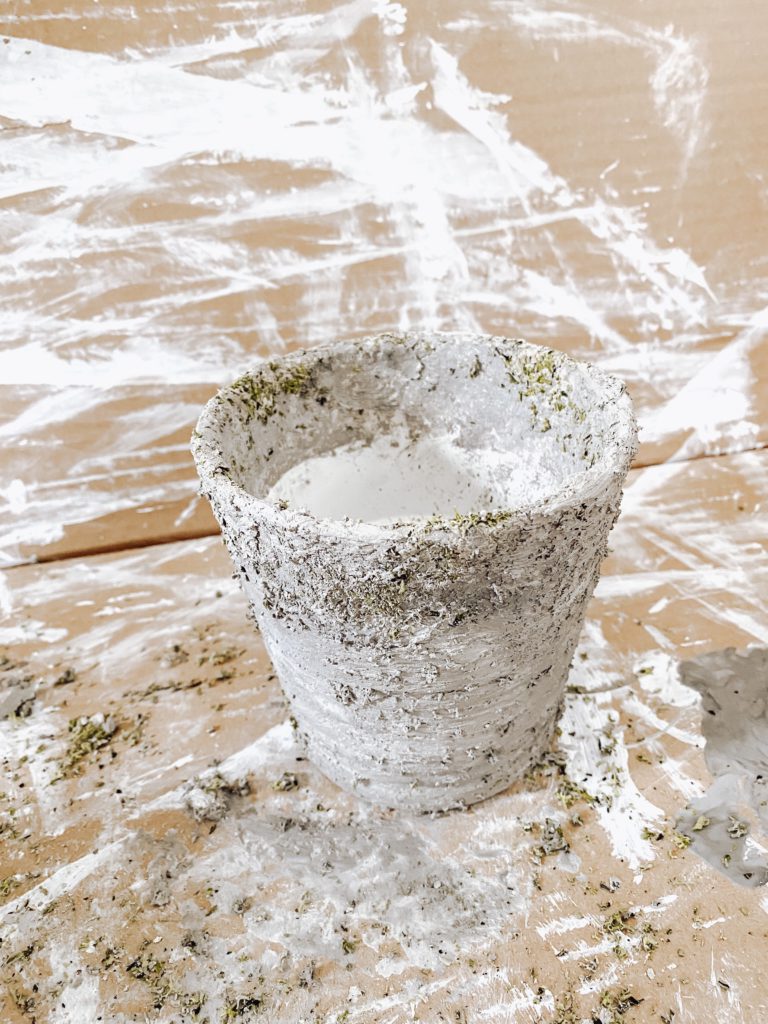
I then formed two piles of ready mixed plaster skim, one of plaster straight from the tub & one mixed with a little French Linen chalk paint with a very small amount of black. The coloured plaster forms the base colour & the white plaster is good for building up highlights & some dimension.
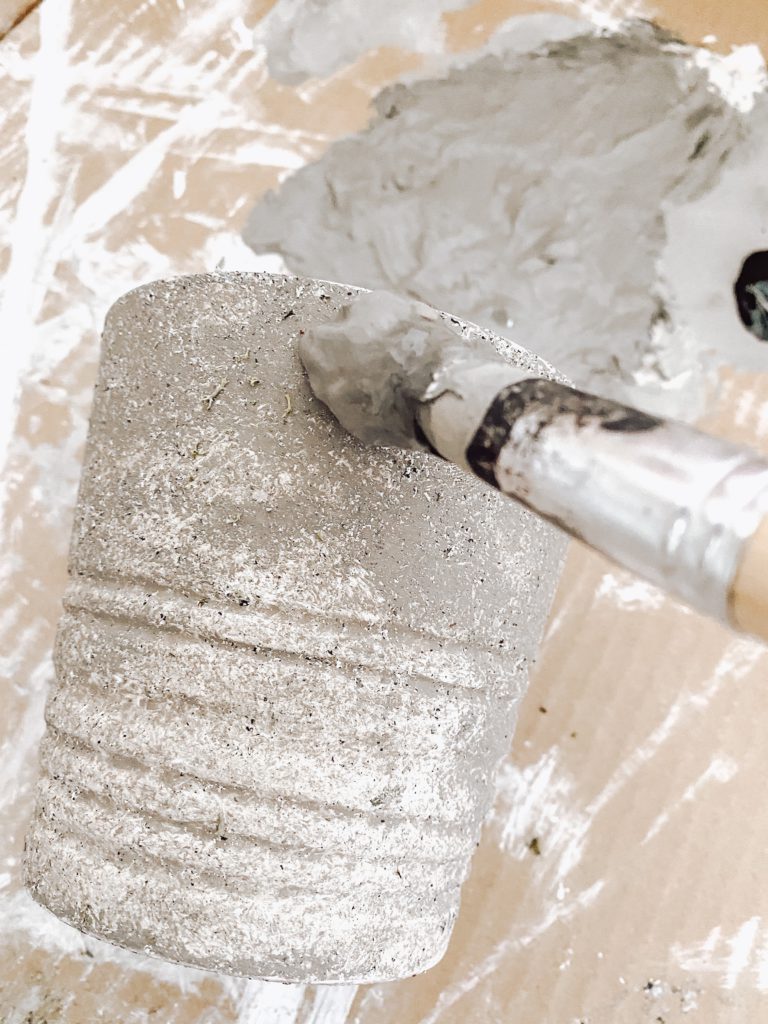
Using an old paint brush I just brushed the coloured plaster on in all directions, covering most of the pot with a few areas dry brushed to reveal the stone spray underneath.
The plaster dries fairly quickly so I continued to build up the layers.
After the base was dry I then dry brushed areas with the white plaster concentrating on the base & rim of the pots.
STEP 5

Adding moss is optional but I wanted to add another texture & give some areas of the pots a slight green tinge so they look like they have been left outside over time.
For this I chopped reindeer moss finely on a chopping board.

Then I added more wet plaster to areas & pressed on the chopped moss.
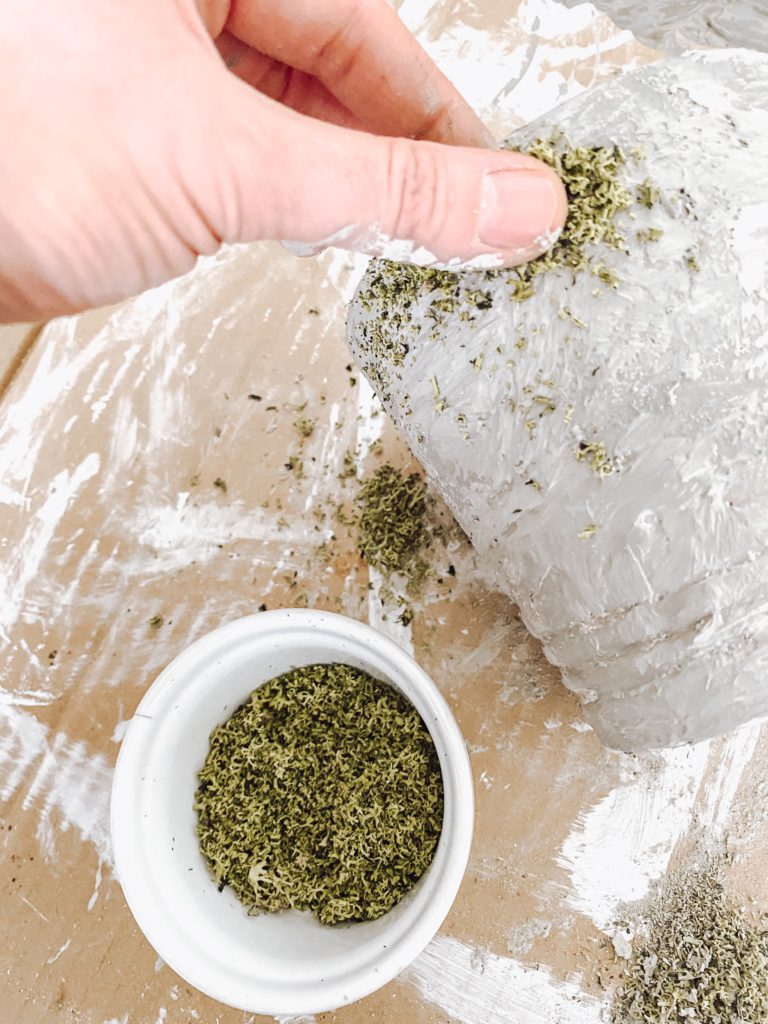
To make them look more authentic I added the moss mainly around the rim of the pots & in grooves where moss would naturally form.
And the messy part is done! Although I did layer up with a bit more plaster over the top of the moss, especially around the top to almost mis shape the perfection.
STEP 6

I would suggest leaving your pots to fully dry overnight before sanding. I used a fine grade sandpaper to gently sand areas to give them the smoother stone look.
As the pots are covered in mainly chalky finishes you will find that it may come off on your hands so I did varnish a couple with a matt varnish. Note: This does change the grey colour to be slightly darker. I preferred the light chalky look!
Also note: These are meant for indoor decor as the plaster will be affected by the rain. I don’t intend on having them outside but if you decide to I would say to cover them with several layers of outdoor varnish to protect them.
STEP 7

So I did get a bit carried away & started covering anything I could get my hands on in the house. It wasn’t until Matt said ‘Don’t you think thats enough now? You will be stone effecting the dog next!!’ that I decided that I had made enough!!
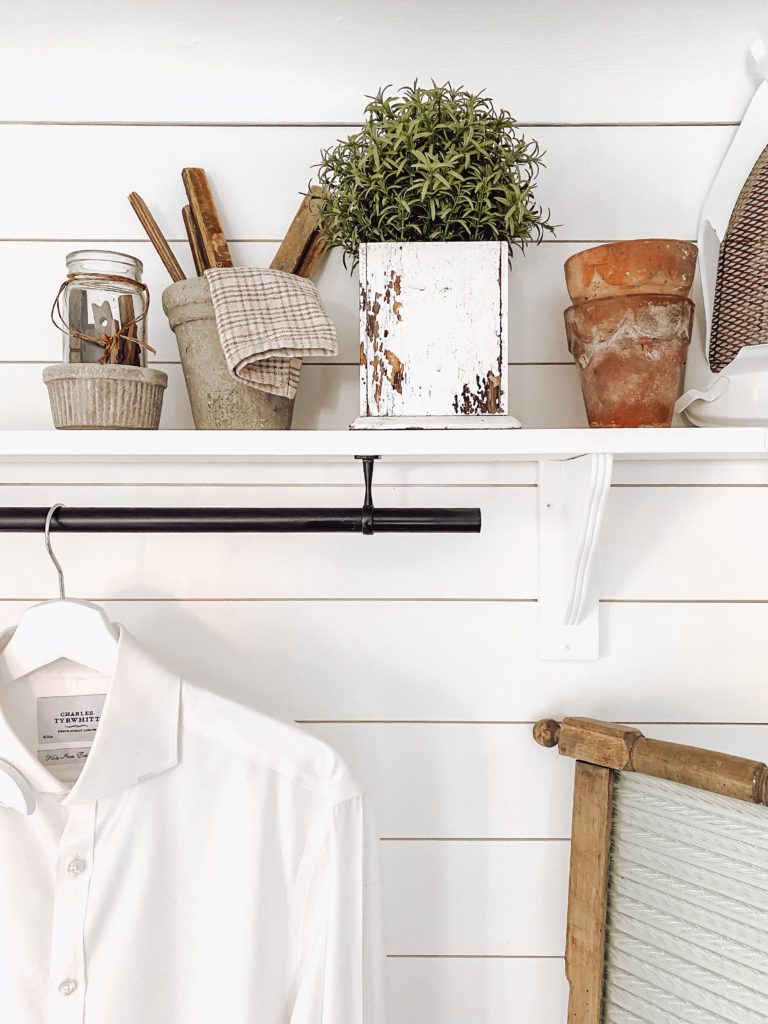
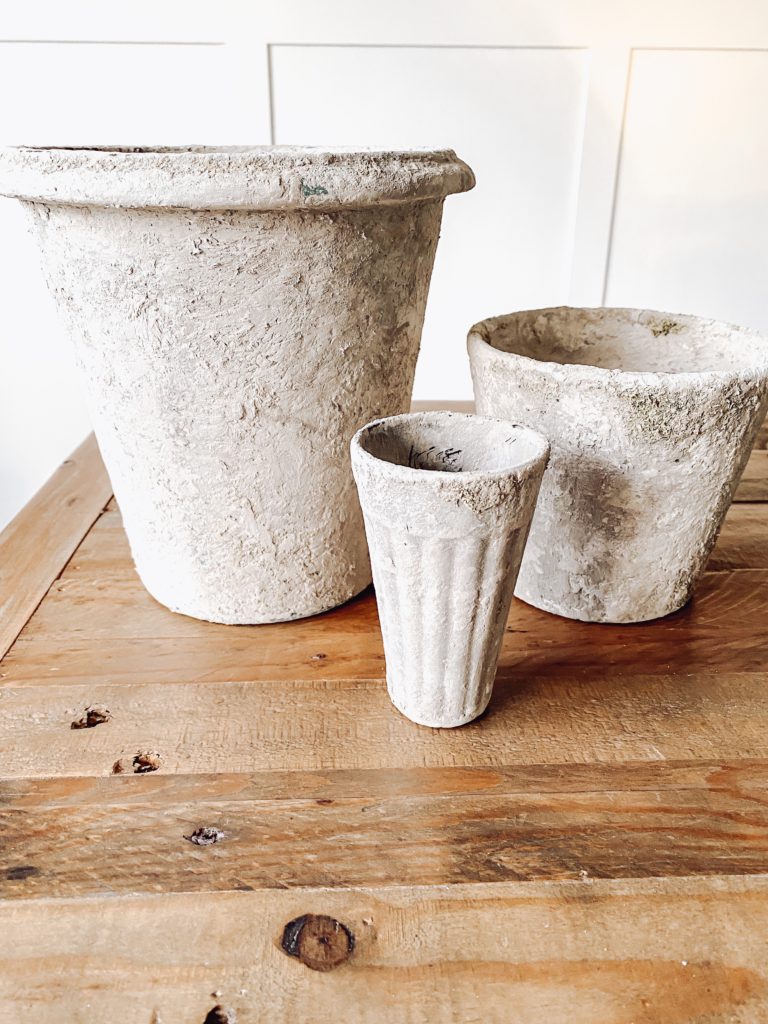
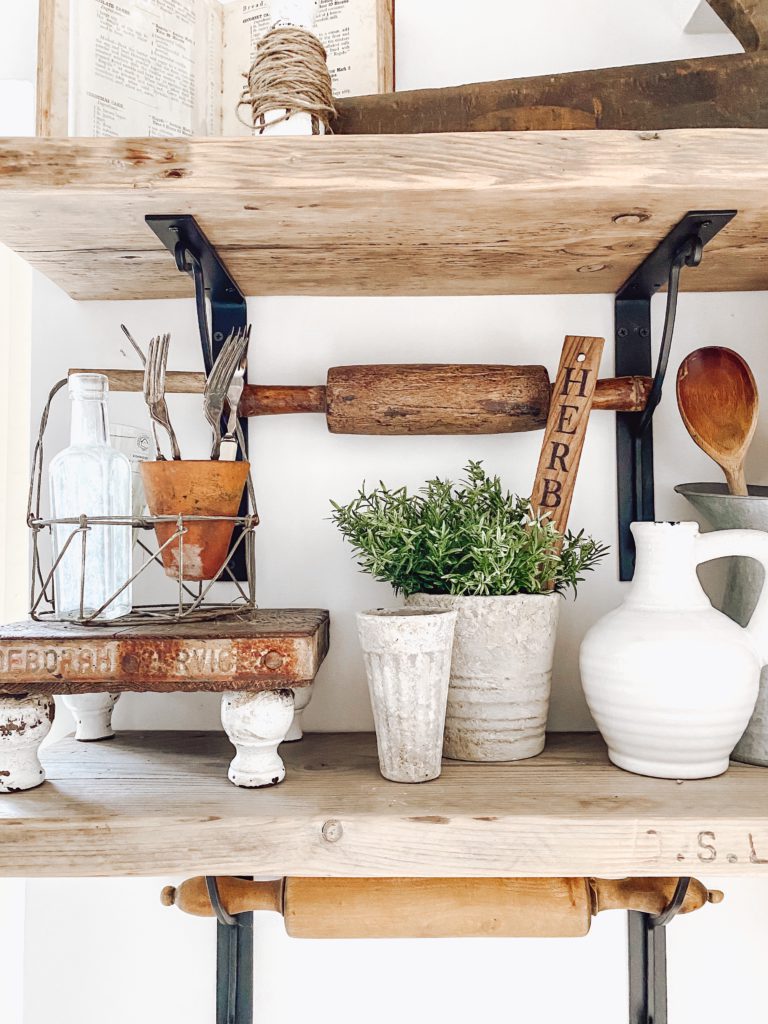
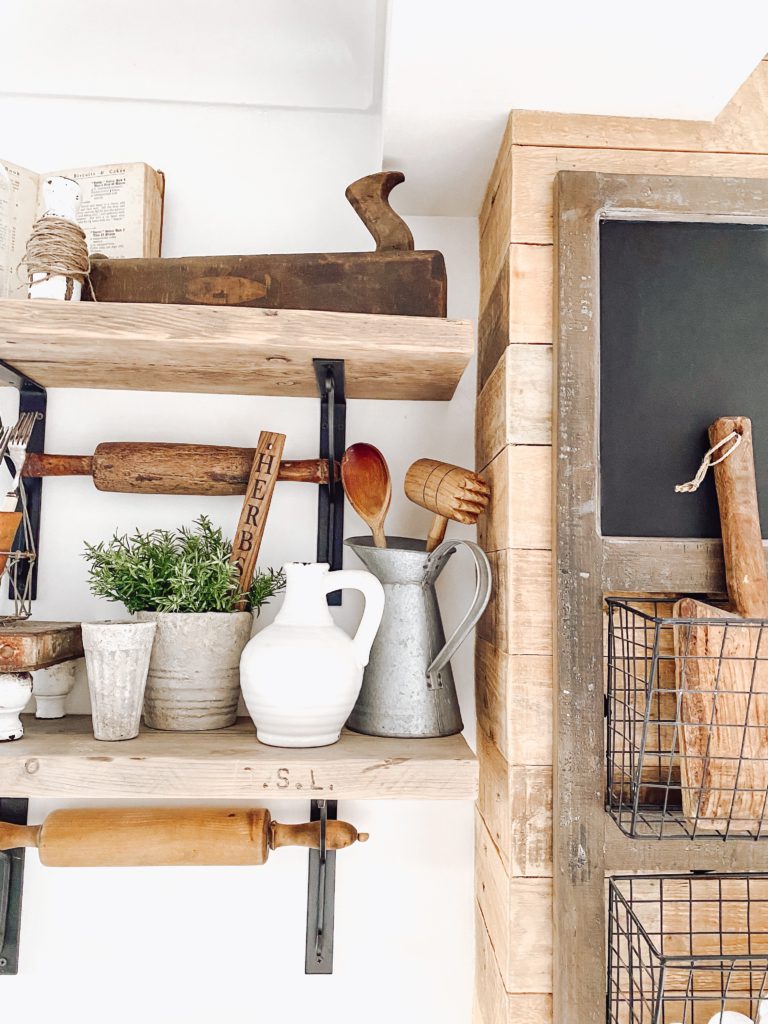
Gahhhh I love them, they work so well with the chippy & terracotta textures.
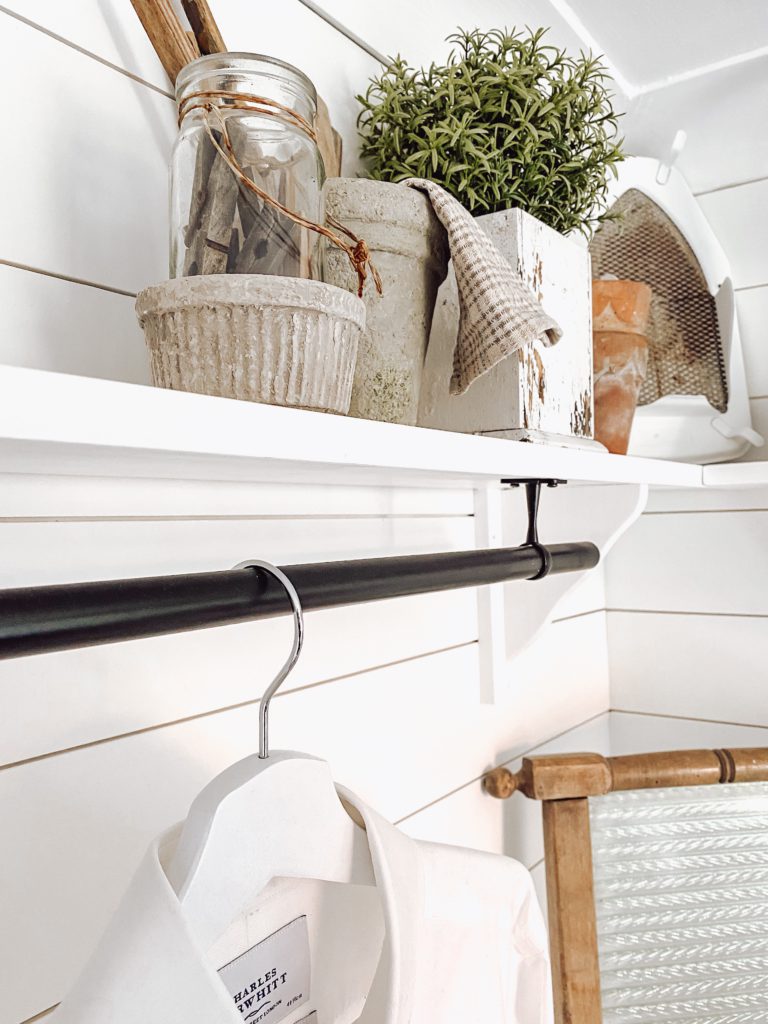
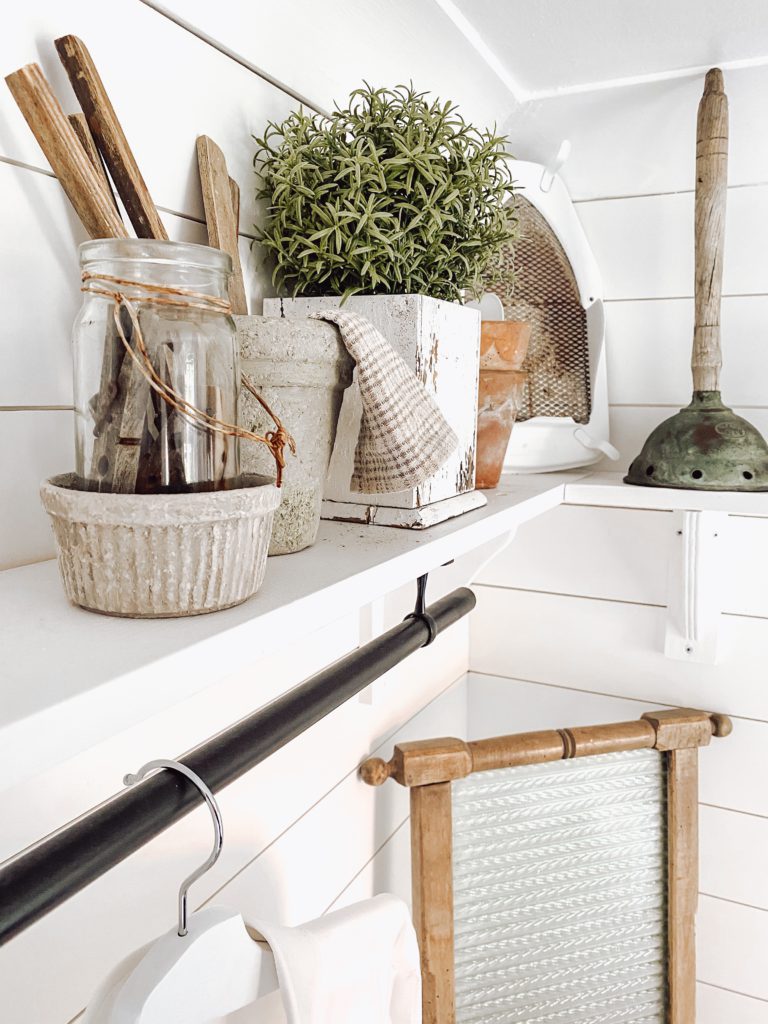
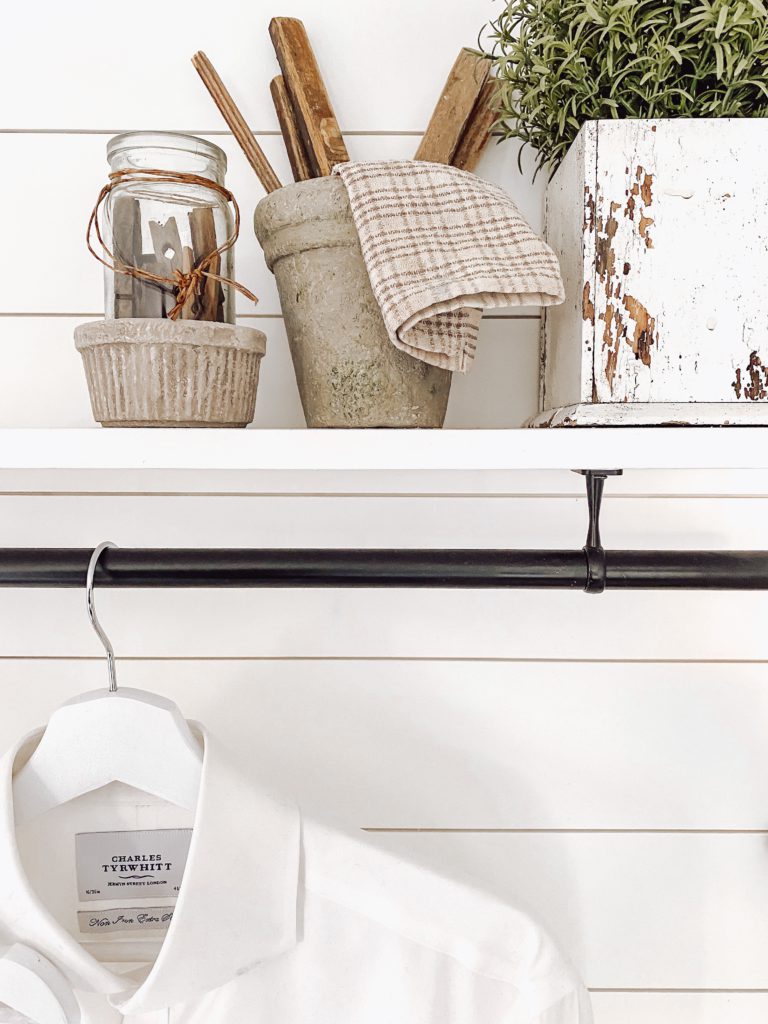
So far I have styled them in the laundry room, using them as cute storage pots for bit & bobs. And also on the open shelving in our kitchen for my artificial plants.
And this vintage glass one turned out really good, I think its my fave!!
There is no doubt that you will see them popping up everywhere in our home! They really do work well for the Spring season but i’m sure they will be incorporated into other seasons.
I hope I have inspired you to try this simple diy & add a splash of stone texture to your home! Tag me in your photos on Instagram, I would love to see your ideas & take on this!
Thank you so much for reading the blog today! Happy diy-ing friends! Let me know what you think in the comments below.
Lots of love
Anna xx


2 Comments
Meg
These are so cute for spring! What a great idea!
Anna (@makinghomematter)
Thank you so much! I just love how they turned out! 🙂