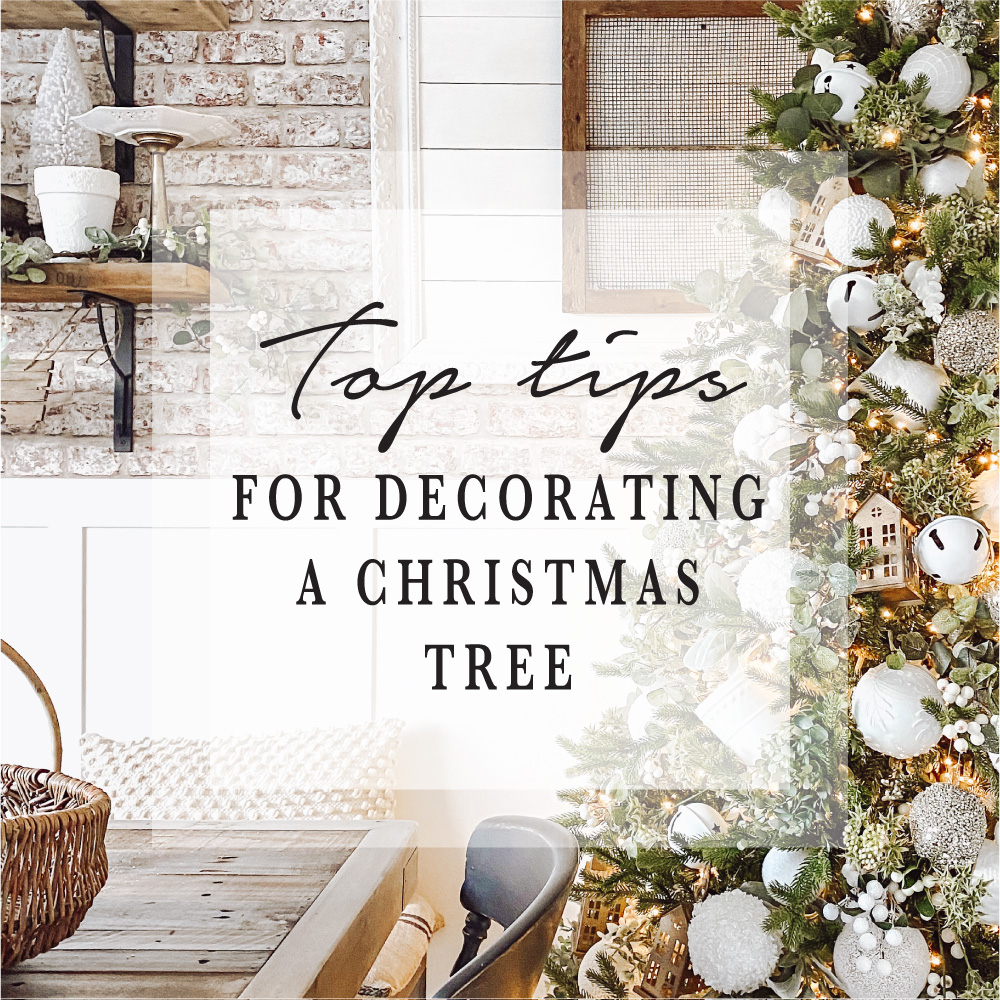
The one thing that I get excited about this time of year is decorating the Christmas trees in our home! As a visual merchandiser I have decorated hundreds of trees & I have learnt so many tips & tricks along the way. The trees I dress at work are very elaborate so I like to keep things a bit simpler in our home…kind of!
With that said I would like to share some of those tips with you today. There is no right or wrong way to decorate a tree & for the most part its down to personal preference but a little guidance always helped me.
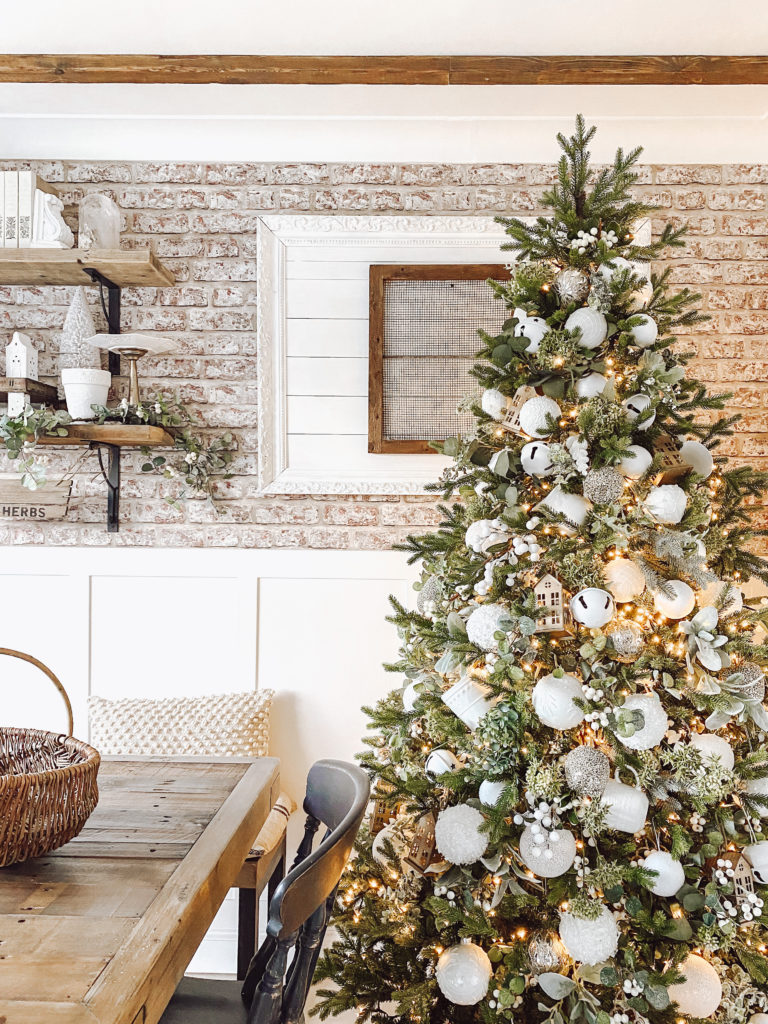
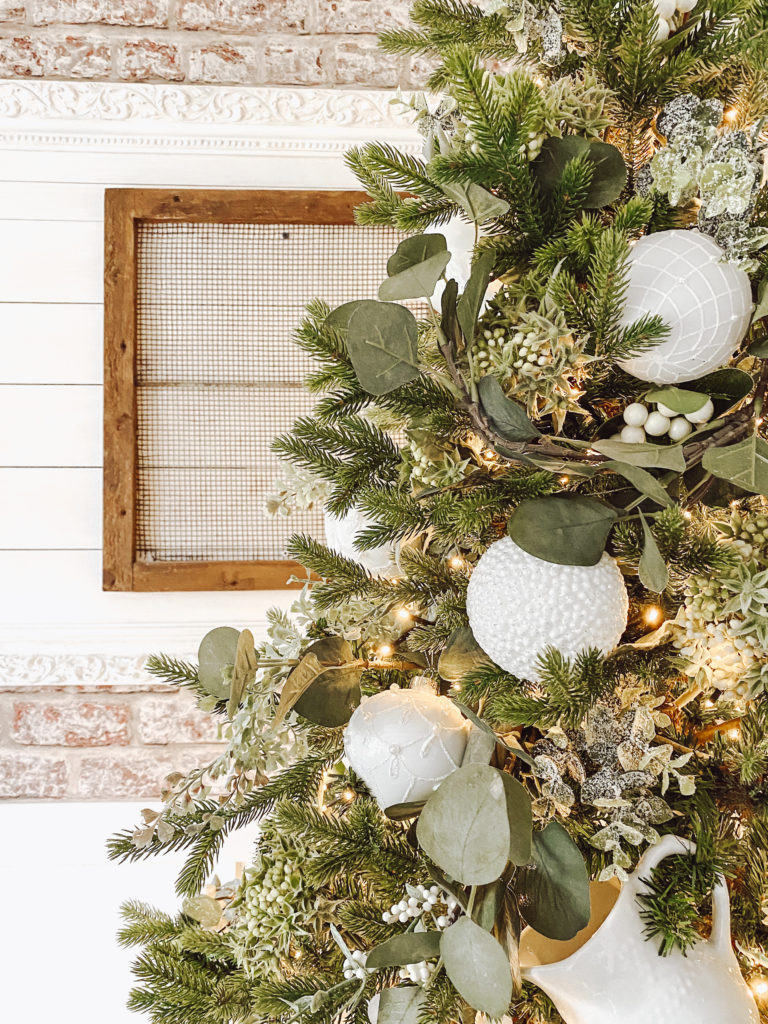
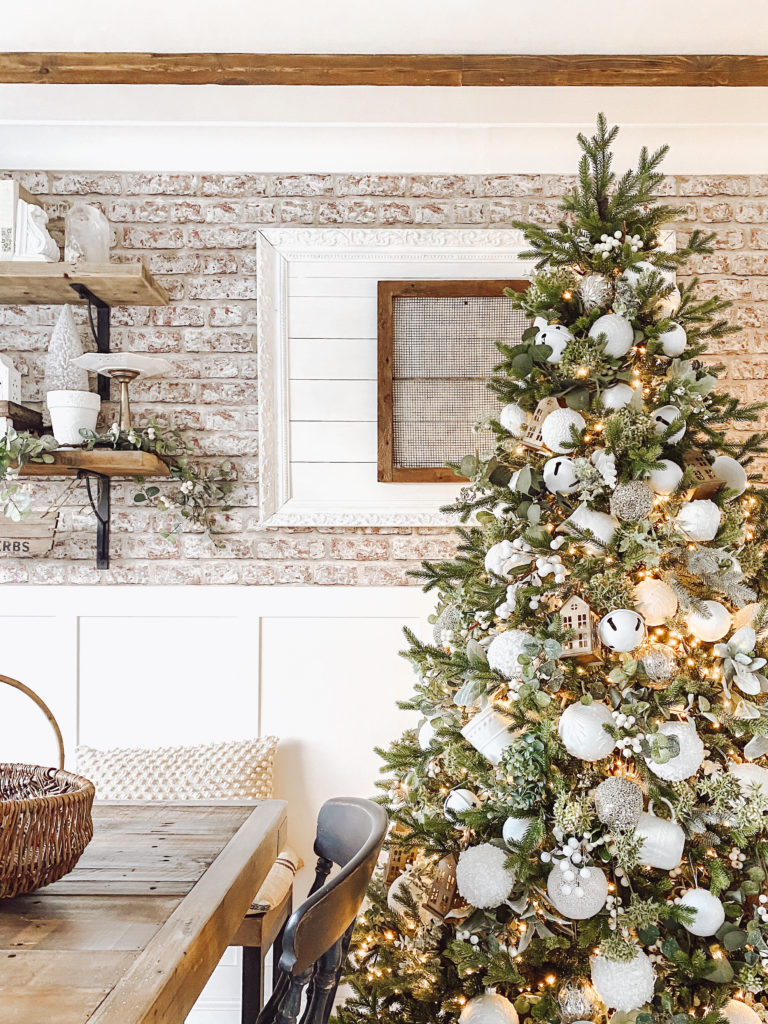
This year I am going all neutral with whites, greens & hints of gold, colours that suit our homestyle the best.
TIP 1

I try to keep my Christmas decor organised in plastic tubs so that its easier to identify colours & themes each year. Once you have decided on a colour theme, get out everything that you need & organise in groups…small baubles, large baubles, fillers etc…
That way you are not scrambling around for extra pieces & it makes the whole decorating process so much easier if everything is on hand.
TIP 2

This is something I always do before starting to decorate. Once I have everything out that I think I need, I decorate a small section at the front of the tree to make sure everything works together & its the desired look I want. You can stand back & decide whether you need to add in another element or go on the hunt for more decorations to get the balance.
Once I have designed a section I take all the decorations off & decorate the whole tree.
TIP 3

I will delve deeper into this part another time as believe it or not there is a technique to putting lights on your tree.
It’s important to make sure this part is done well as it can effect your whole tree once decorated. Always invest in a good set of lights, it may seem expensive at first but they will last, look amazing & can be used year after year.
So for this tree, which is a realistic looking fir tree with no bulk I started from the bottom & worked my way up. A good tip would be to place the lights loosely at the tip of the branches working in a spiral motion until you reach the top. I have made the mistake before where I have worked in the lights perfectly & realised I didn’t have enough to get to the top. If the lights are wrapped loosely at first it saves time if you have to remove them to make sure the whole tree is covered. Also one mistake people make is wasting the lights by poking them deep into the tree, placing them at the tips gives more impact!
Once you have reached the top you can go back & poke the lights in & out of the branches, tying in where necessary. Don’t worry if you can see wires, these will be covered by the decorations.
TIP 4

You may have a tree that is full & bushy but this one is a little sparse so one thing I love to do is make it look fuller.
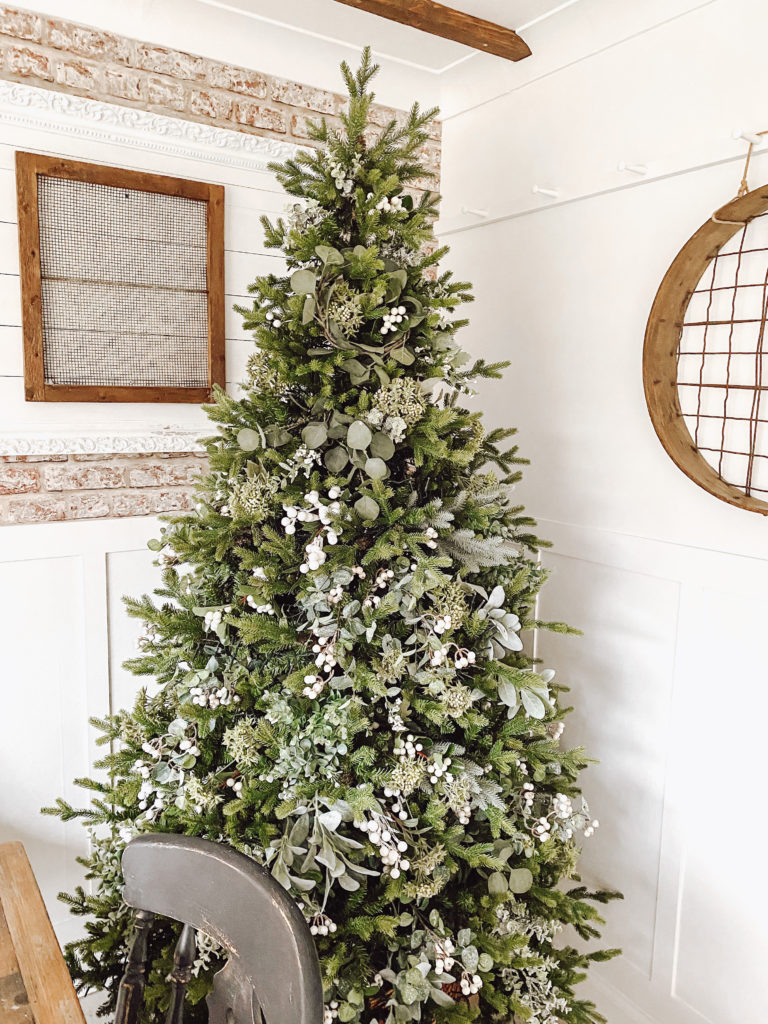
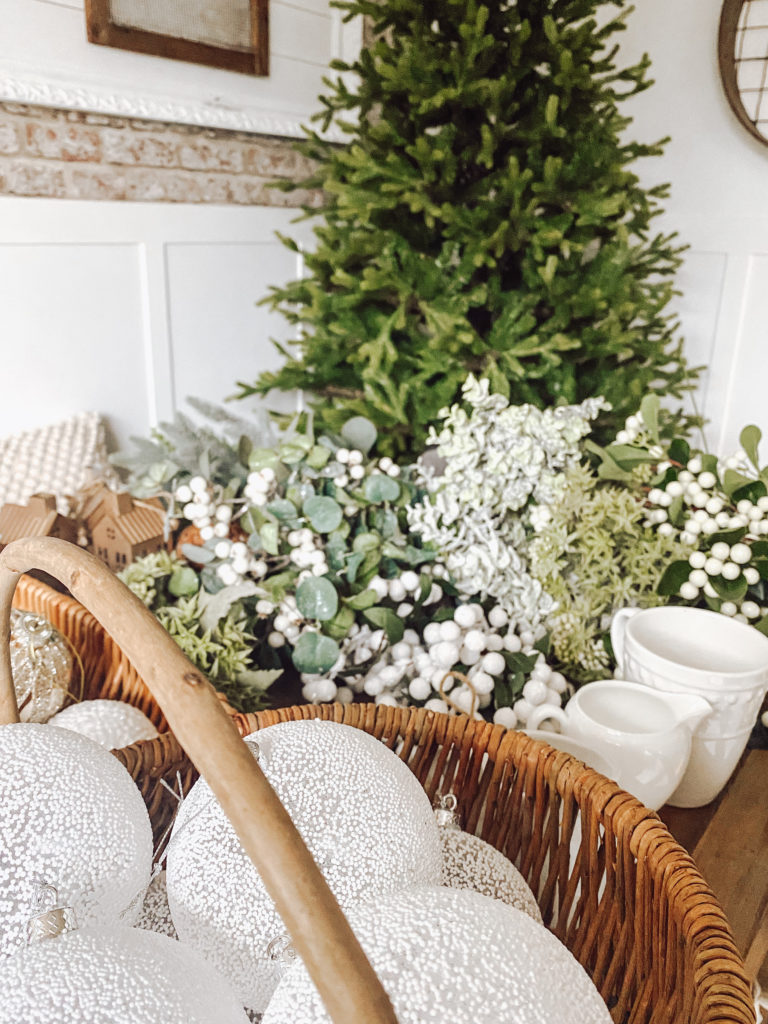
I do this by adding artificial foliage sprays. If you don’t have the privilege of owning a ridiculous amount of artificial floristry like me, the look can be achieved just as well with real branches & stems from your garden.
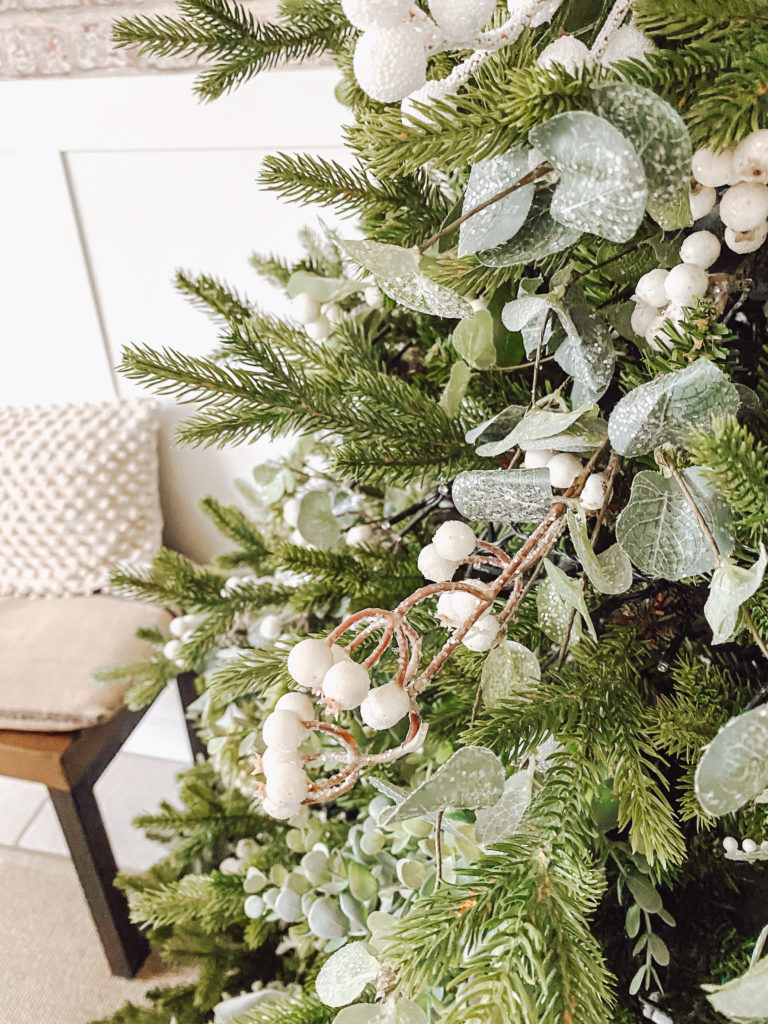
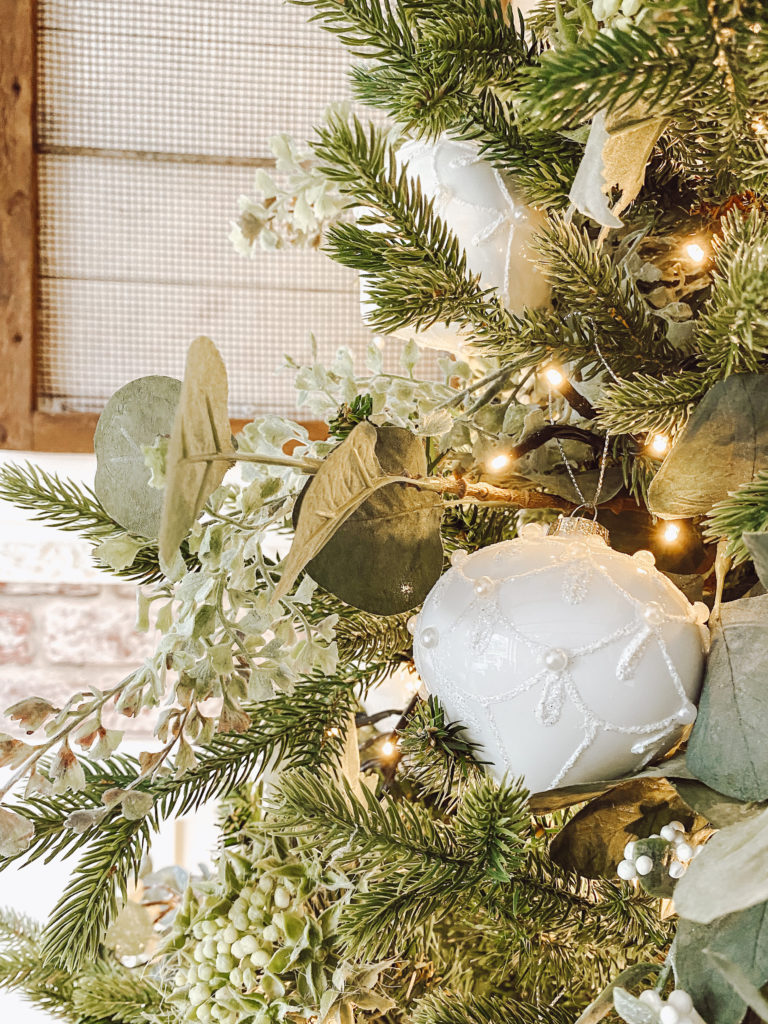
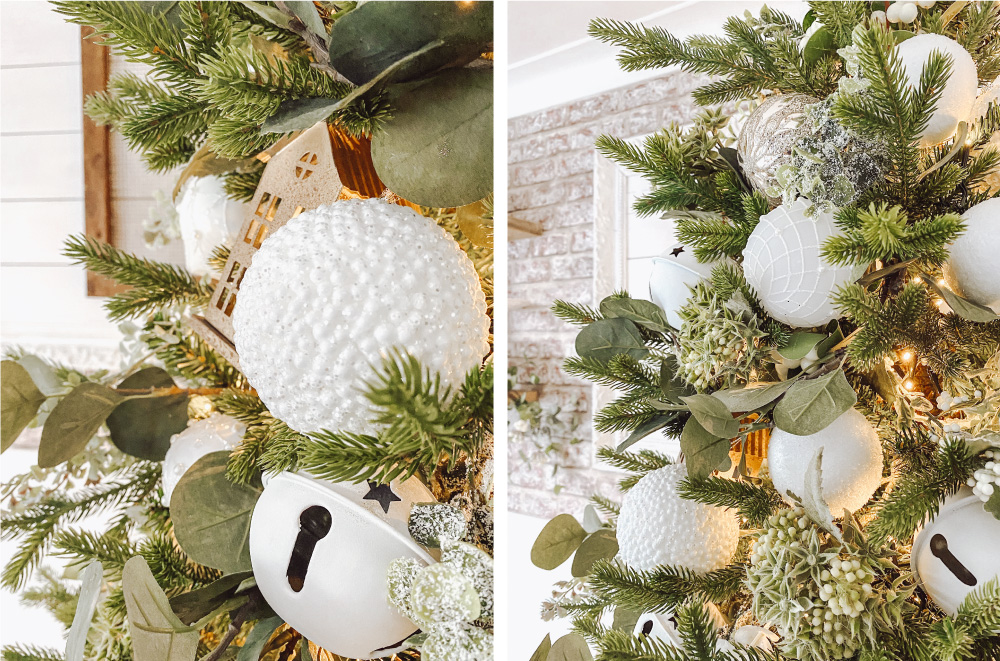
I brought these mistletoe sprays for the dainty white berries. The rest of the foliage used is what I already had from the other seasons, such as lambs ear, ivy, eucalyptus, basically anything green.
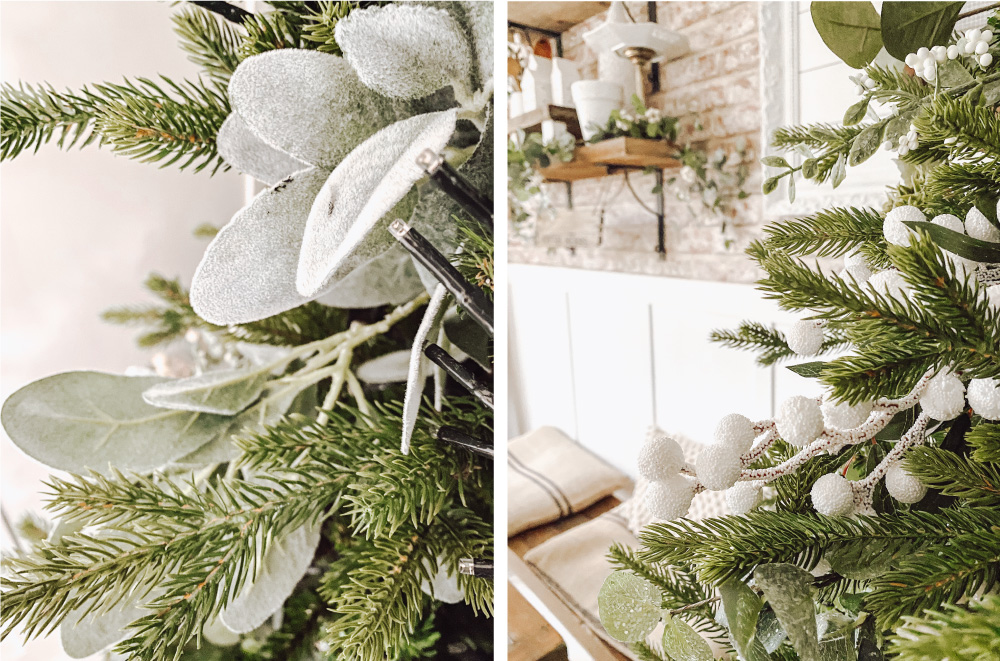
These lambs ear stems & white berries are a great contrast to the deep green colour of the tree.
Try adding contrasting fir branches & textured bundles of green too.
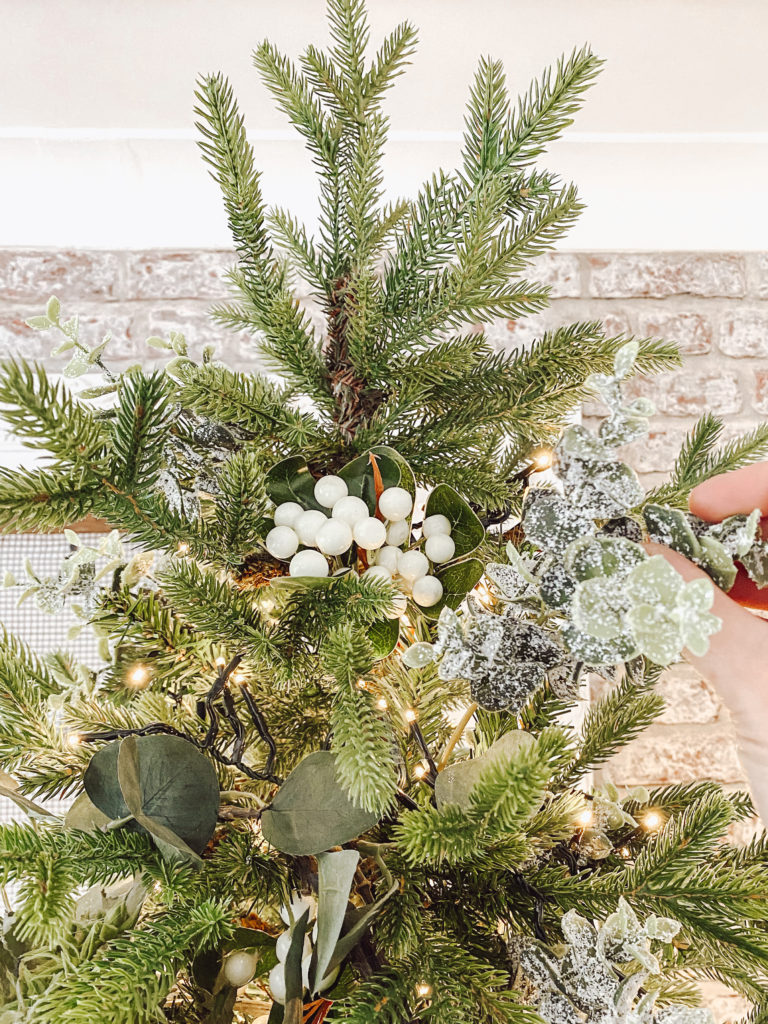
Don’t forget the top…here I added tiny stems of foliage that had fallen off an artificial arrangement I had.

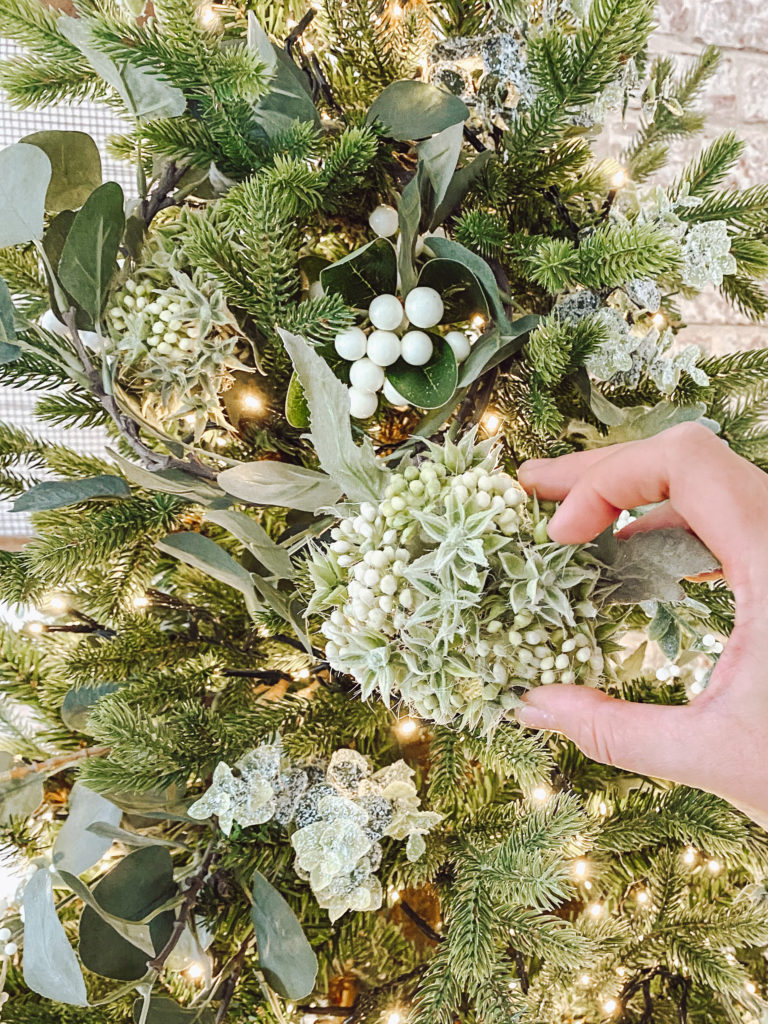
When adding in your foliage, guide in at an angle with the direction of the tree branches. I just love how my tree has been transformed with all the extra textures. This really helps reduce the amount of baubles & ornaments needed to dress your tree.
TIP 5

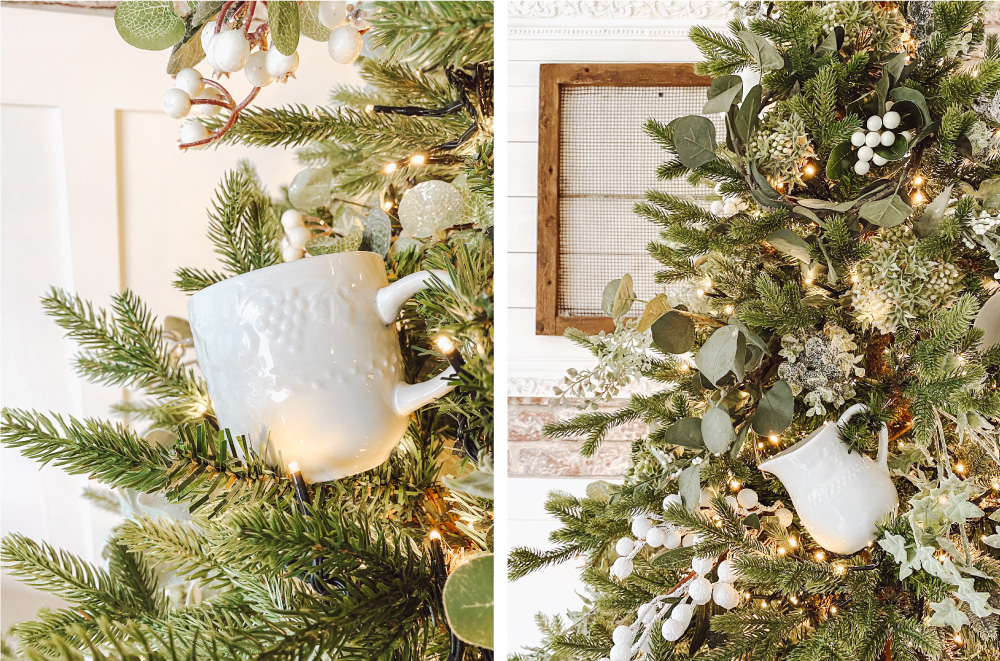
Now you may think this is a bit crazy & yes these are jugs & tea cups on my tree. As its a kitchen tree I thought I would try something different this year & they are great to fill in the gaps.
Obviously this isn’t everyones cup of tea!!!! At this point in decorating add in the big stuff like a festive sign, lanterns, larger ornaments to create a bit of drama & set the space for the smaller ornaments. Use what I call the cheaper branches to tie in your chosen items.
TIP 6

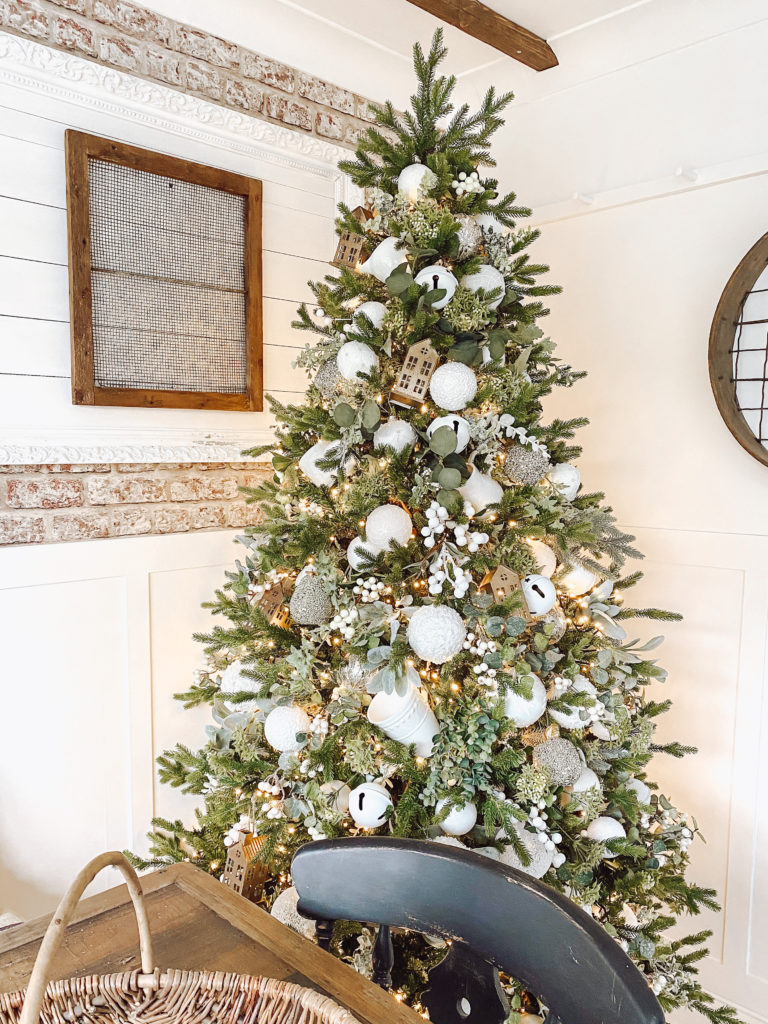
I gathered a variety of sizes to make the tree look balanced. For this tree I stuck to white for this stage of decorating, but the principle of bauble placement is the same if you have assorted colours.
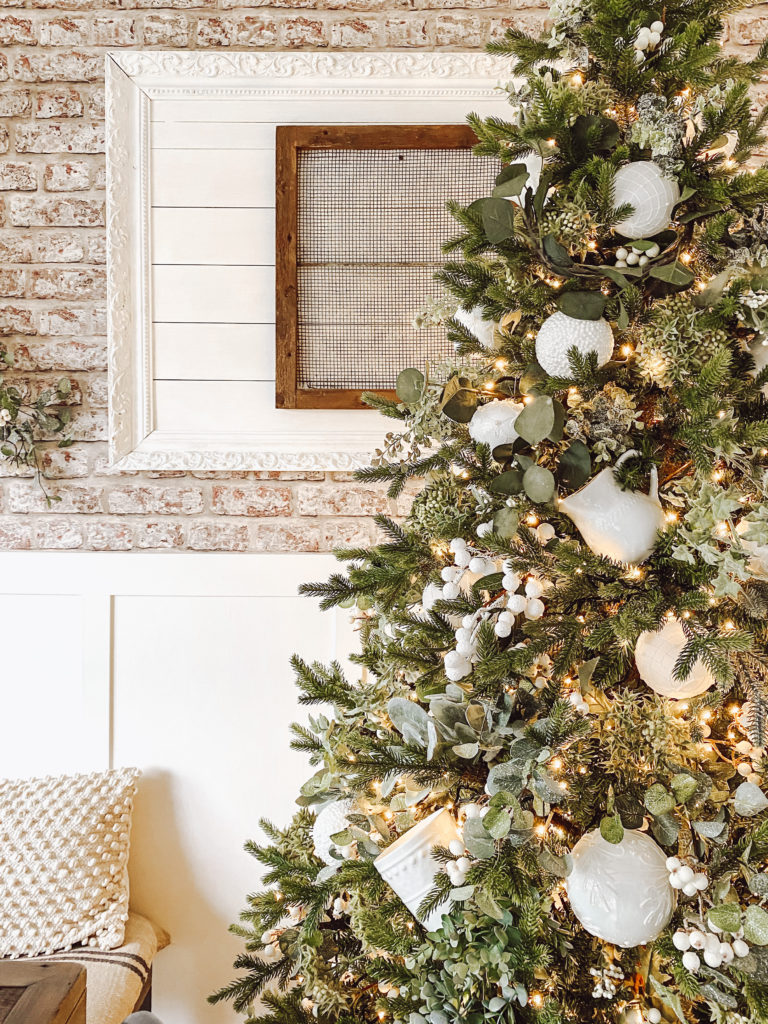
My rule of thumb is to place the larger baubles at the bottom of the tree & the smaller ones at the top. This helps keep the shape of your tree & looks more natural.
I mix up my technique when adding baubles. I stand back & look for holes at the base of the tree & roll in larger baubles setting them back slightly. I also tilt the baubles in the direction of the tree branches so that the tying string is not visible. Then for some i hang prominent on the longer branches.
For each bauble placed I attach using the cheaper branches from deep in the tree.
Don’t get obsessed with symmetry! One mistake people make is decorating so every single bauble is perfectly spaced at equal distance. In my experience for a more natural looking tree, place baubles where there is a gap or hole & group baubles together.
You will see things take shape & be able to identify which areas need work. Now let’s add some interest!
TIP 7

Moving on from the typical round shaped baubles, its good to add interest with a different shape & form. I chose these metal houses & for hints of another colour.
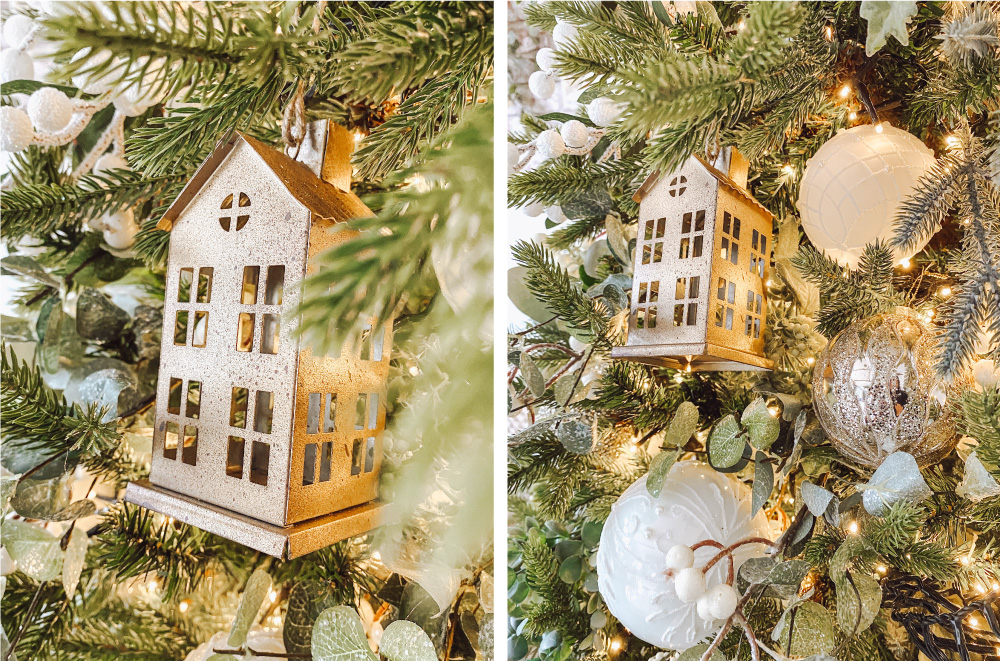
You won’t need as many of these ornaments, just enough to add that little something. I like to work with odd numbers.
TIP 8

For the secondary colour, I chose soft gold. This gives a subtle warmer tone & breaks up the white. If you are using assorted colours, add in different textures.
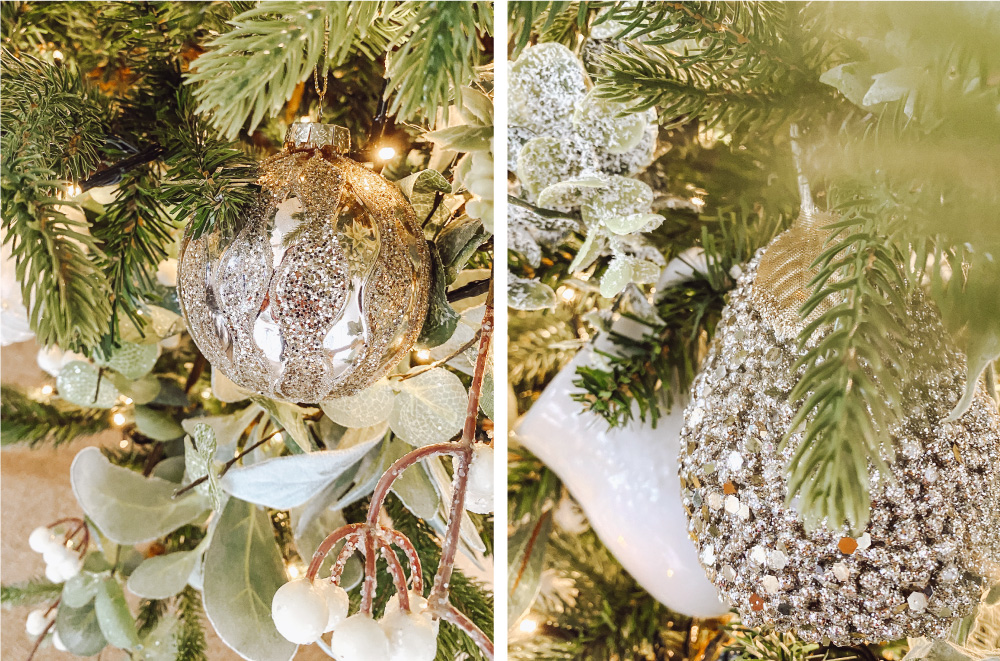
As with the white decorations I like to group sets of colours. You won’t need as many of these.

TIP 9

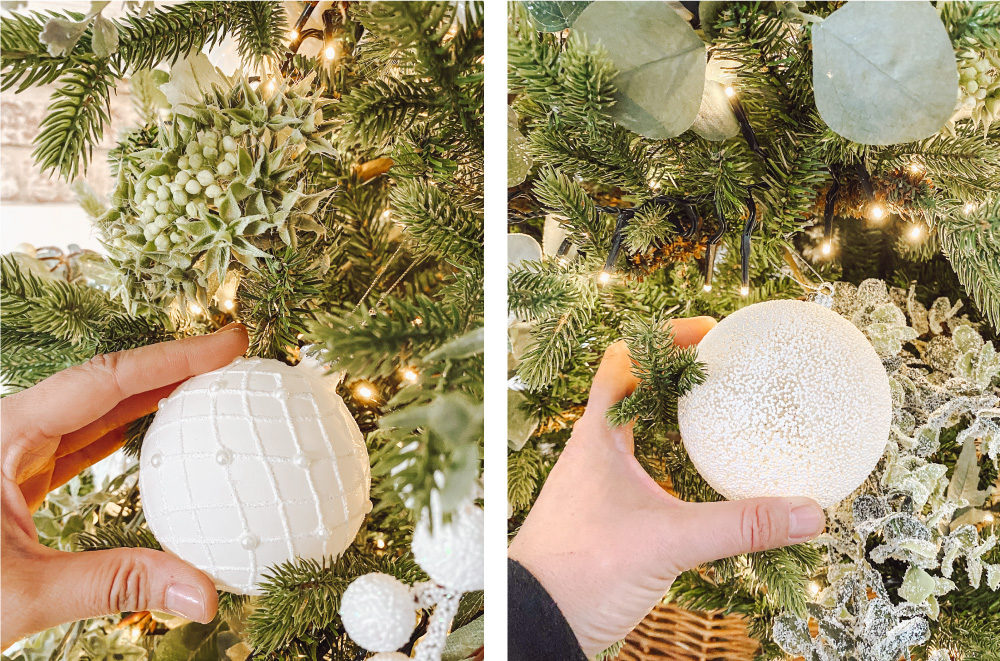
I was always advised in my job…if unsure add 30% more! Once I had used up all the decorations I organised to put on this tree I decided it needed more white for my desired look, so i went on the hunt.
Luckily I had more white decorations in my tubs but did end up spray painting a few to make sure I had enough. Polystyrene balls covered in fake snow are a great way to fill a tree cheaply & you can cram them in every nook & cranny!
TIP 10

Its so easy to get lost in viewing your tree up close & forget to stand back. This is something I do through the process to make sure it looks good from every angle.
I also find taking a photo of your tree helps to identify gaps you have missed. For some reason it picks up on what the eye can’t see.
In true Anna fashion I will probably add more to this tree throughout the season but for now I am content!
I really hope these tips will help guide you to decorate your tree & make the most of what you have whether it be a big expensive tree or one that you can afford.
Thank you so much for reading the blog today! Happy festive decorating friends! Let me know what you think of my neutral Christmas tree in the comments below.
Lots of love
Anna xx


2 Comments
דירות דיסקרטיות בקריות Israel night club
Can I just say what a comfort to discover someone that actually knows what theyre discussing on the internet. You definitely know how to bring an issue to light and make it important. More people must check this out and understand this side of the story. I cant believe you arent more popular since you certainly possess the gift.
Anna (@makinghomematter)
Thank you so much!